Interface: Article
Interface is responsible for visual and communication part of the tour. This feature serves as the easiest way to grab a viewer's attention. To reach Interface, follow this path:
- Spaces > Select the tour and go to Workspace:
- Digital Twin > Interface:
Functionality
Custom Font Family
This option allows to select the font size of text for your tour.
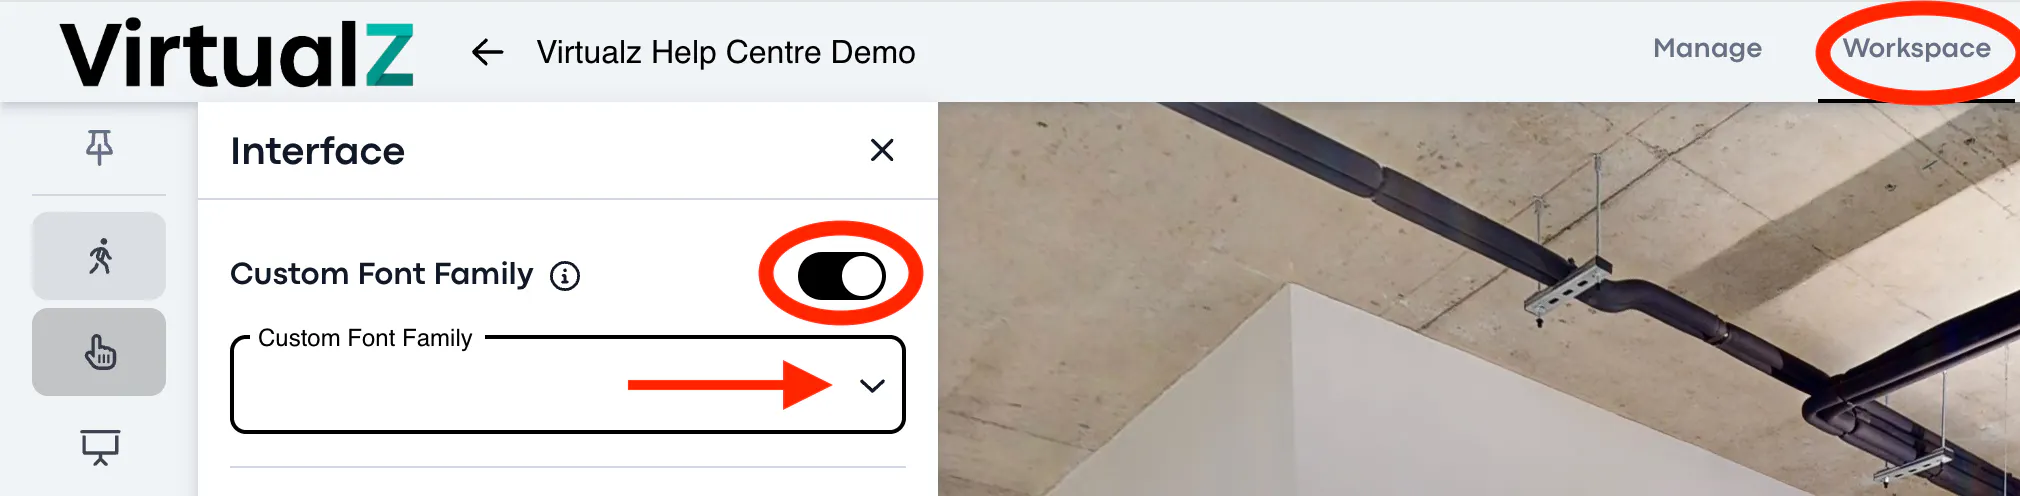
Note: Font Family feature is available for Business and Enterprise plan users. However, similar functionality is present in the Intro Screen section, available for all types of subscription.
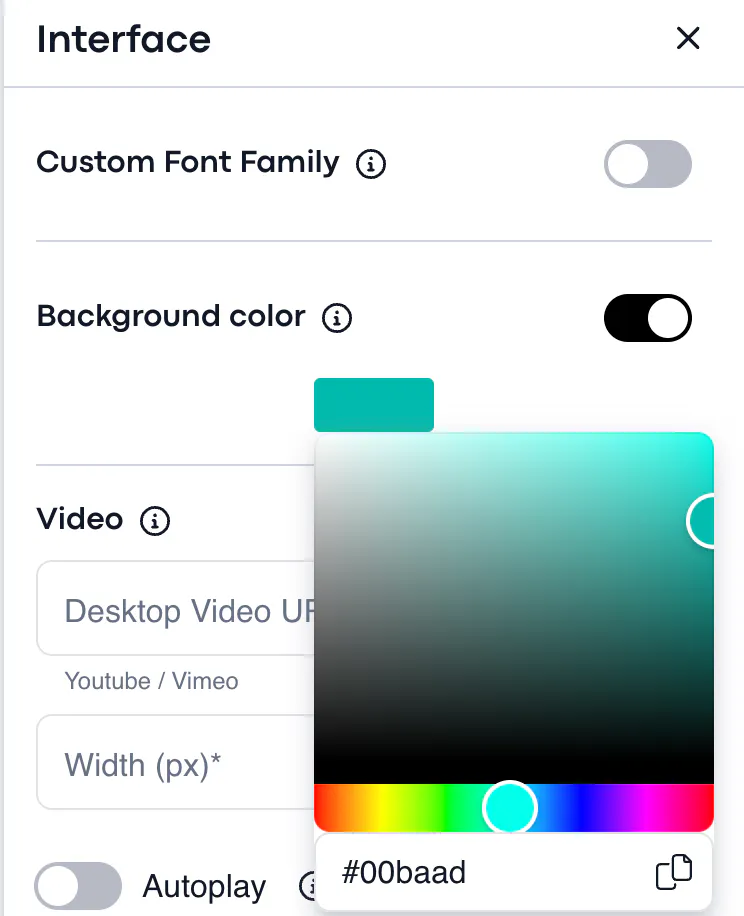
Background Color
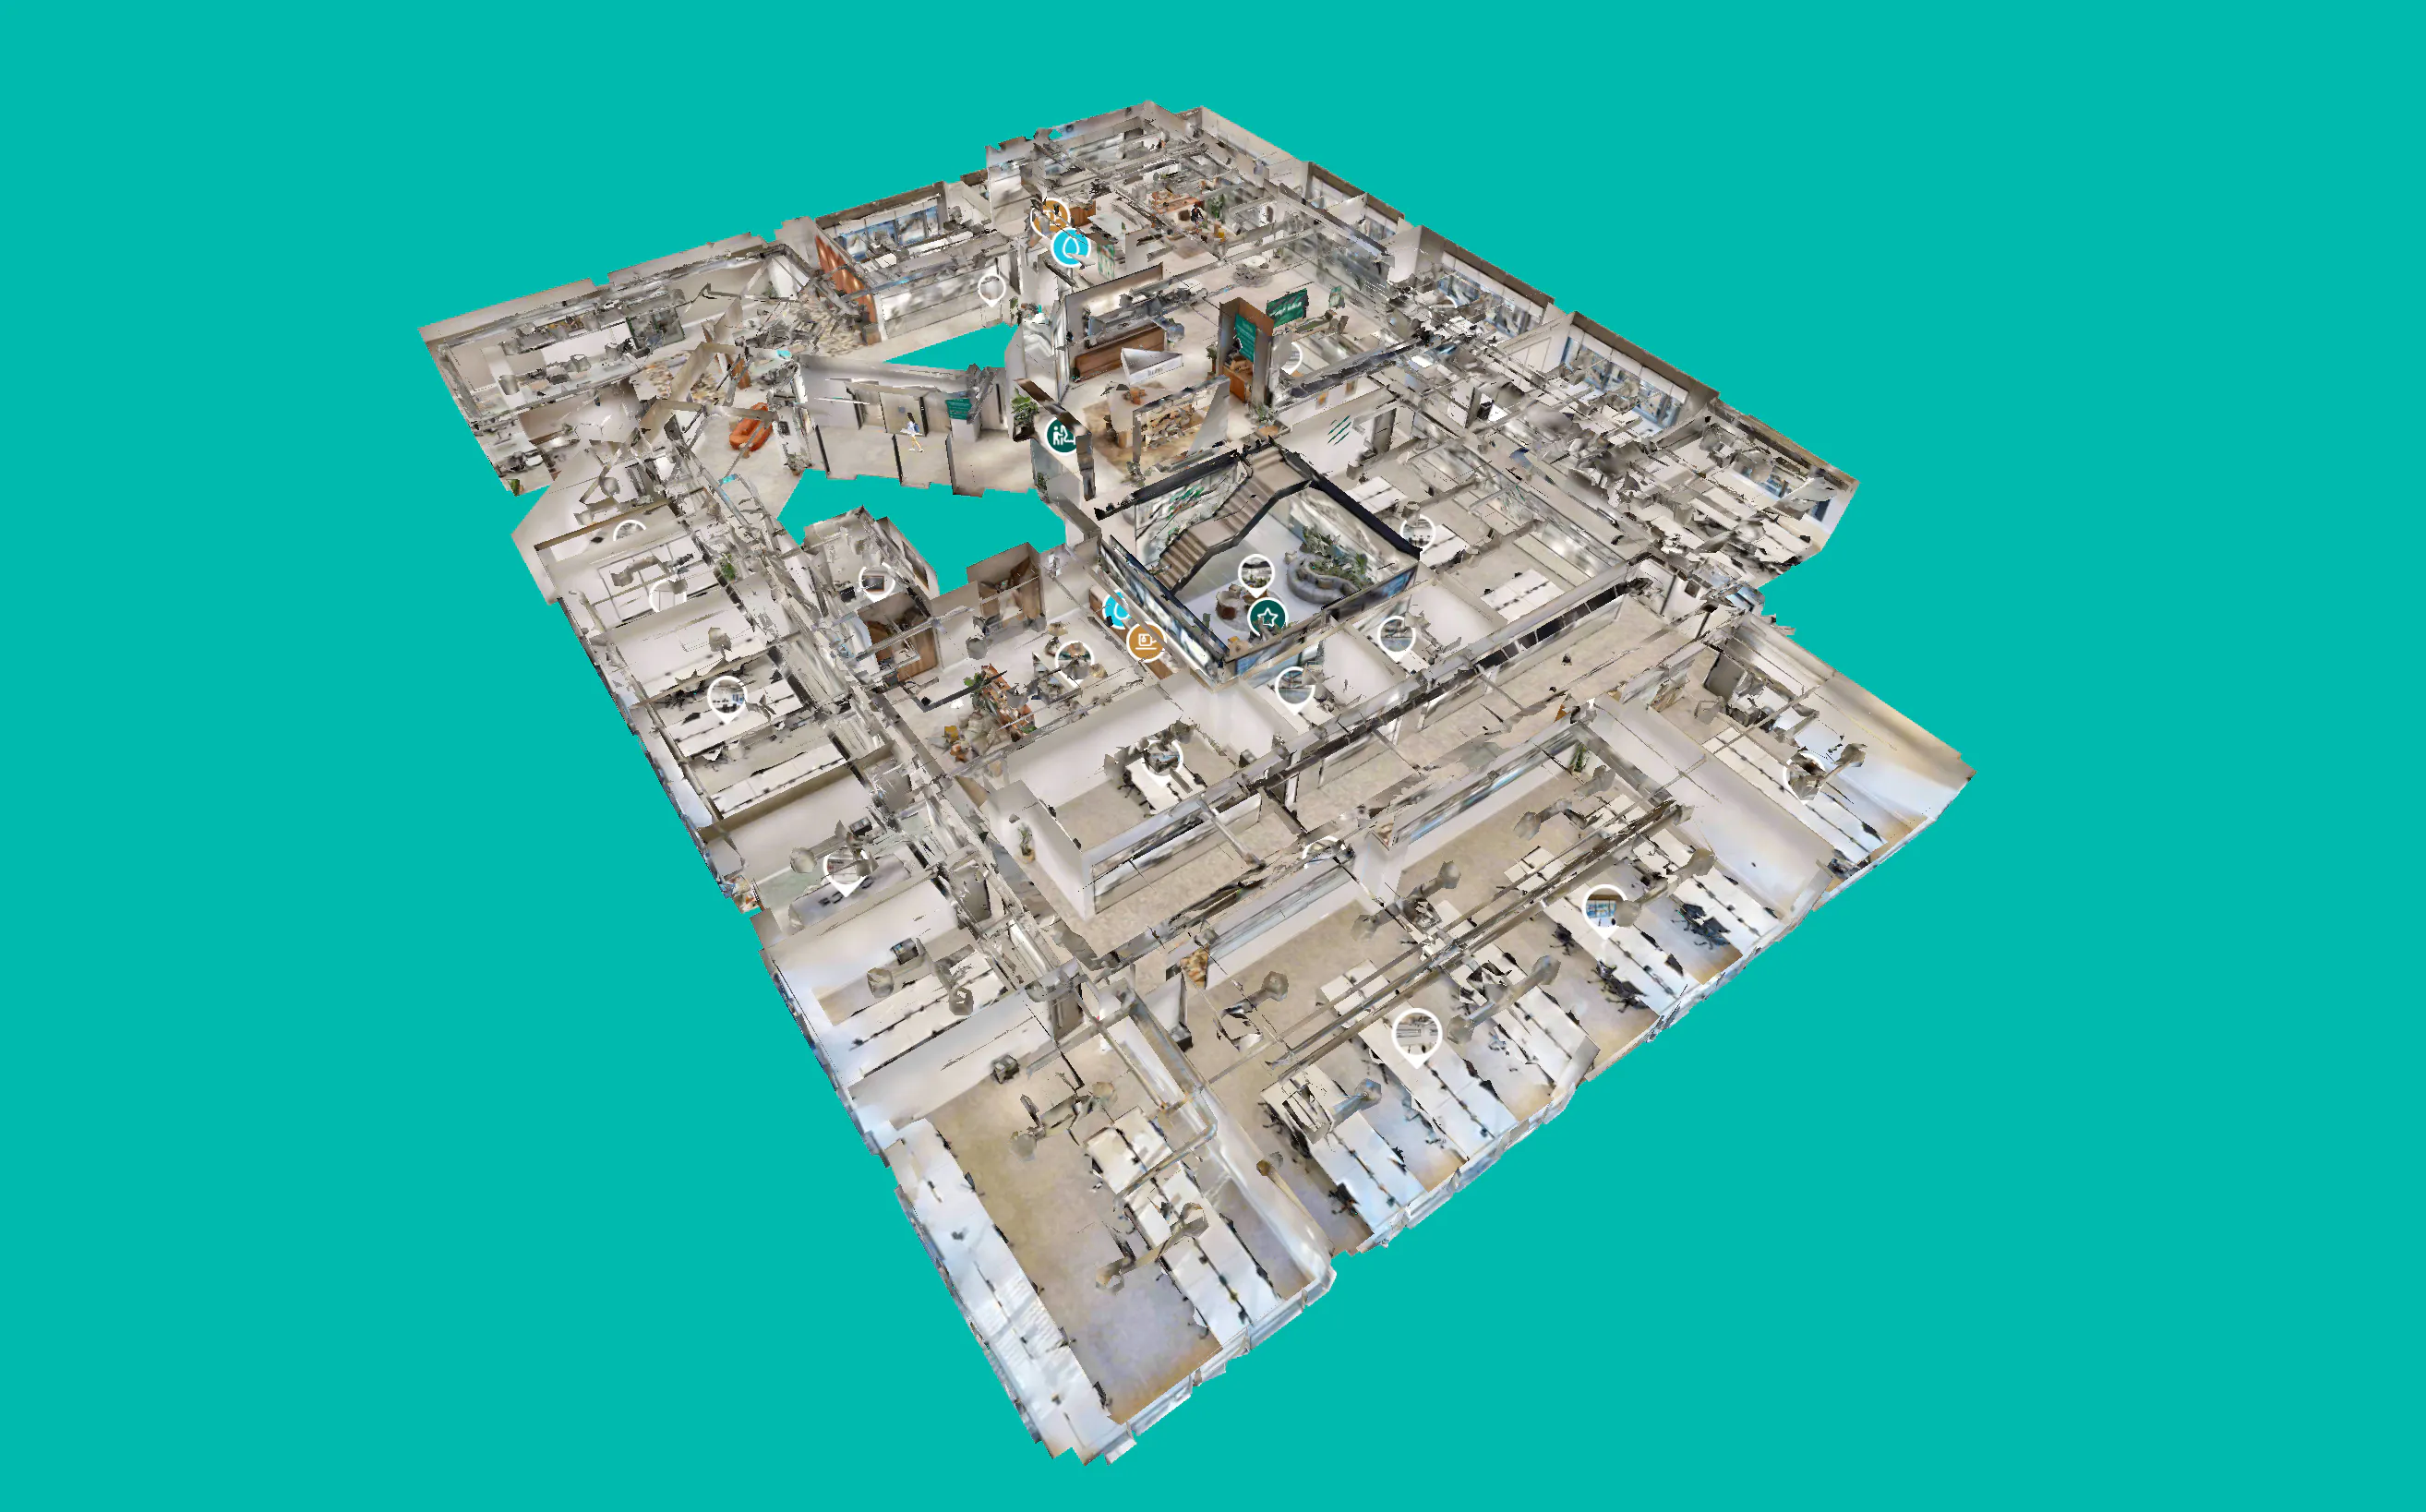
The toggle for background color allows to set up any color for the Dollhouse and Floor Plan mode instead of the default black.
Interface Video
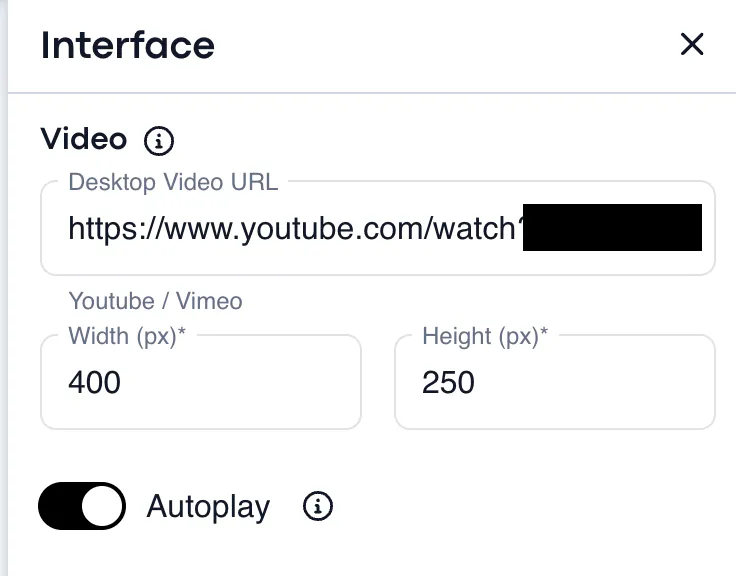
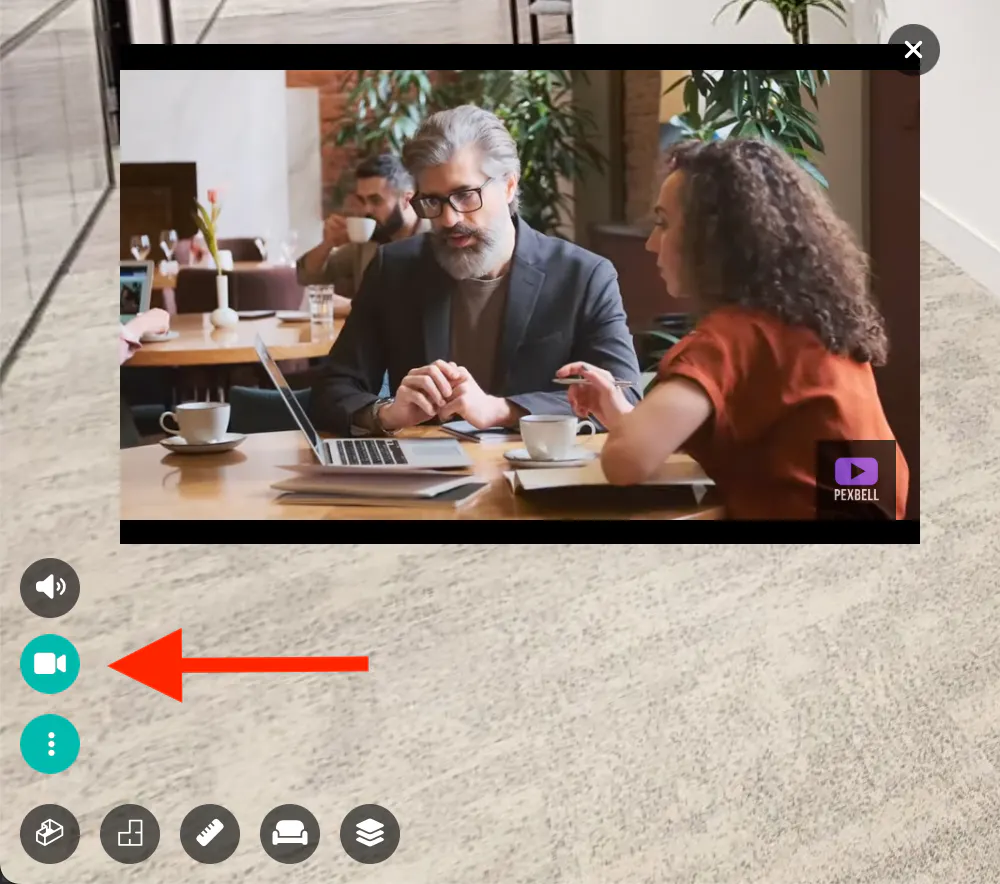
This option allows to insert a video into your tour by adding a link (YouTube or Vimeo URL). Modify the size of the video and switch on the autoplay, if you need a video to start playing automatically upon entering the tour.
- Video will appear at the bottom left corner of the screen when a visitor enters the tour.
- Video will automatically play MUTED upon entering the space.
- You can set up any size for the video.
Facebook Widget
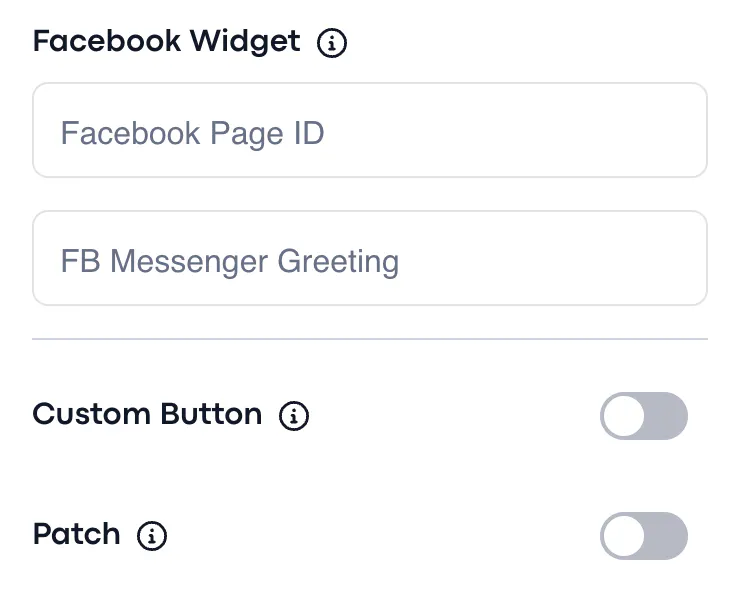
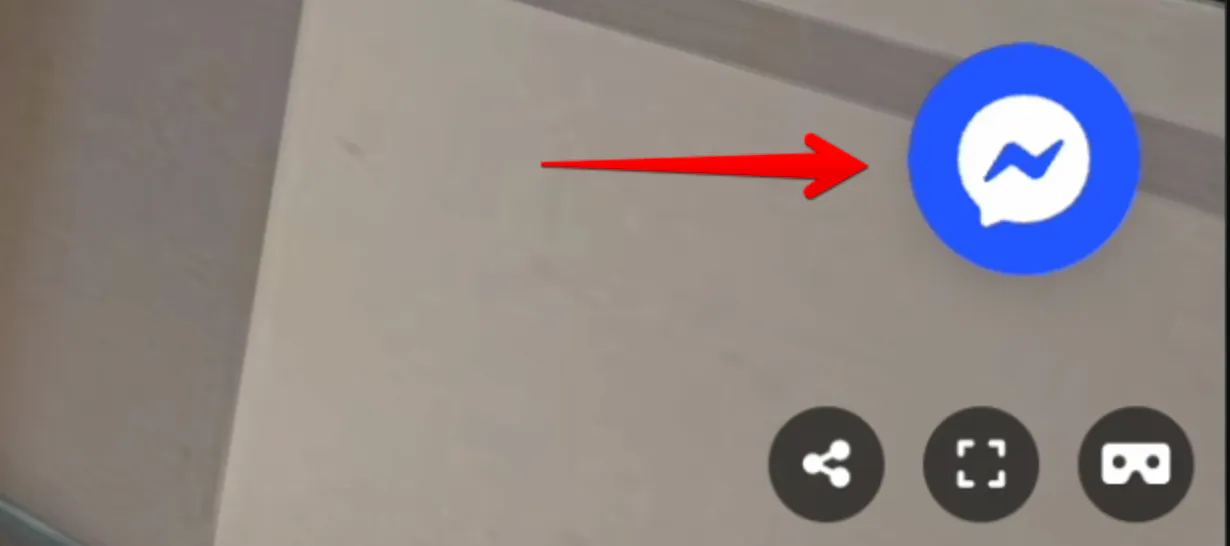
Please follow the link to check a detailed guide on How to set up a Facebook widget?
Custom Button
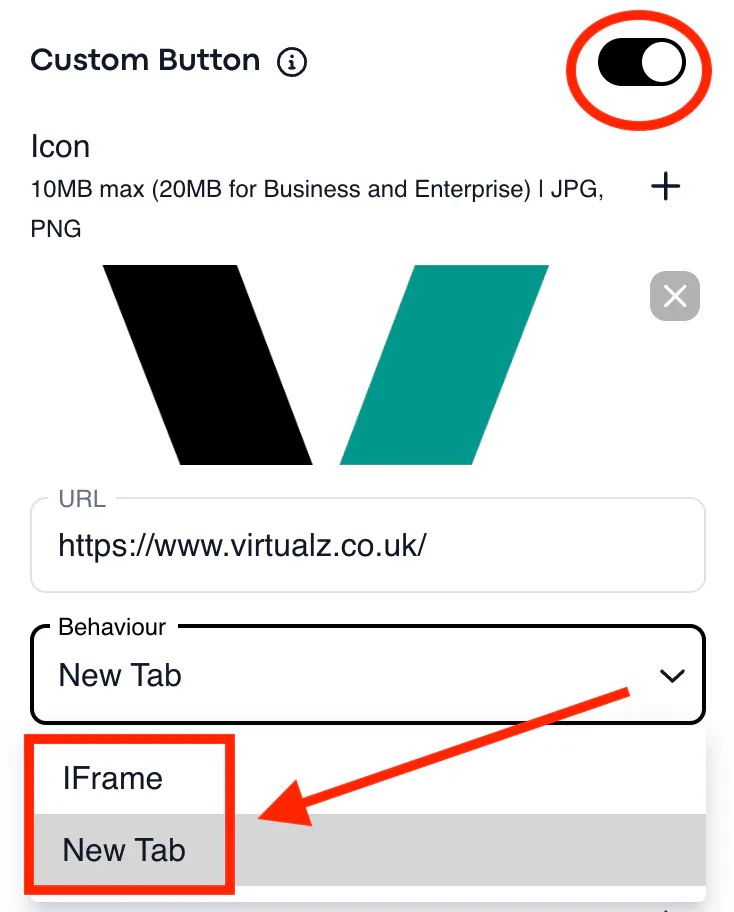
A customized button gives an option to lead the tour viewers to the webpage of your choice. To activate this button, pull the toggle to the right:
Add your customized icon, then include a link (can be a link to any website, video, or Social Media channel) and choose the way you want it to be processed by the system: iFrame (the link will be opened inside the tour) OR New Tab (the link will be opened in a new Browser tab to show the link content):
The 'Custom Button' appears on the tour below the icon to open a Burger Menu (if Burger Menu is enabled).
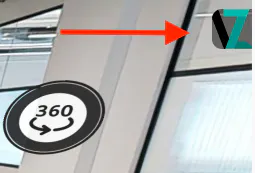
The 'Custom Button' appears on the tour below the Contact form button (if Get in Touch is enabled and no Burger Menu).
Note: Custom Button is NOT available on Free and Growth subscription types.
Patch
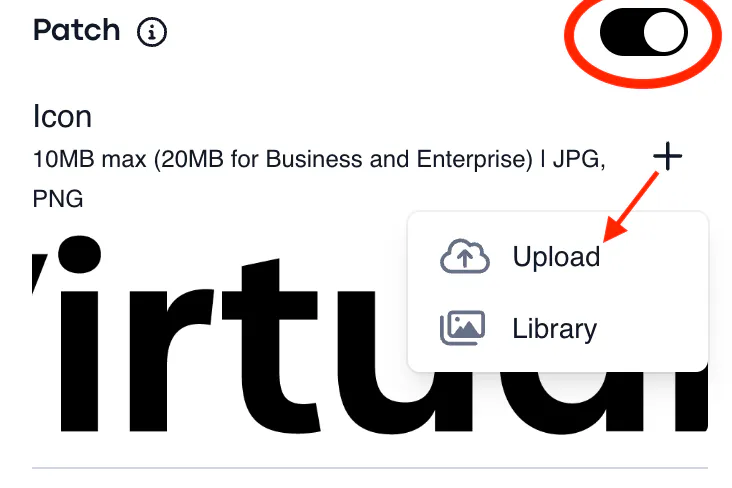
Patch toggle allows to add a logo / picture to the scan point, the place that is blurred on the floor:
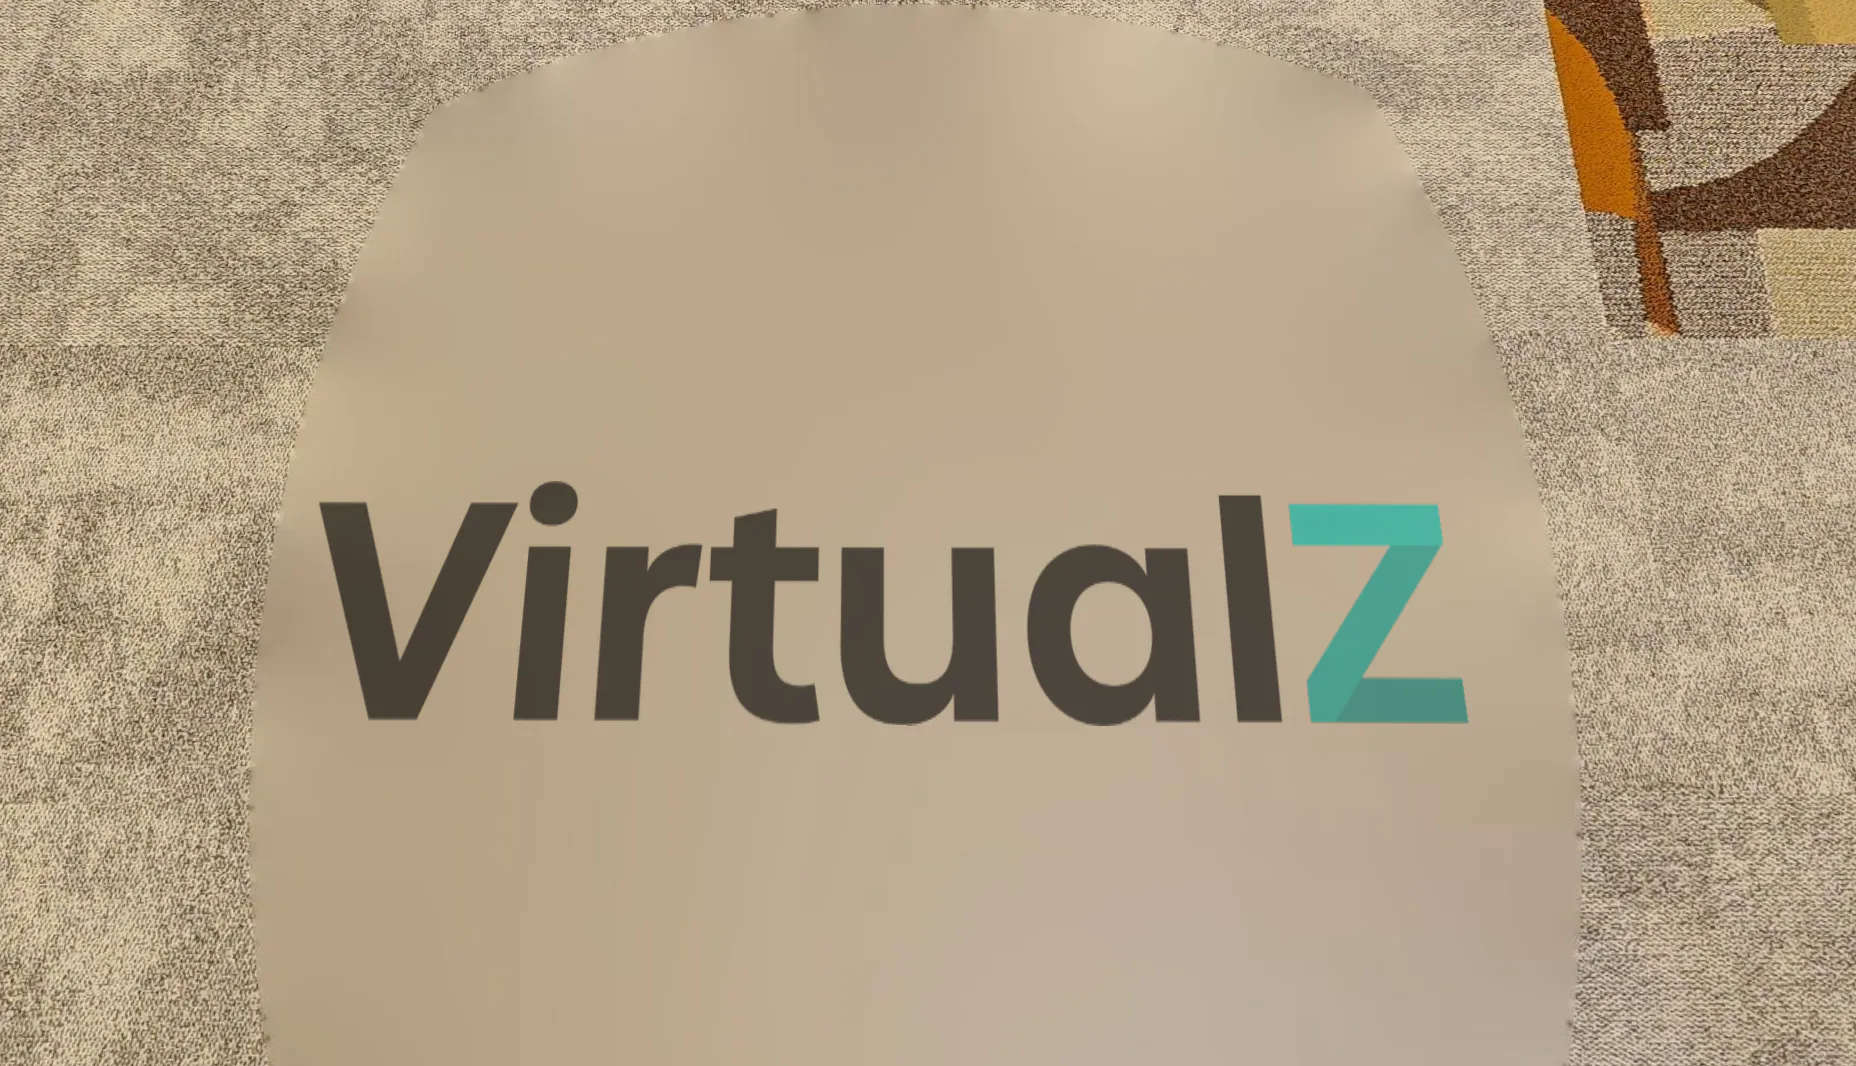
Here is how the 'Patch' looks like on the tour.
Communication and Terms
You can enter your desired information into the Legal Note field, which will be displayed at the top center of the tour:
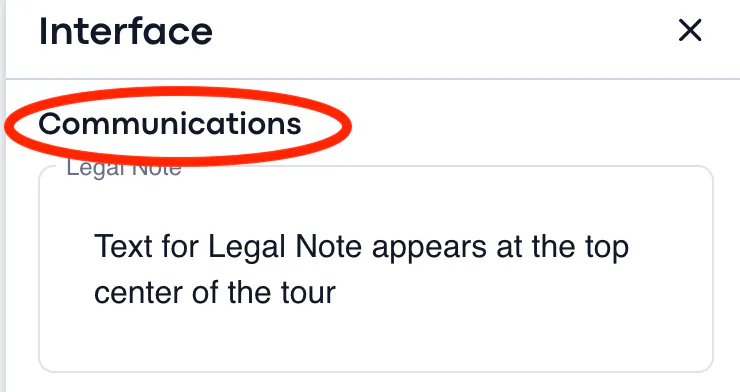
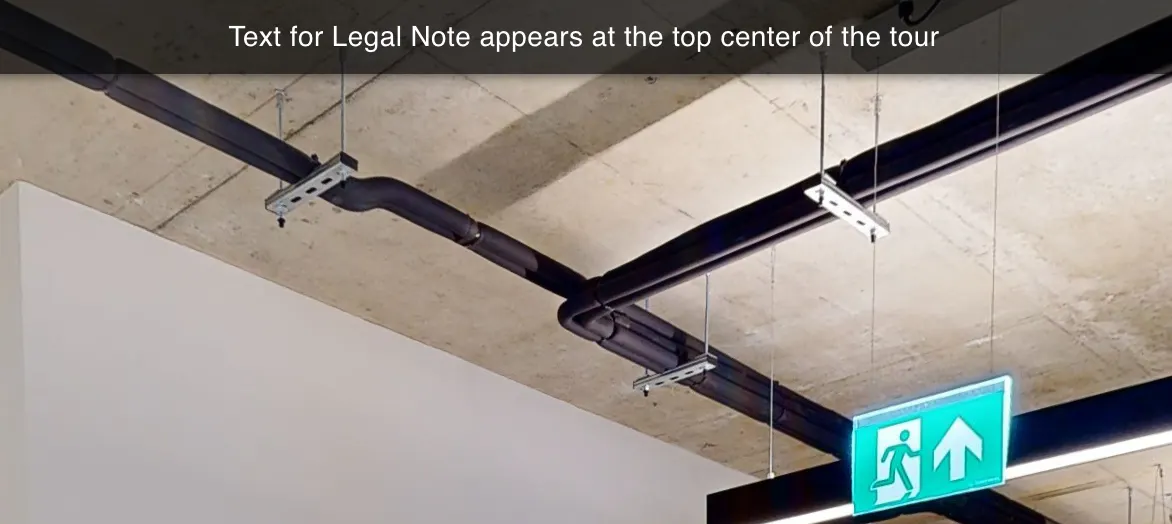
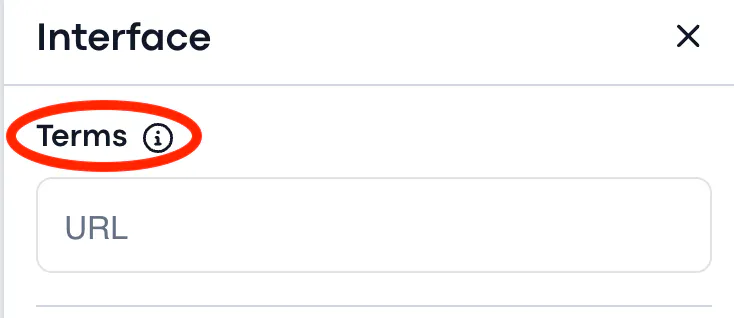
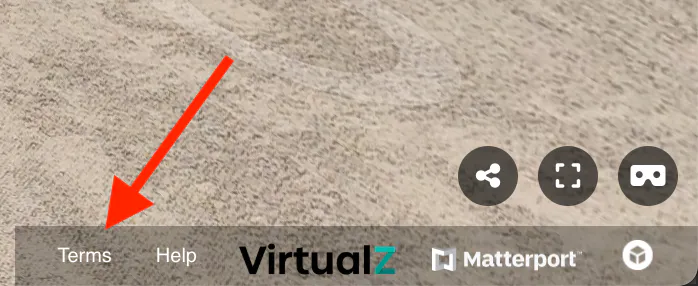
Terms URL, however, will be displayed in an iFrame when the visitors click on the Terms button at the right bottom corner:
If there is Burger Menu activated, the Contact form will appear above the location.
To enable the Get in Touch form, you need to have a Client assigned to your tour: Open the tour > Manage > Info > Tours client > assign the client and save.
There is also a possibility to add the URL link to your own Terms of the company. It will be opened in the iframe upon clicking on the Terms button at the bottom right of the screen. If you do not have own Terms of use, you may leave this box empty.
Contact Form
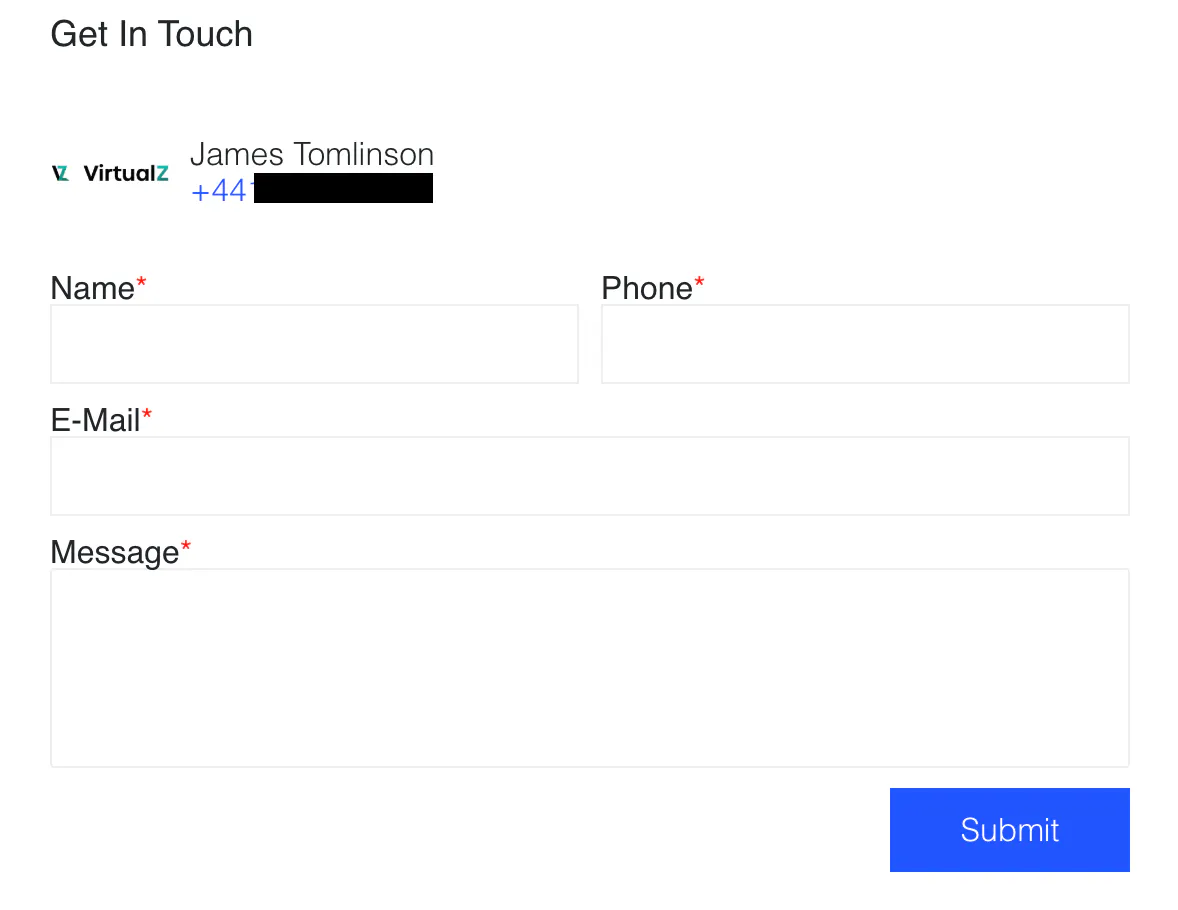
The Contact Form ('get in touch') allows the visitors to enter their personal details into the contact form in order to request the tour owner get in touch with them.
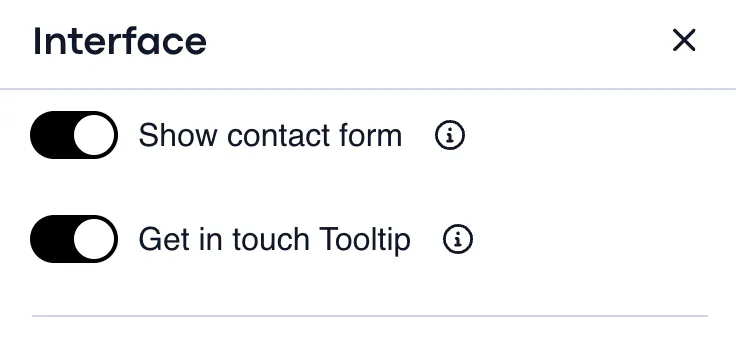
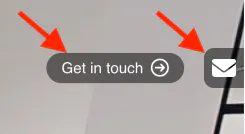
Note: If the Burger Menu is activated in the tour, the contact form will appear above the location in the Burger Menu:
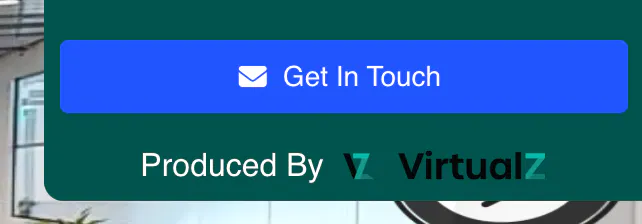
IMPORTANT: In order to enable the Get in Touch form, you should assign a Client to your tour. Open the tour > Manage > Info > Tours client > assign the client and save.
Here is how the contact form appears on the tour. The message will go to the e-mail address specified in the account of the assigned Client. Click here for more details on Clients.
Timed Lead Form
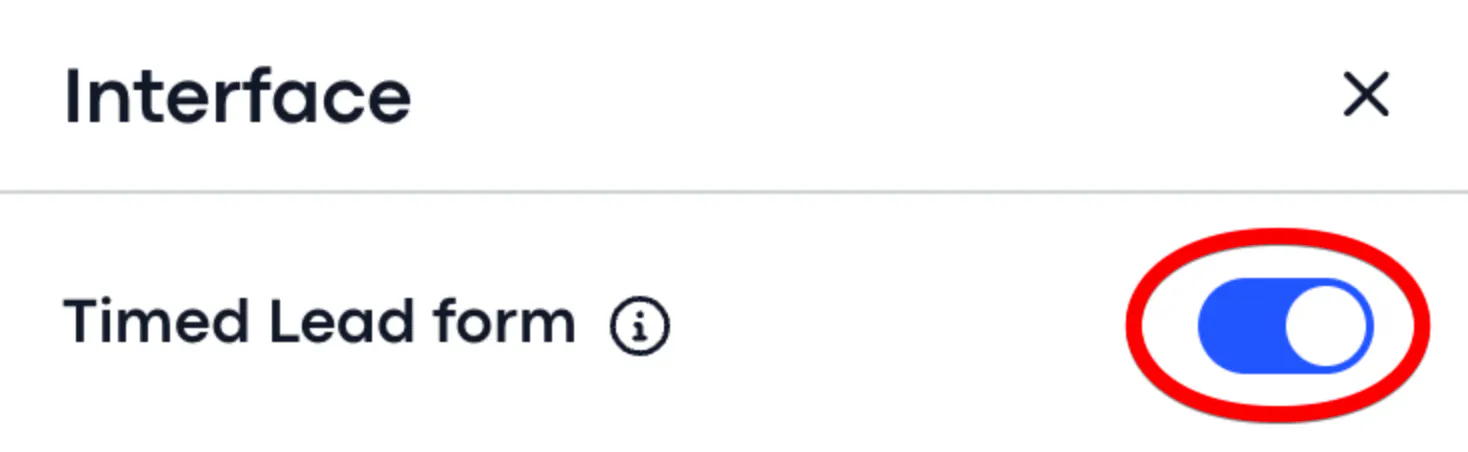
It is the contact form that appears on the tour after specific amount of time. In this form the tour visitors can leave their name, phone number, and email address. This information will be sent to the email address of the tour owner. To activate the Timed Lead Form, pull the toggle to the right:
- Set up the time when it will pop up for visitors (minutes and/or seconds).
- Upload an image that will pop up along with a form.
- Add the URL link to the desired website (optional). The visitor will be able to click on the image and open the website in the new browser tab.
- Enable toggles for name/email/phone per your needs.
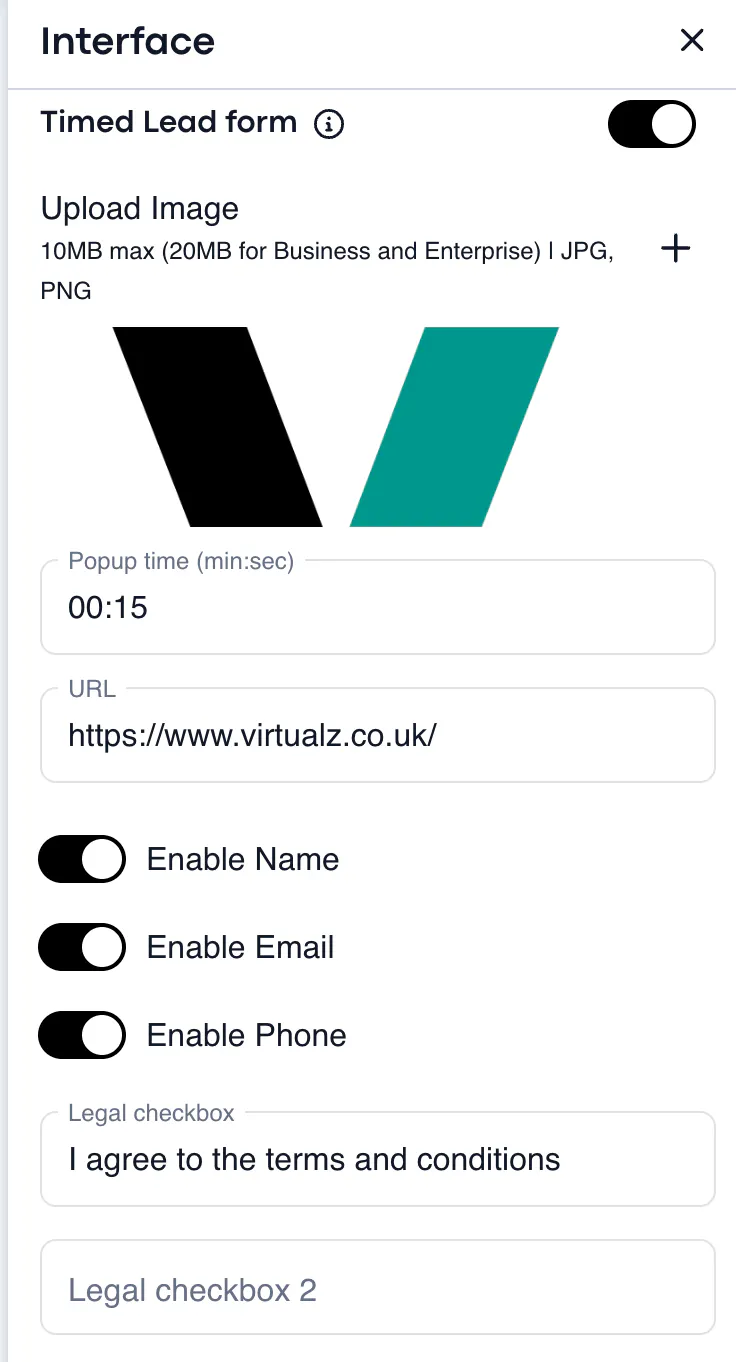
- You can enable Legal checkboxes in the Timed Lead Form, it will be placed within the form, below the phone box.
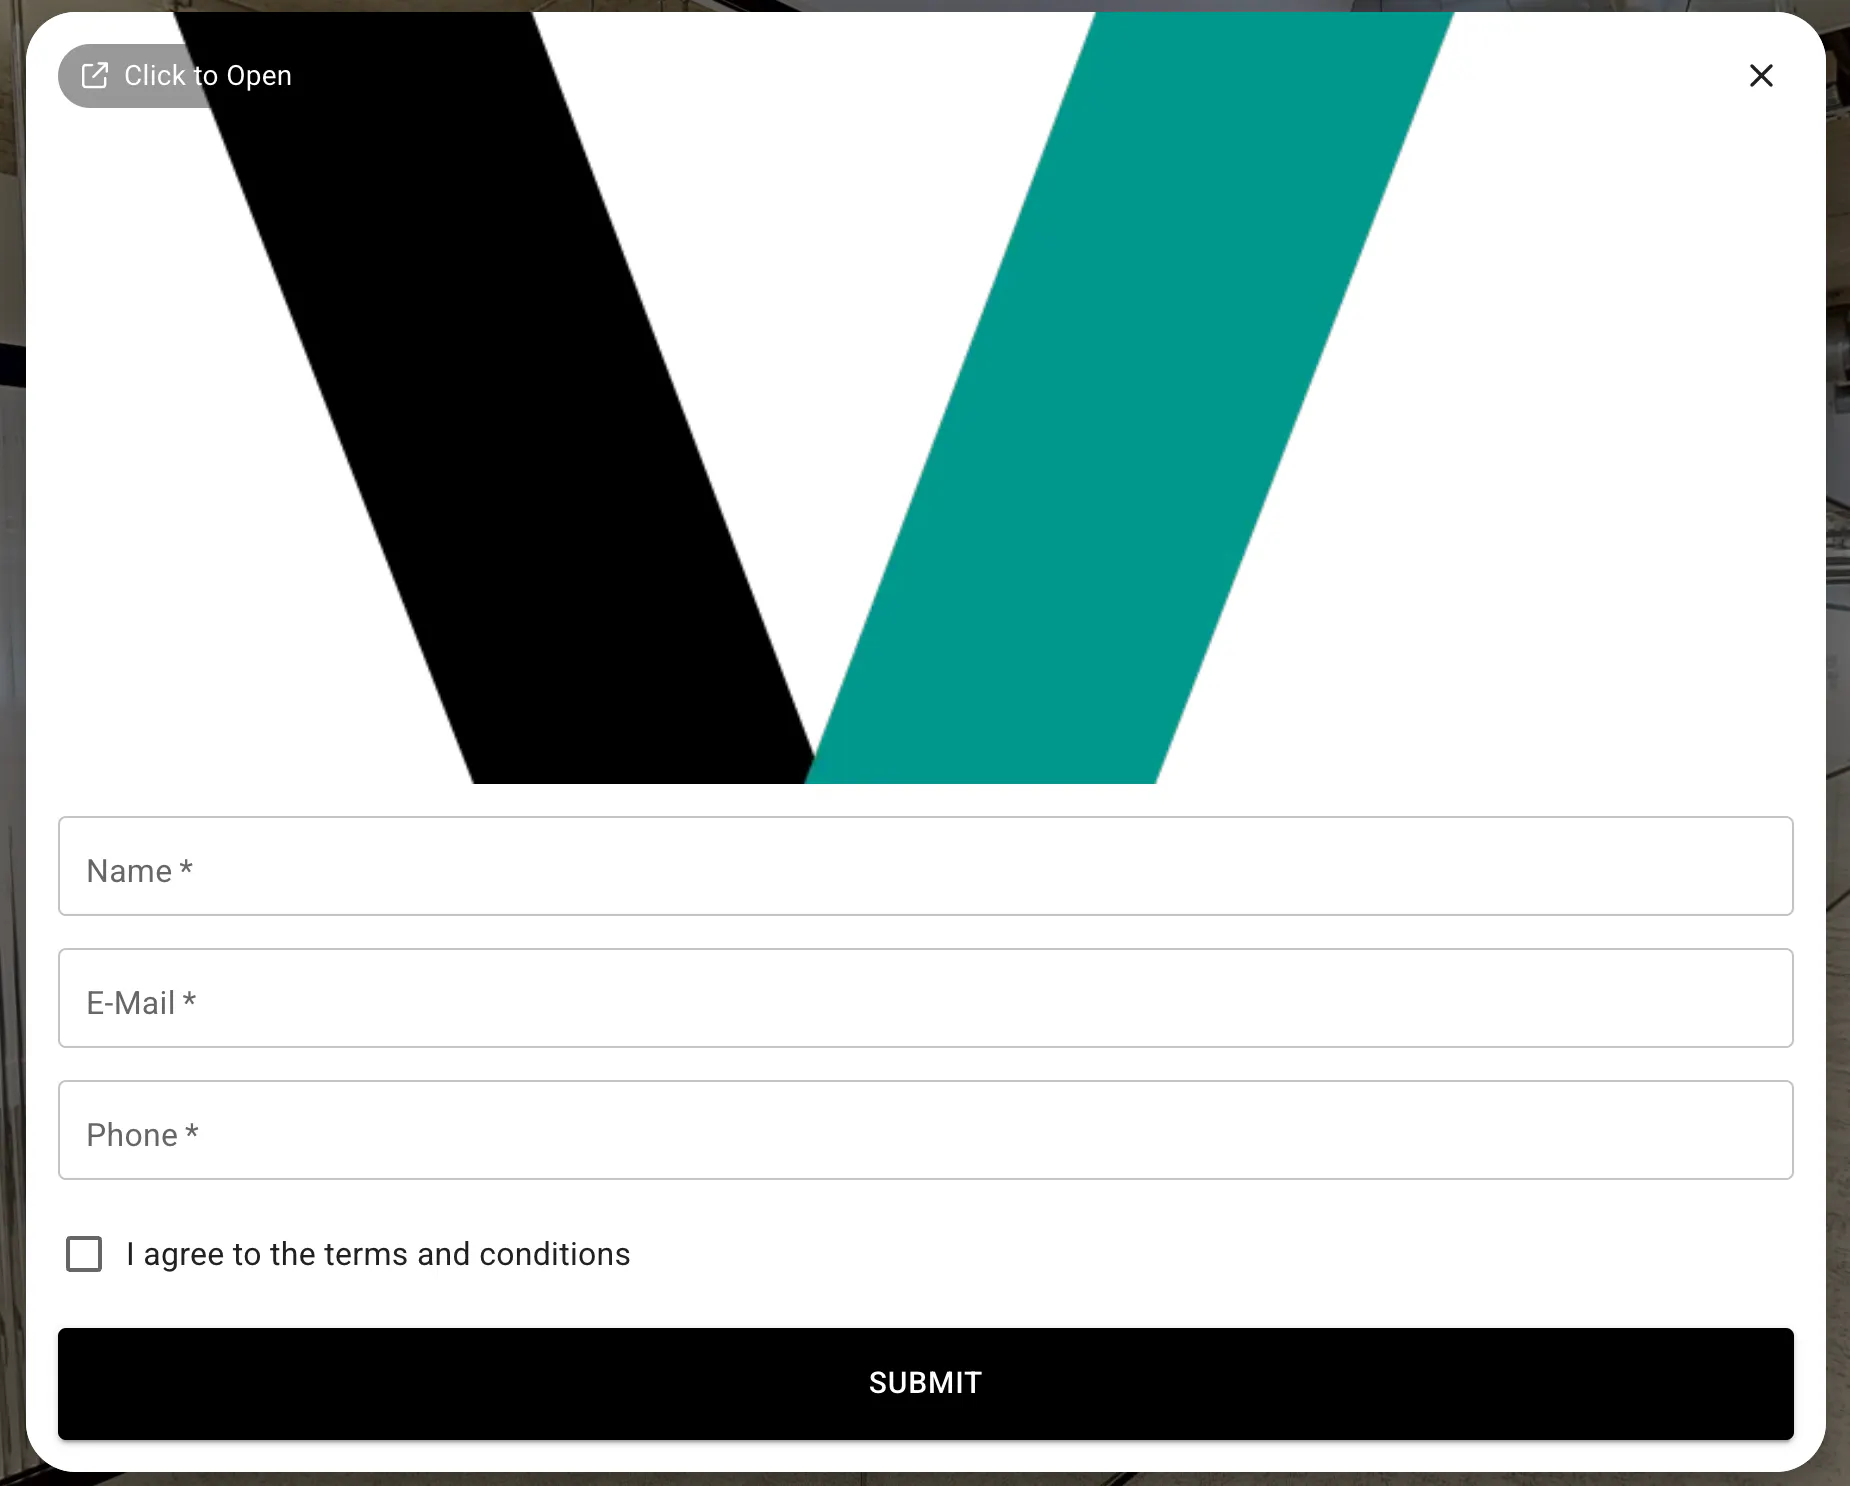
Here is how the Timed Lead Form will appear on the tour:
Restrictions
You can play around with the toggles listed below to customize the tour up to your needs. Each button has a tooltip and is responsible for viewing/sharing options for the tour visitors.
- Hide 3D Scans - Hide the scanning circles on the floor.
- Enable Screenshots - Display the screenshot button to allow visitors make and save the screenshots of the space.
- Unbranded Tour - Remove all branding from the space (specifically to hide the Client's logo).
- Hide Cookie Message - Hide the 'cookie' message bar at the bottom of the screen.
- Make Cookie mandatory - Turning this option ON will make accepting cookies mandatory.
- Enable avatar mode - Visitors will enter the space represented by a custom avatar.
- Enable text chat - Text chat feature will be enabled in the space.
- Social Sharing Button - Display the icon for social sharing.
- Disable Right Mouse Button - Disable the visitors to right-click on the 3D tour.
- Show VS Button - Enable 'Hide/Show VS' icon in tour.
V-Commerce
These are the basic settings for the V-Commerce tour:
- The toggle Show store enables a store icon on a sidebar:
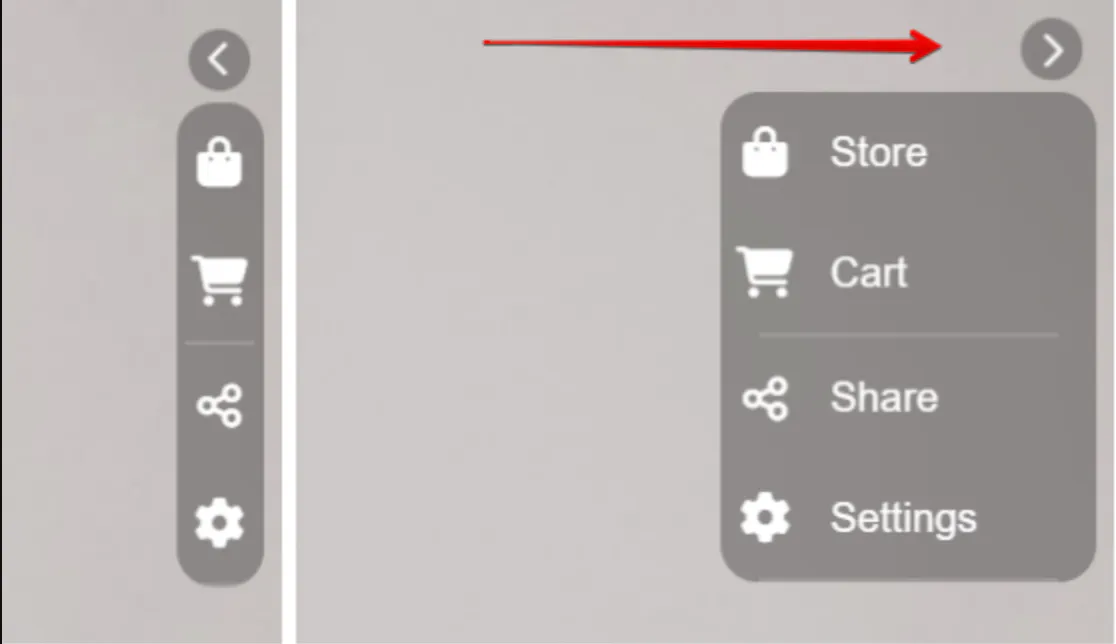
- Hide sidebar configs will hide the Settings option on the sidebar:
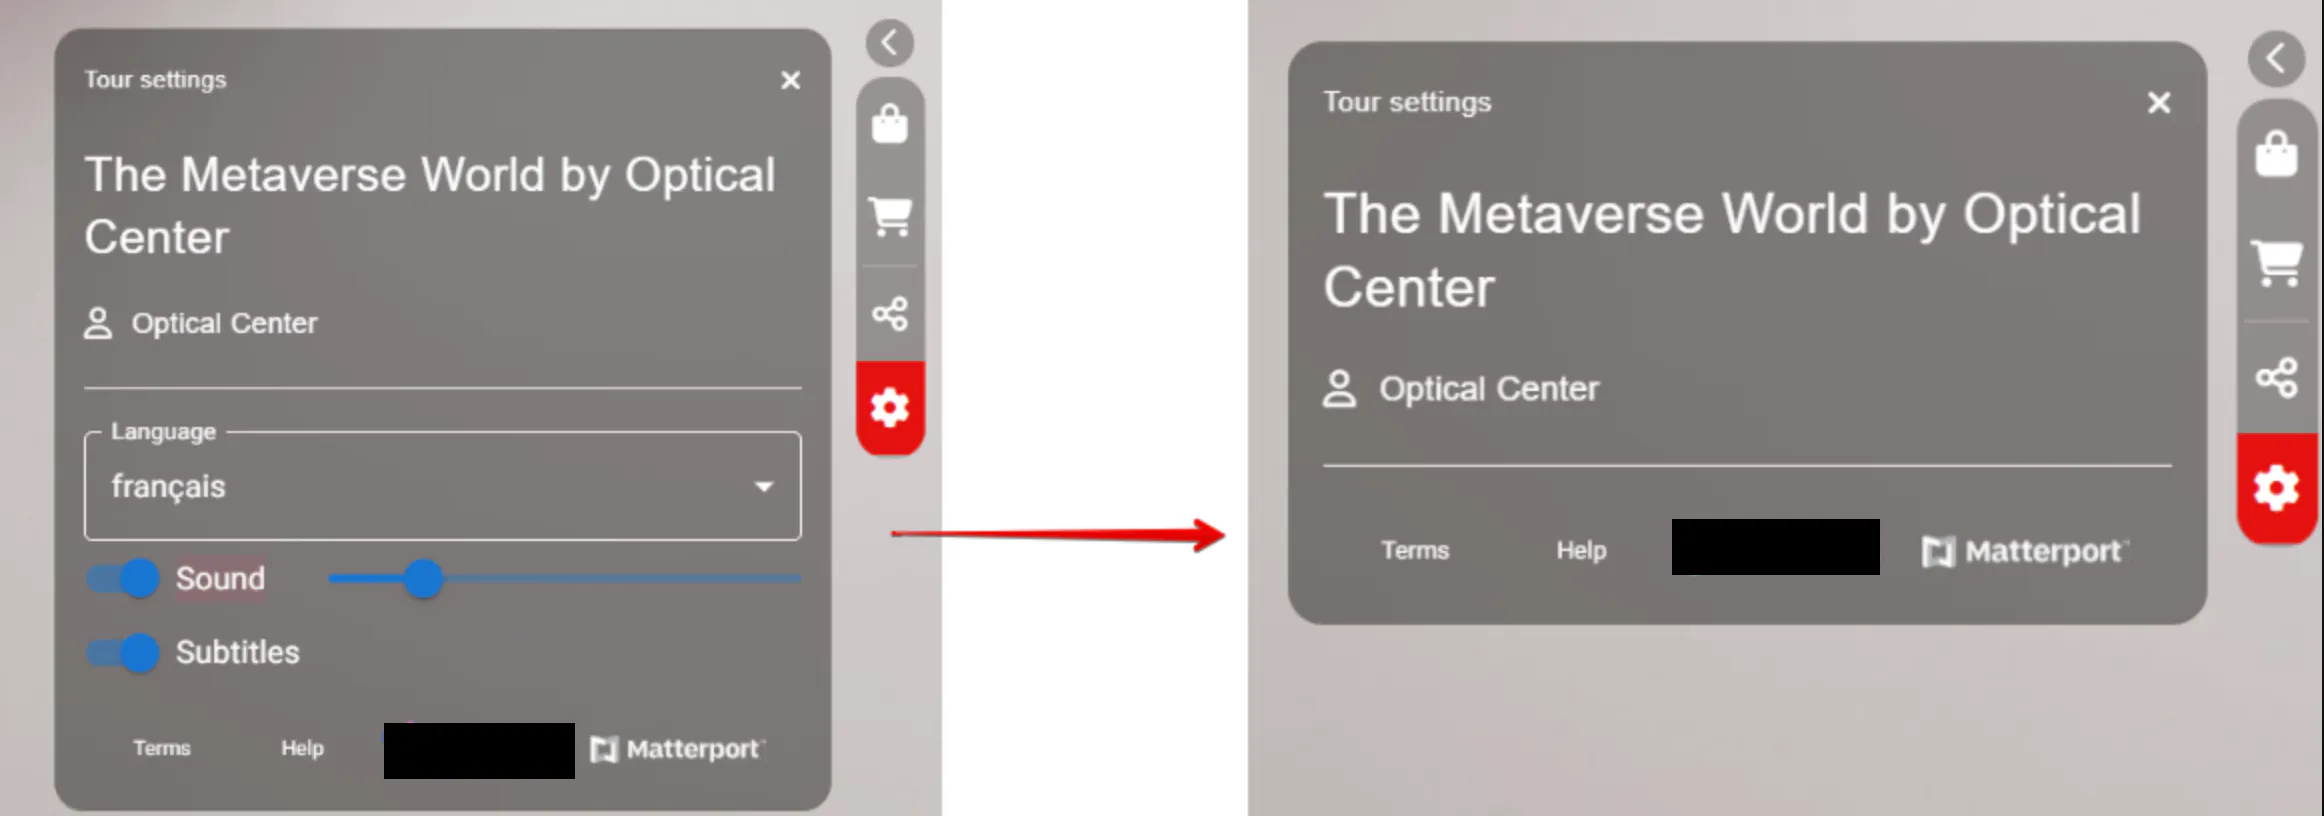
- Hide sound controls, Hide language select, and Hide subtitles select will disable the corresponding controls in the Settings option:
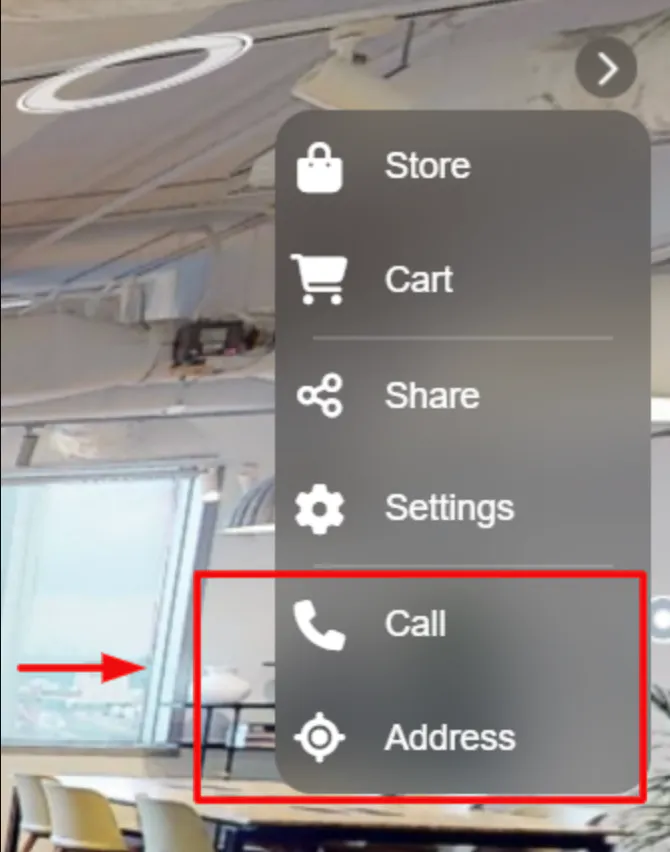
- If the phone number is set up for the Client and the icon Show sidebar call is enabled - the V-commerce sidebar will include a button that gives an option to call the number on click;
- Show sidebar address will show an icon that opens a location on Google Maps if the tour address is set up.