Articles in this section
Navigation Tool: Article
Virtualz platform introduces the most complete indoor Navigation Tool. This new feature provides an advanced editor mode for navigation control, rendering it a distinctive and invaluable solution for users seeking to optimize their navigation experience.
Navigation Tool is a premium feature available for Business and Enterprise plan users.
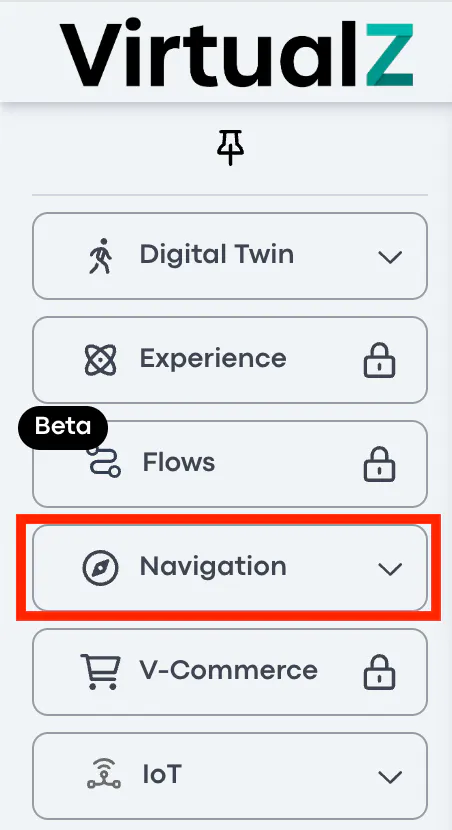
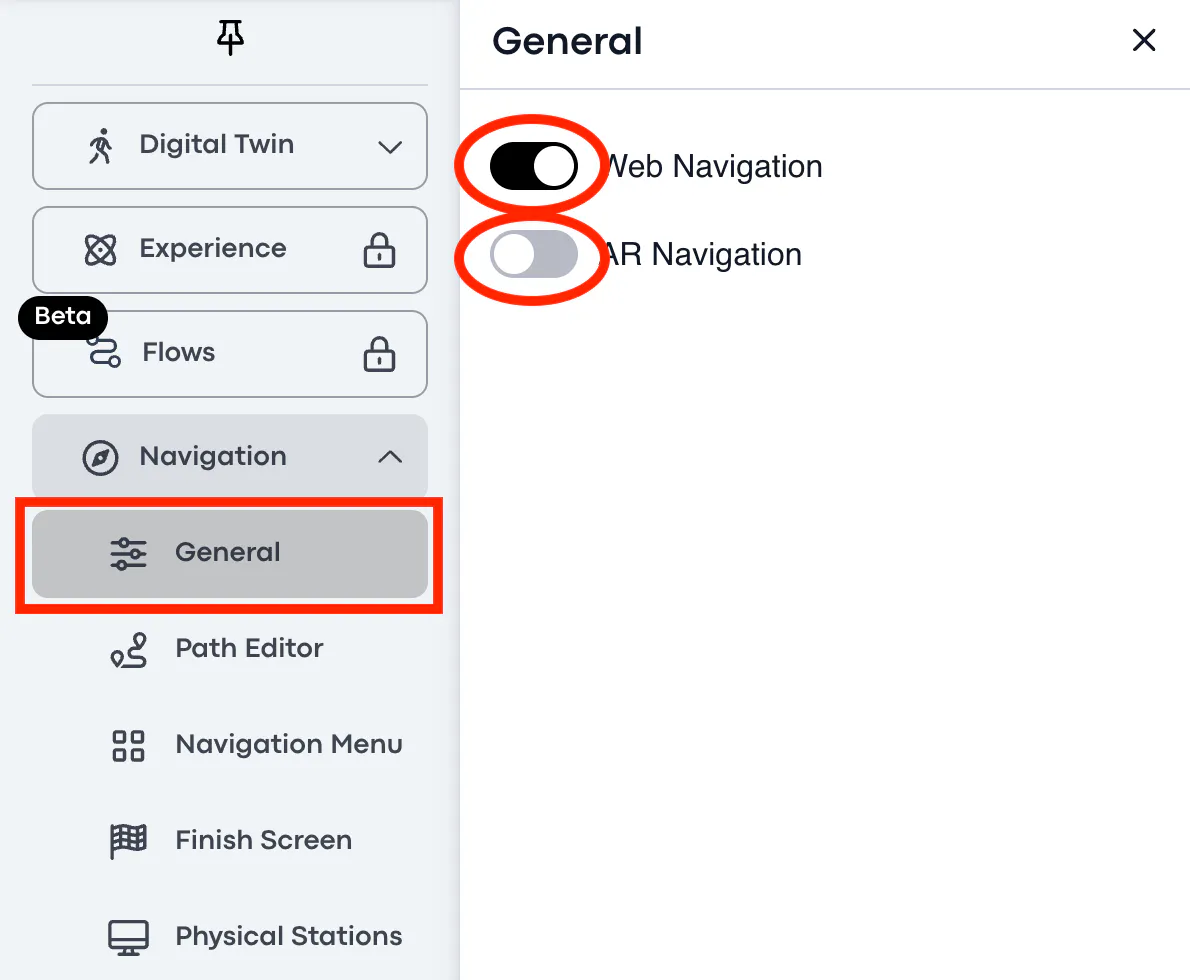
To access the Navigation Tool: open the tour > Workspace > click on Navigation add-on on the left side bar:
General
There are two modes available for the Navigation Tool: Web and AR. You can enable one or both options per your needs.
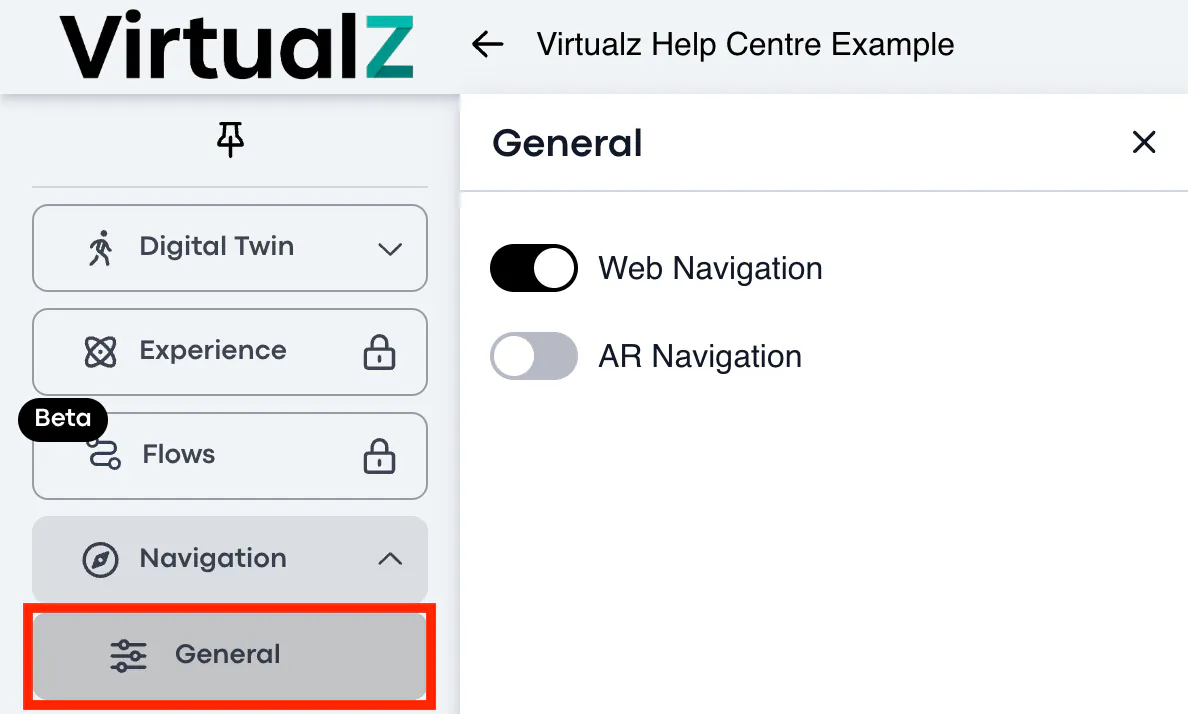
- Web navigation - provides a possibility to get your navigation path remotely (on desktop and mobile view).
- AR navigation - requires the physical presence in the tour and can be used on mobile device after downloading the Virtualz AR app.
Note: Turning the Web navigation ON will disable Burger Menu, Highlight
Reel, Minimap and Panorama. These features can't work simultaneously with
the Web mode.
Path Editor
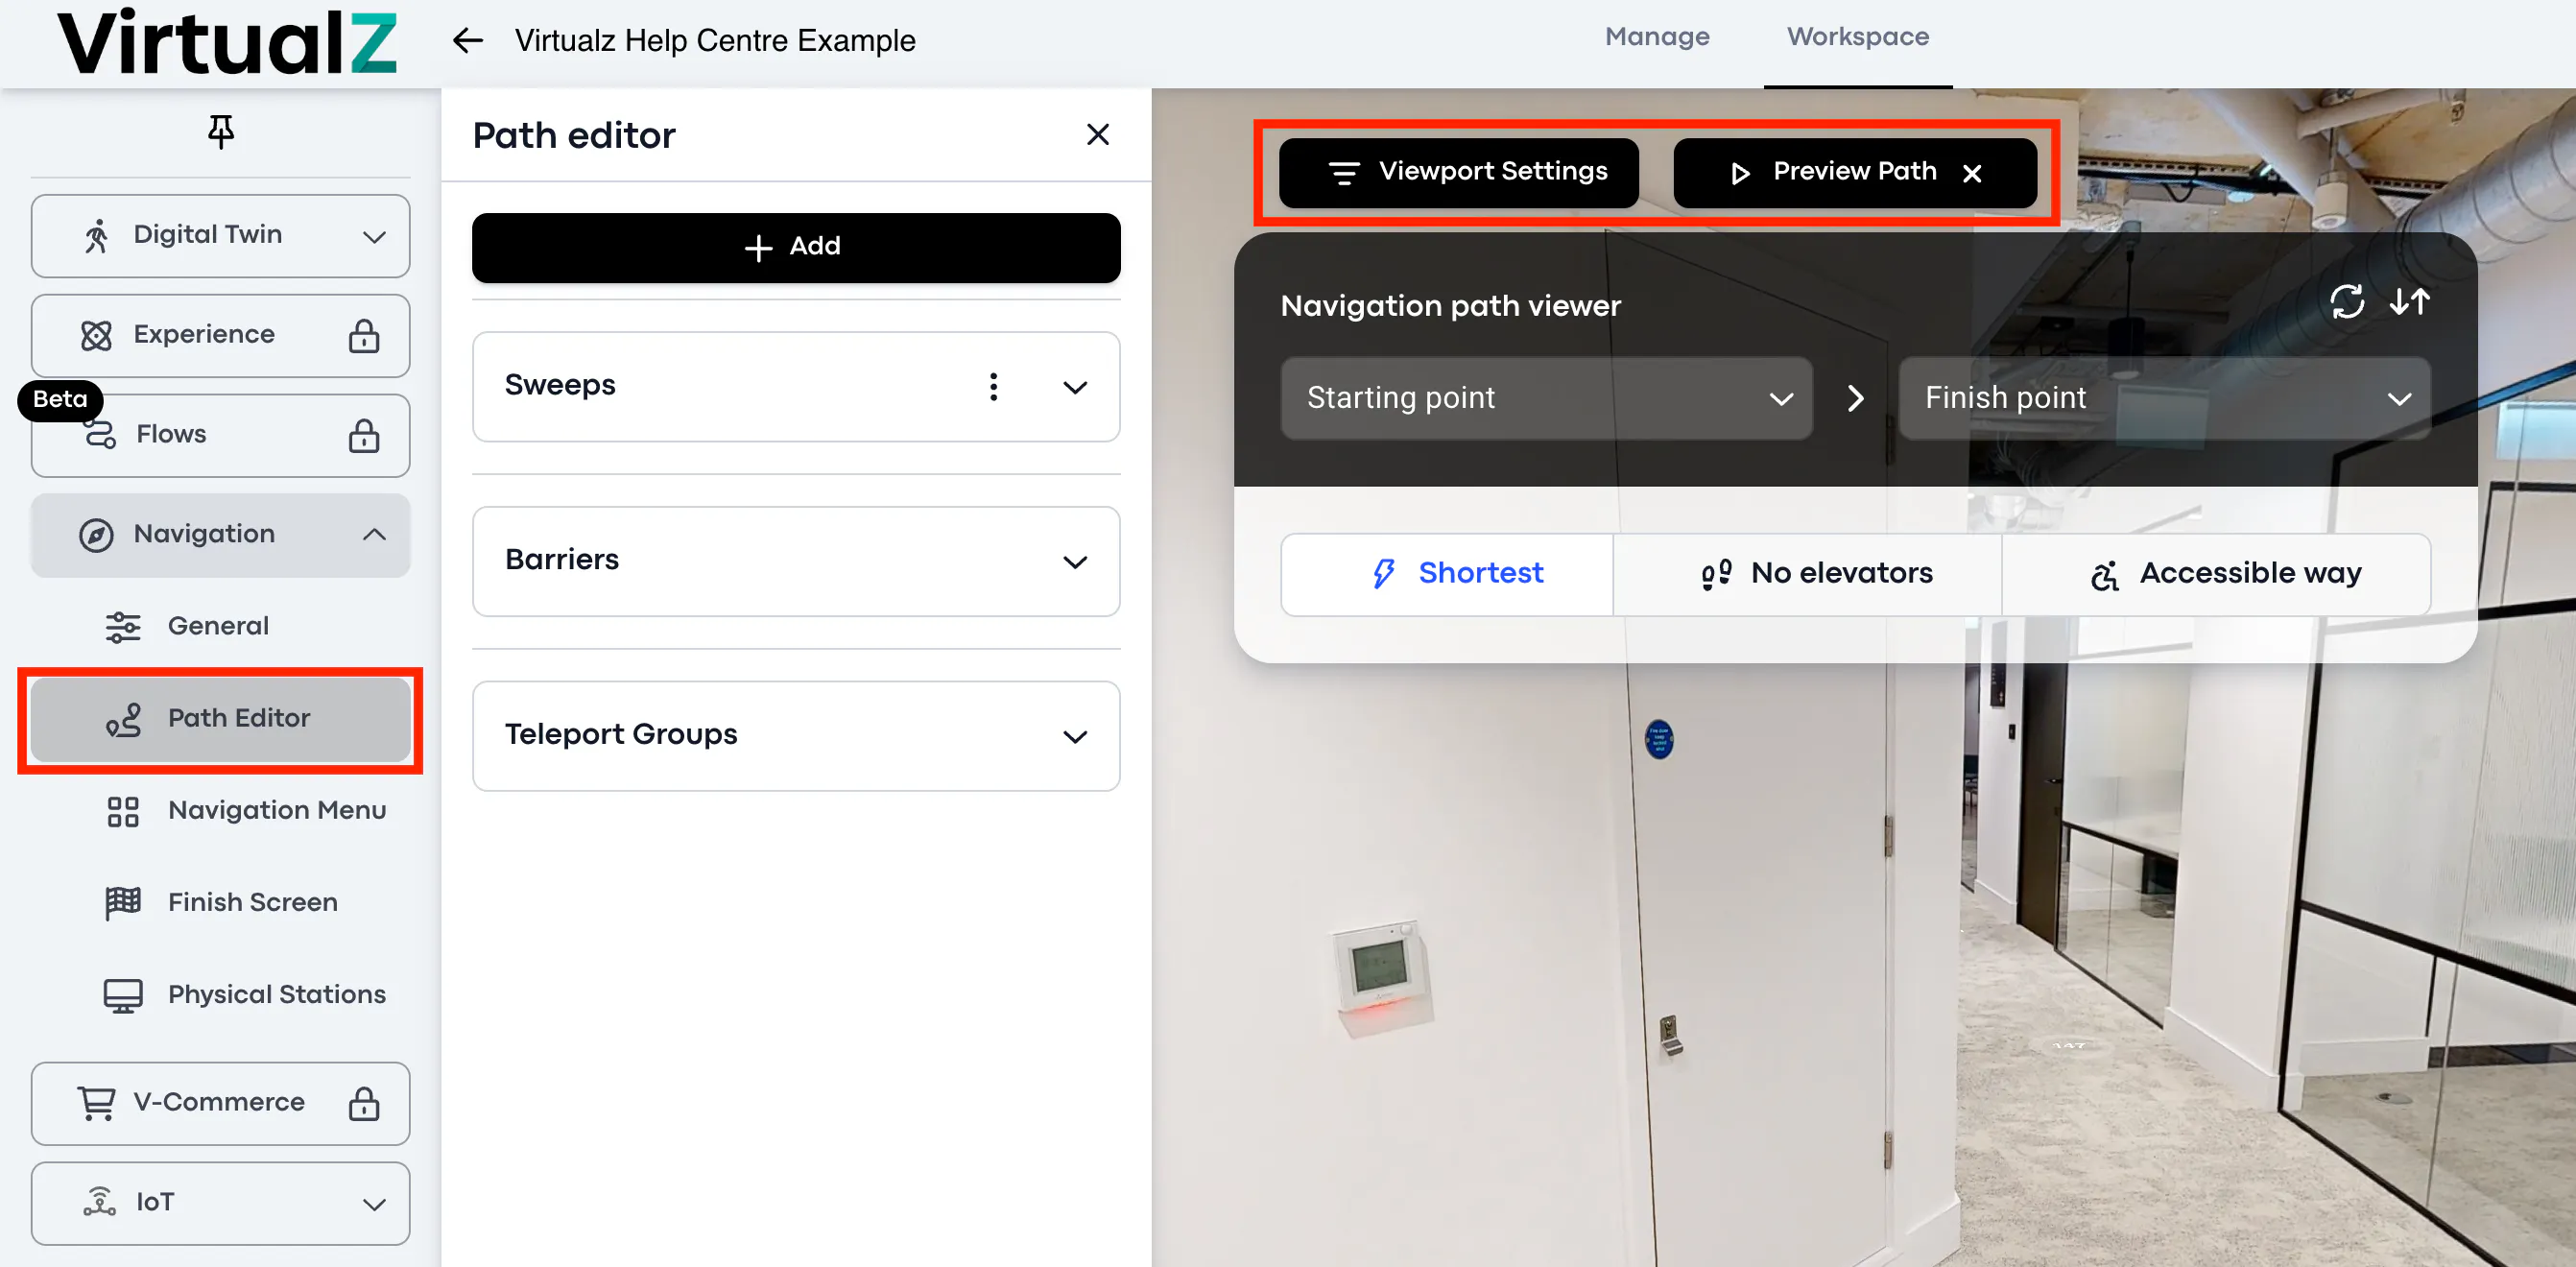
The Path Editor introduces a viewer which helps to model the navigation path to understand how it will be built in the tour, and to check if no obstacles are on the way.
Note: Path Editor will be displayed on the panel only after you have enabled the navigation mode (AR or Web) in General settings.
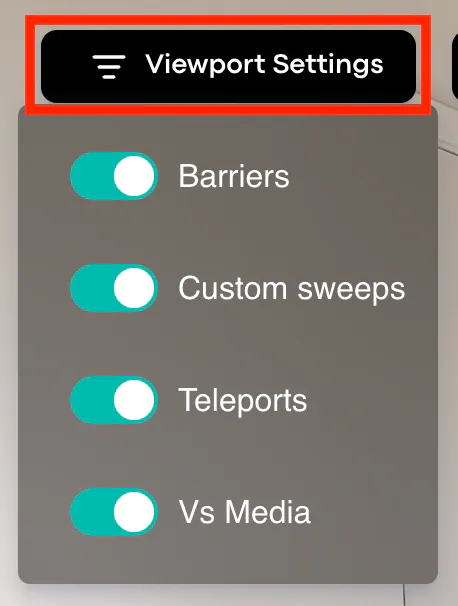
The Path Editor offers the 'Viewport Settings' and 'Preview Path' which are visible in the workspace.
Viewport Settings are needed, if you want to hide the specific items (barriers, sweeps, teleports or VS media) in your workspace section. Simply saying, if the items are too many and they interfere your working process, you can disable them for yourself, however, they still will be working / visible in the tour.
Preview Path offers the 'Starting point' and 'Finish point' to build the path between 2 locations in the tour. You can select from the list of the already existing locations (tags) in your tour or put the custom locations to understand how the path is built to the destination spot.
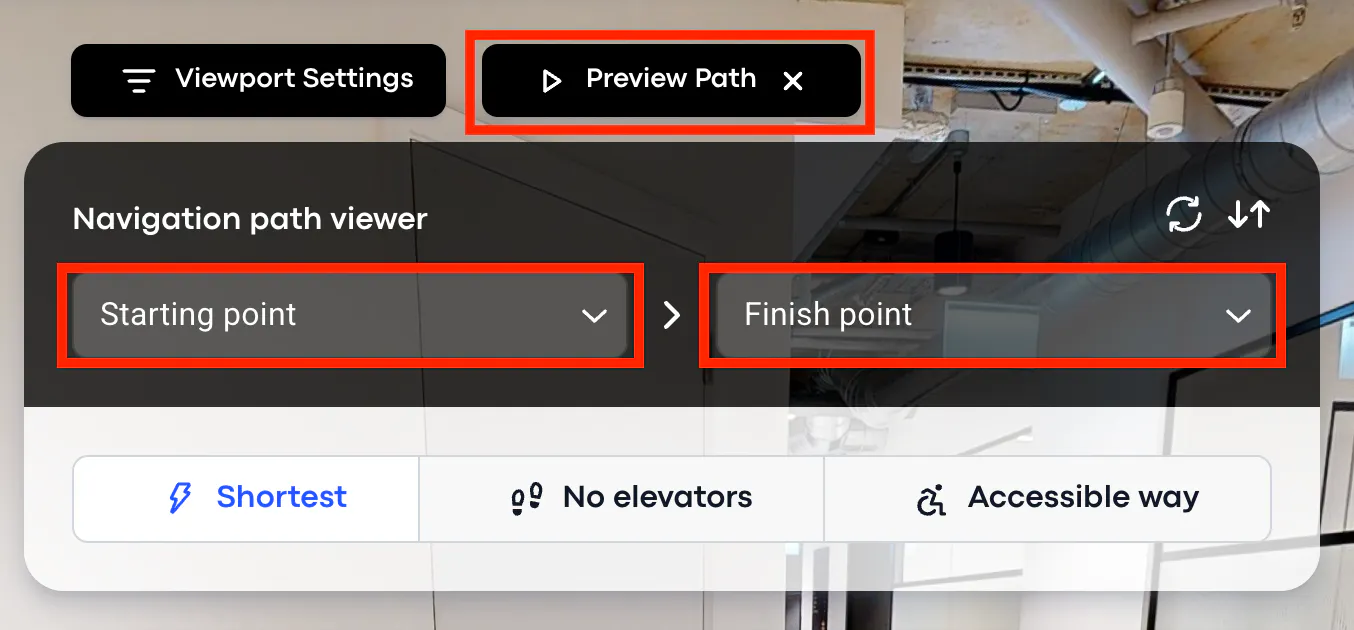
The path itself can be automatically built via 3 modes:
- Shortest - to build the shortest / fastest route possible using an elevator.
- No elevators - to build the route which will take the stairs and avoid an elevator.
- Accessible way - is to be developed yet.
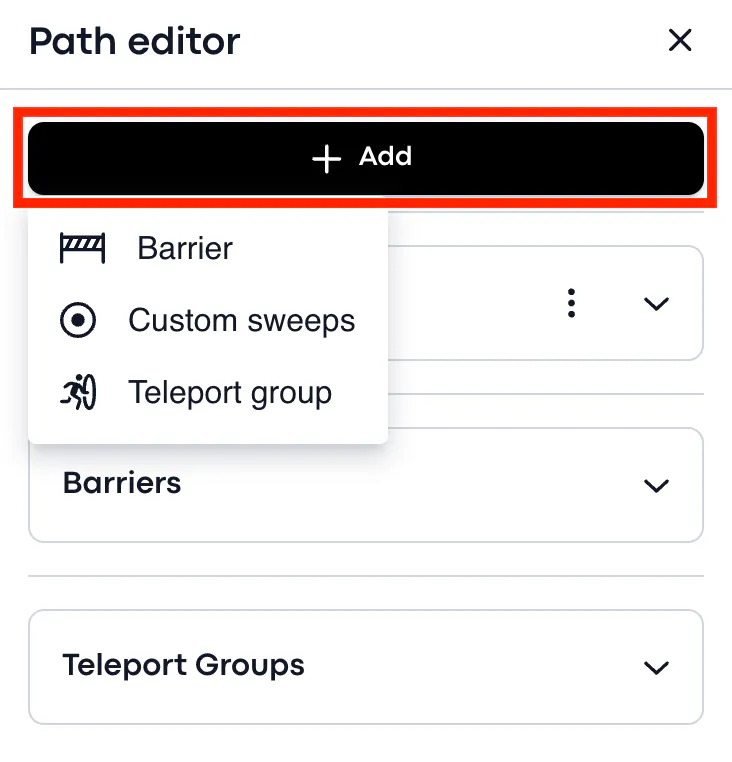
If you don't like the path that was generated automatically or you need to correct the path manually to have an alternative way, the Path Editor allows to do so with the help of custom sweeps, barriers and teleports.
Sweeps
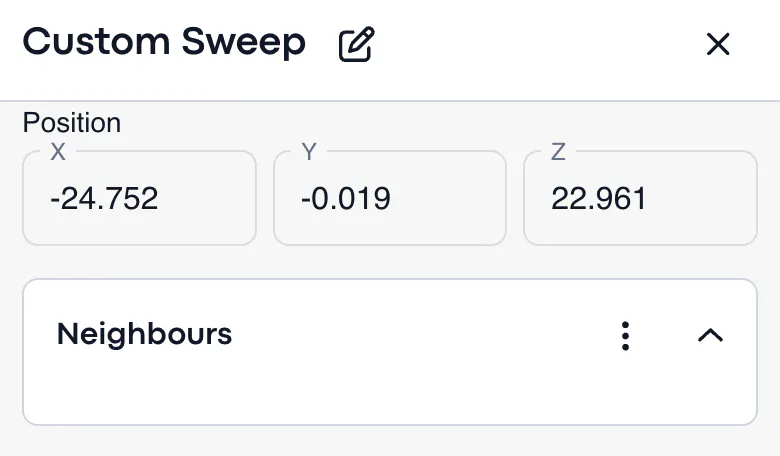
The system builds the navigation path to the final destination using the existing sweeps in your tour. If you want to re-build or edit the path manually, you can add your own custom sweep(s) and connect them to the neighbor sweeps to build your own path.
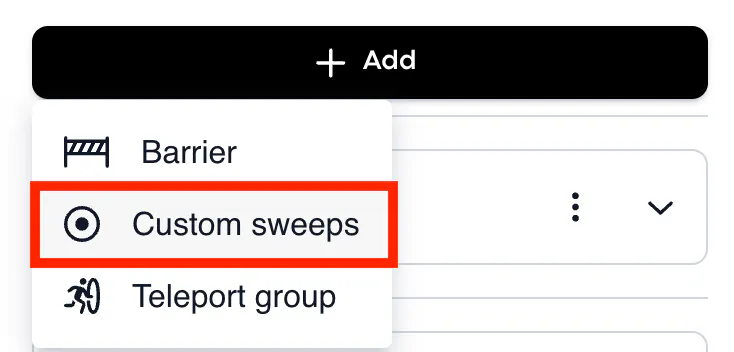
To create the custom sweep, click + Add and put it on the path that should be corrected or changed.
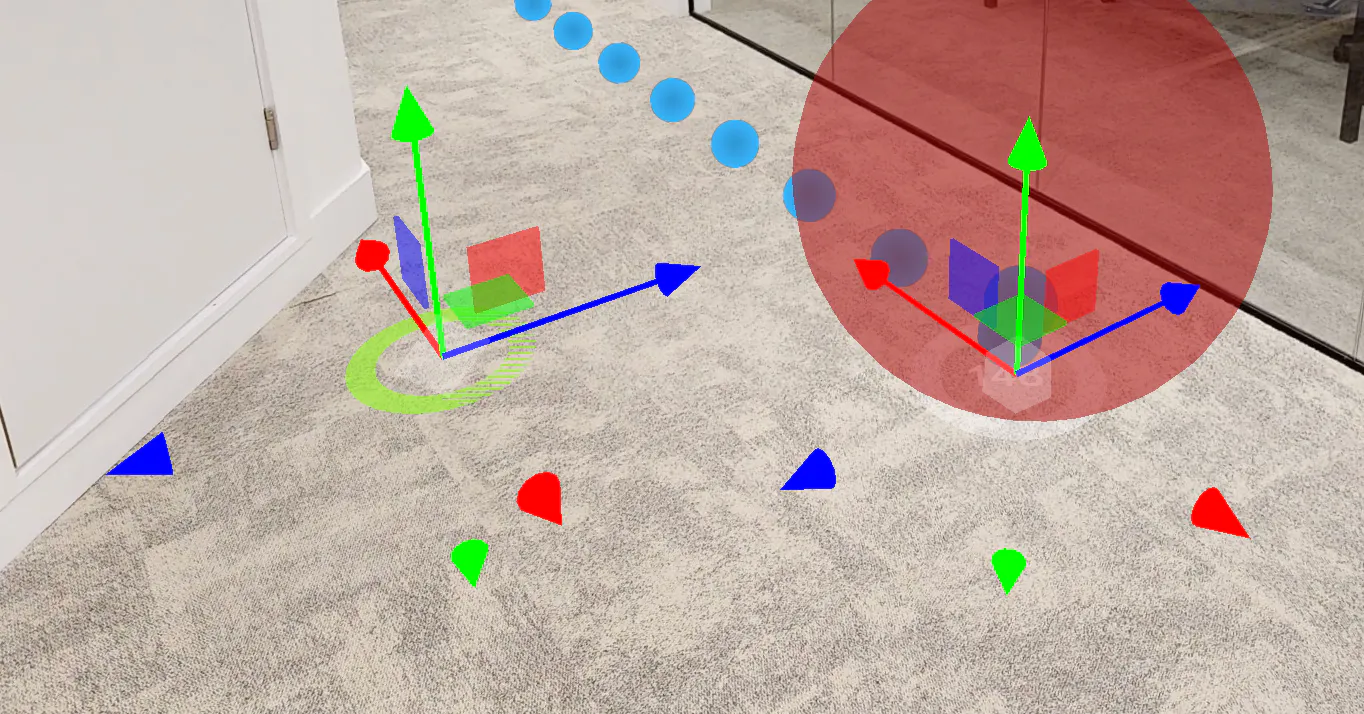
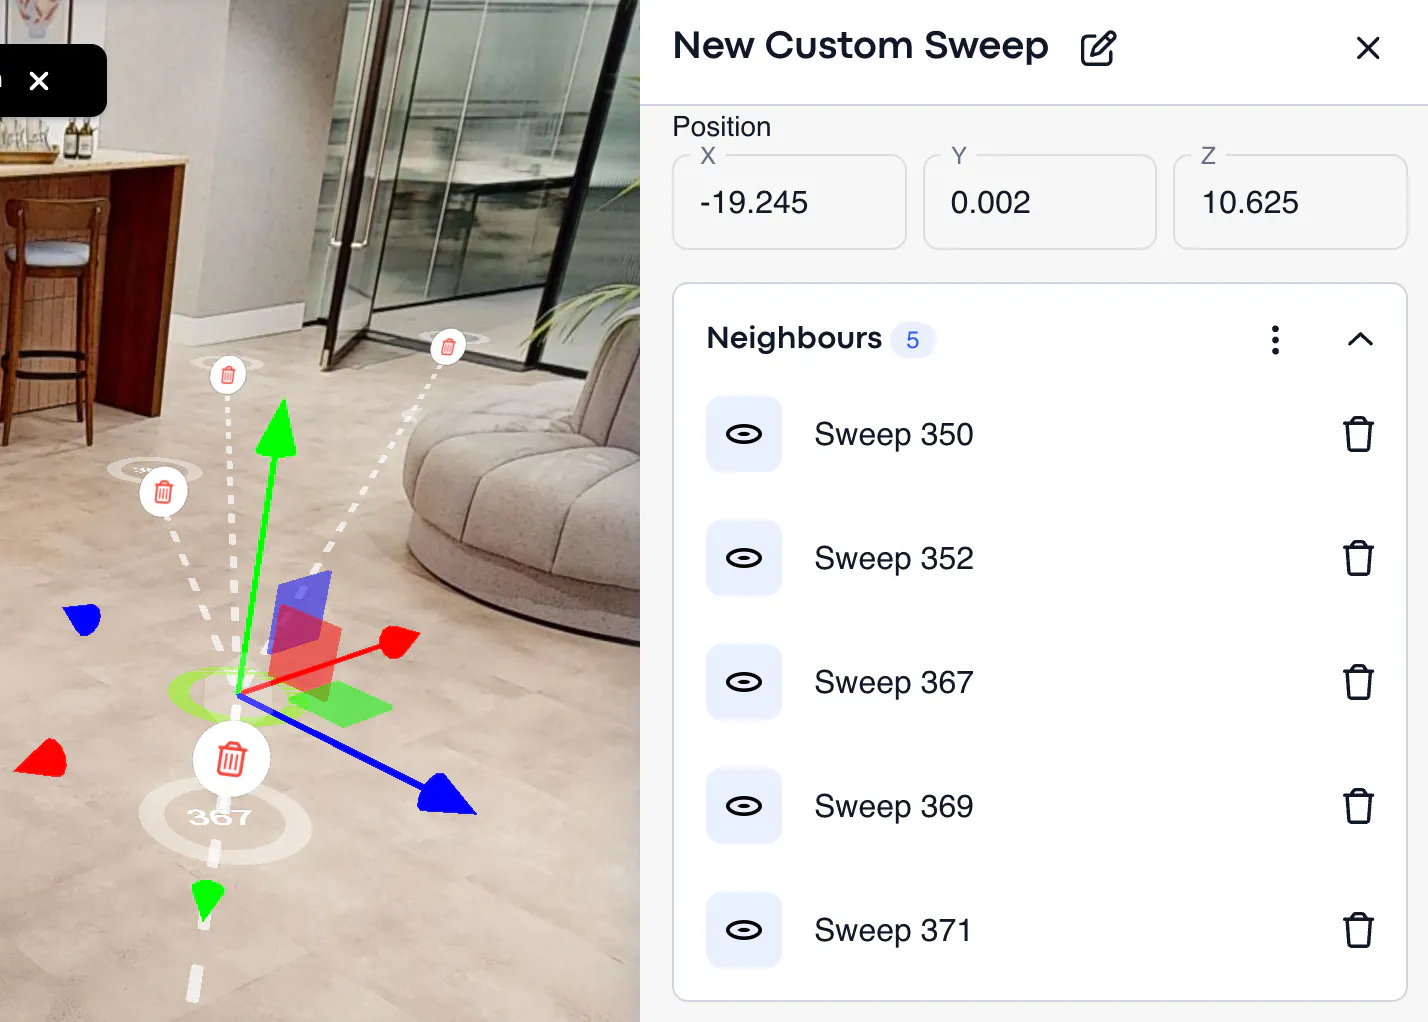
Then click on the neighbour sweep(s) to connect the newly-added custom sweep and save. That's it, the system will automatically build the new path, which takes the custom sweep(s) into consideration.
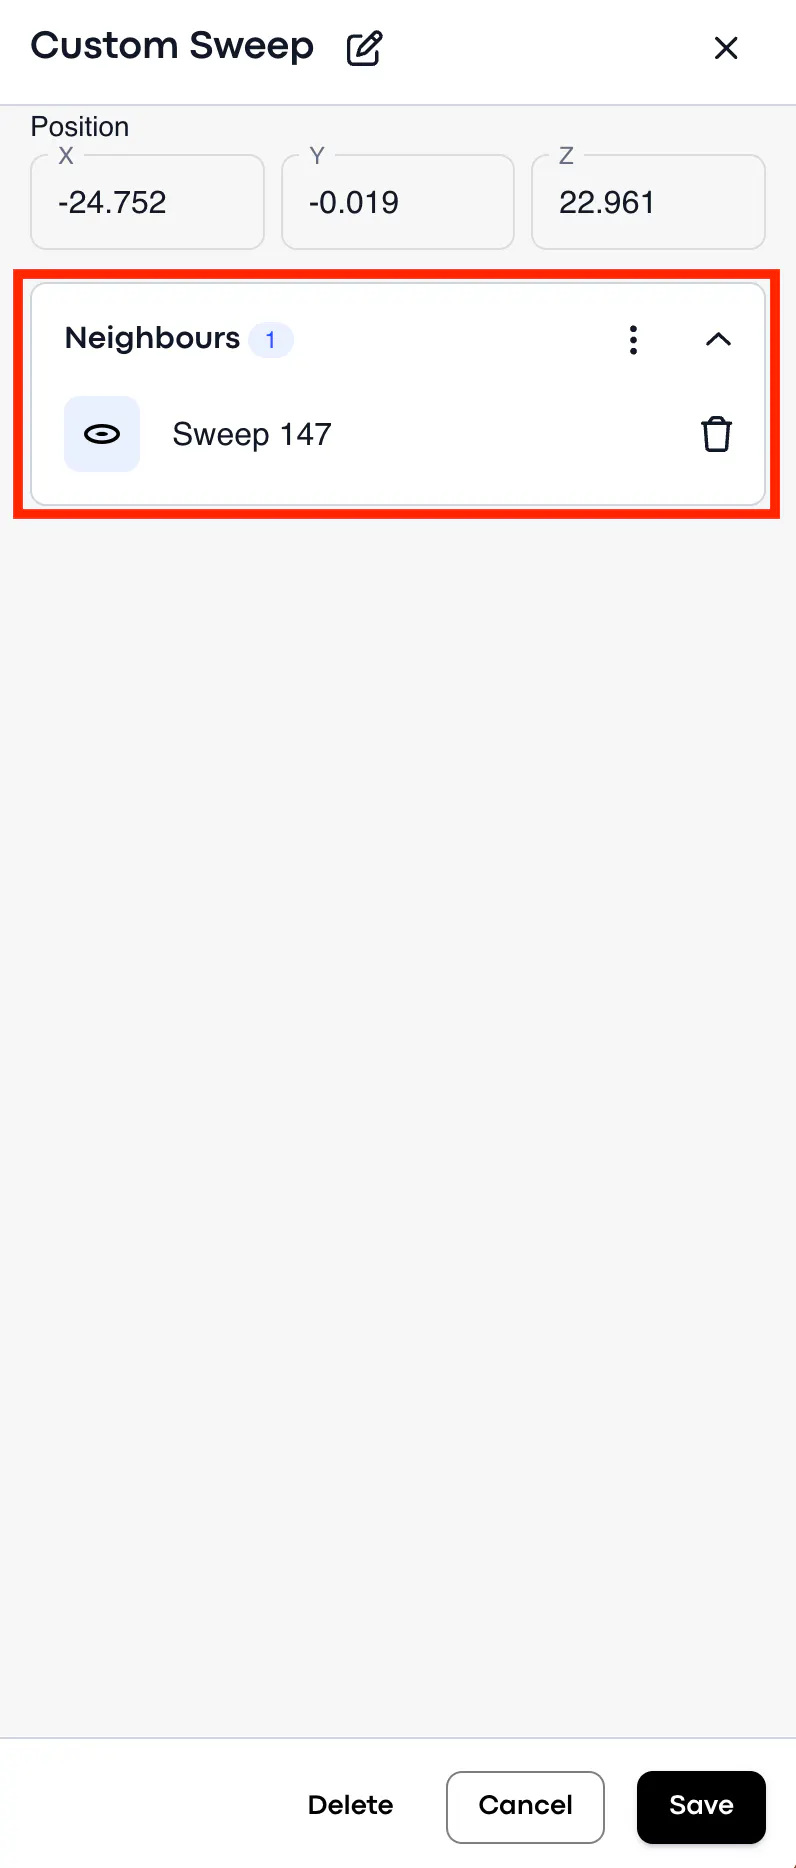
You can also disable and/or connect the really-existing sweeps on your tour (not custom sweeps), if you need to edit the path per your needs. When you click on the 'dust bin', it will remove the connection between the sweeps, and will make the system avoid the "deleted" sweep while building the path.
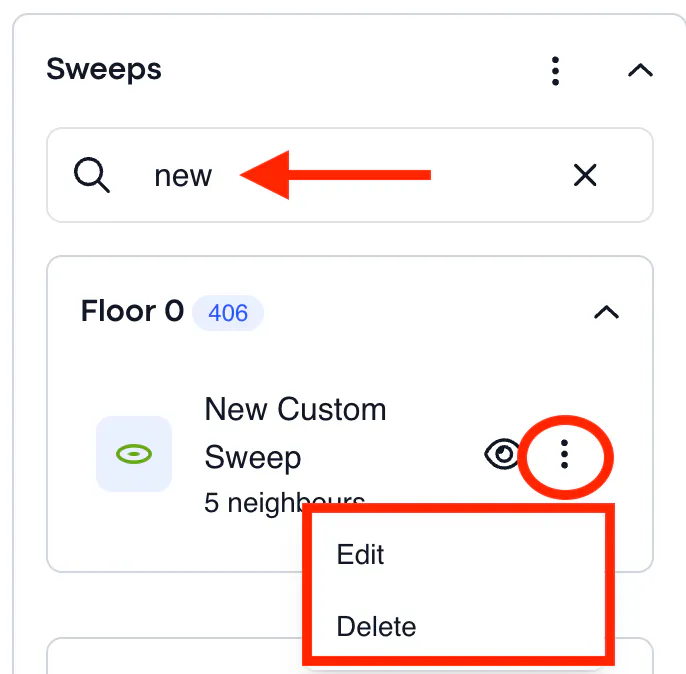
Use a search bar to find the custom sweep(s) and edit or delete it.
Barriers
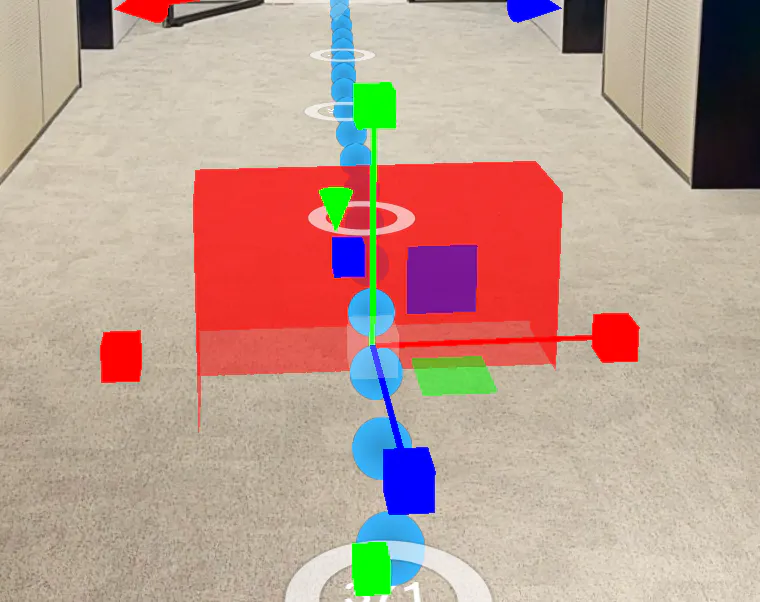
Barrier is a polygon that functions as a 'block' and can be put on the path. When the barrier is put, the system will generate an alternative way to get to the destination place and at the same time avoid the path that is blocked.
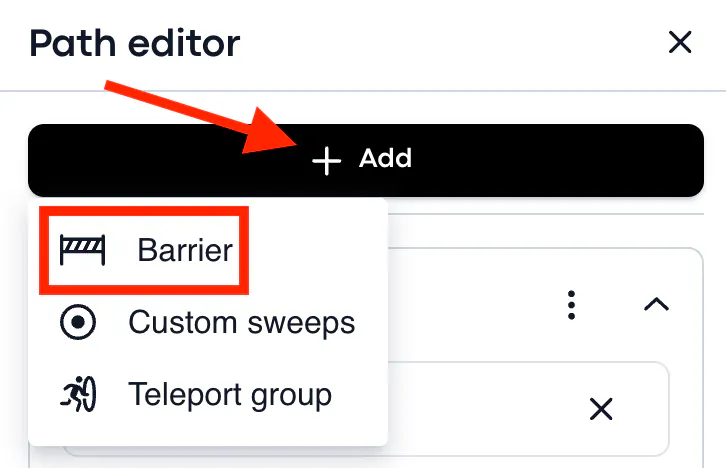
To put a barrier, click + Add and put the polygon on the way that should be avoided, for example, if the path is leading you through the ceiling or window etc.
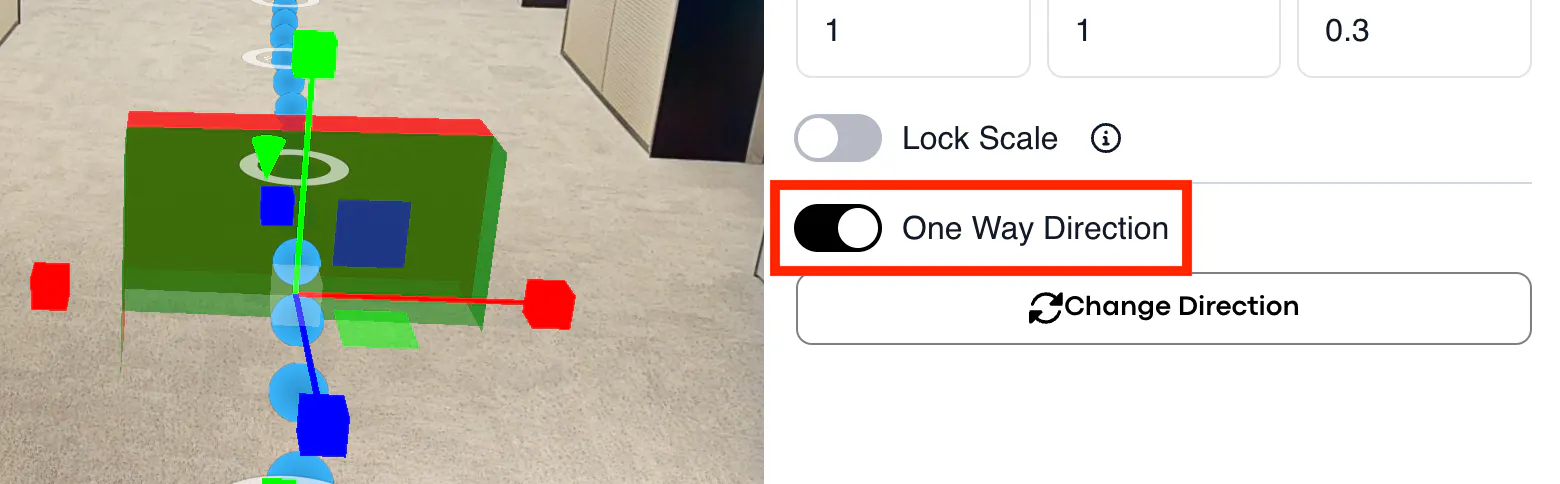
The barrier doesn't necessarily block the whole path, it can also allow 'one-way direction'. It means, if the tour visitor moves one direction, the path with a barrier will be closed for him/her, but backward direction still will be possible.
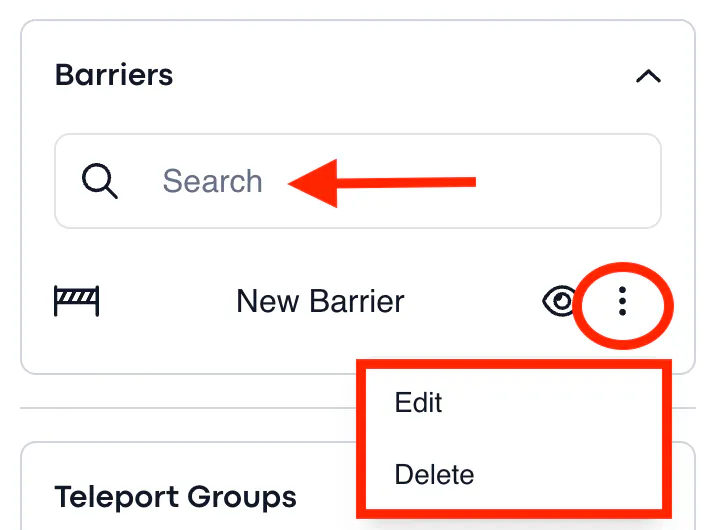
Use a search bar to find the barrier and edit or delete it.
Teleports
Teleports exist for elevators. This feature will help to build the correct path between the floors when there is an elevator in the building. To make the system build the path taking the elevator(s) into account, you need to place the 'teleport point' on each floor, which you want to be involved in the path calculation.
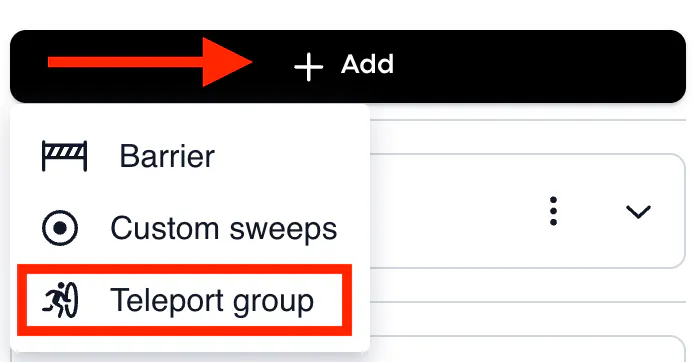
To add the teleport point, click + Add and select the 'Teleport group'. Place the teleport point next to the needed elevator.
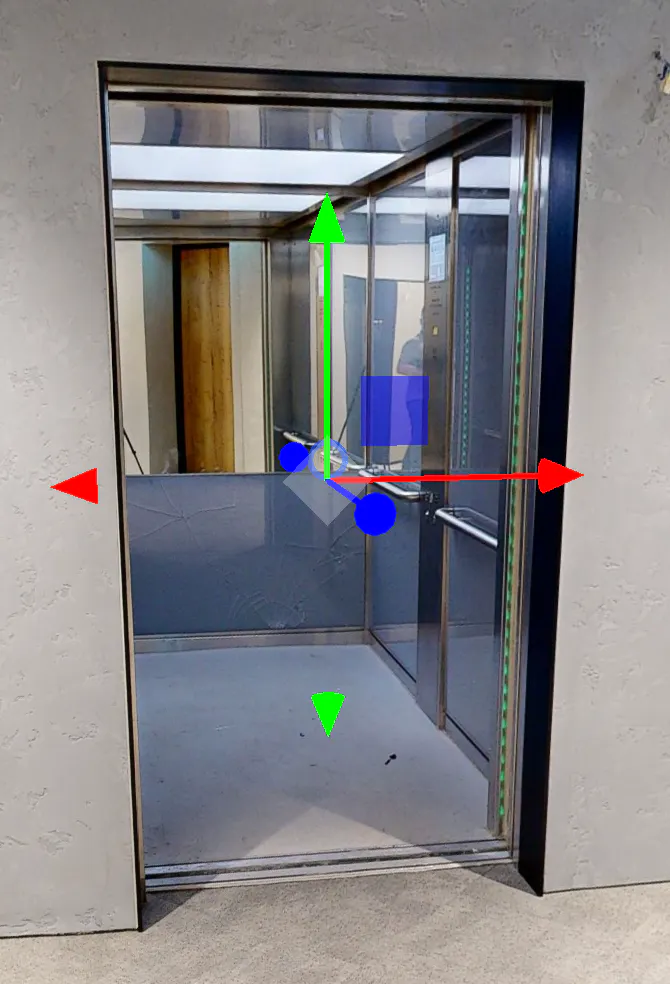
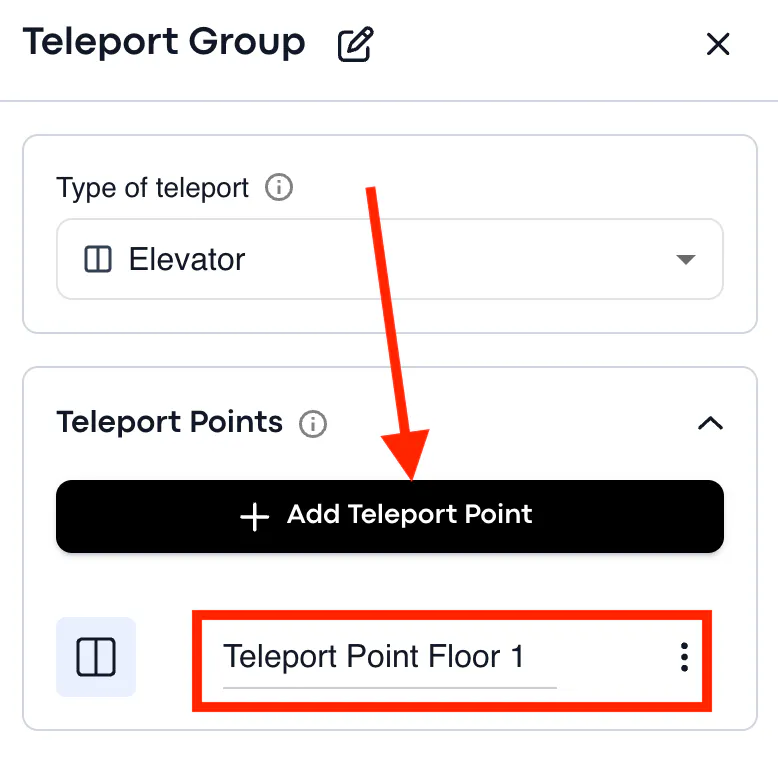
For example, to create a teleport group from the Floor 1 to Floor 8, you will need to place the first teleport point next to the elevator on the Floor 1, second - on the Floor 2, third - on the Floor 3, etc. The system should 'understand' that there is an elevator in the tour and consider each teleport point to build the path accordingly.
- The dollhouse view in the workspace allows to move between the floors and place the teleport points next to the elevators.
- It is recommended to put the teleport points on the vertical surface (e.g. elevator door) instead of the scans/sweeps.
If there is no elevator in the building (scanned space), you still can use the teleports to build the path. If you put the teleport groups on the staircase, the system will not display the path through the stairs, but will show up the animation to users as if they have entered the elevator.
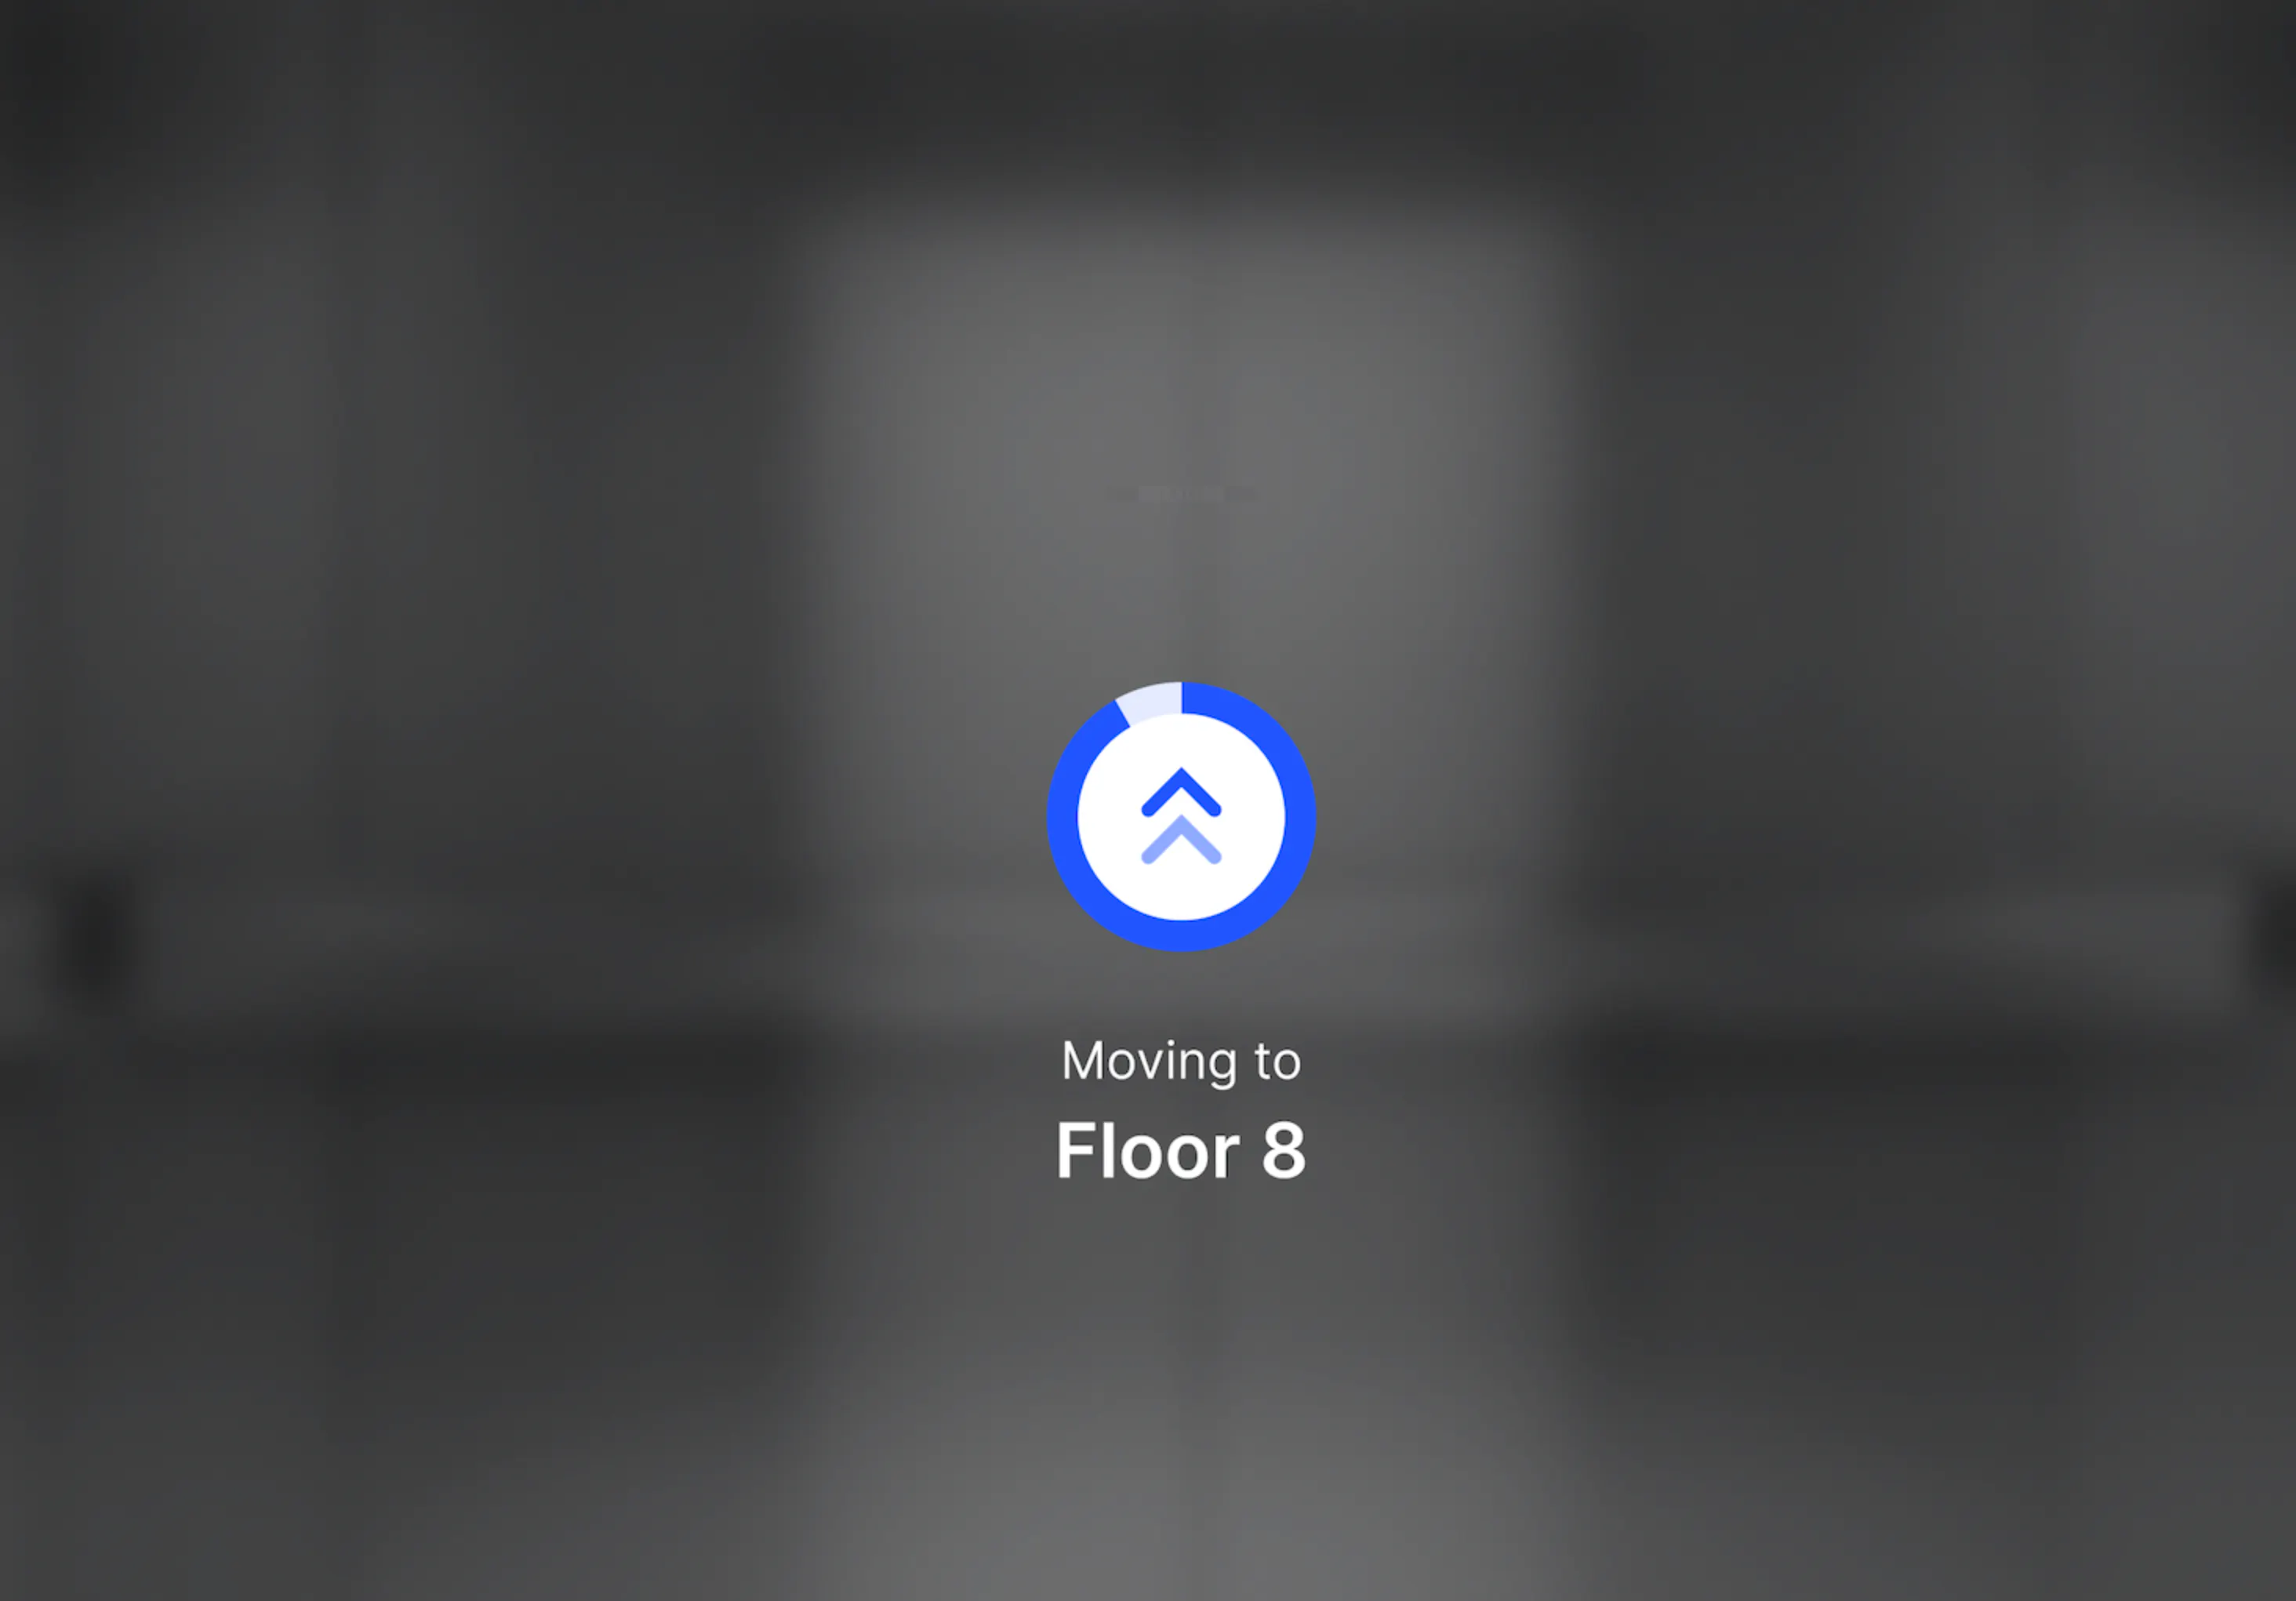
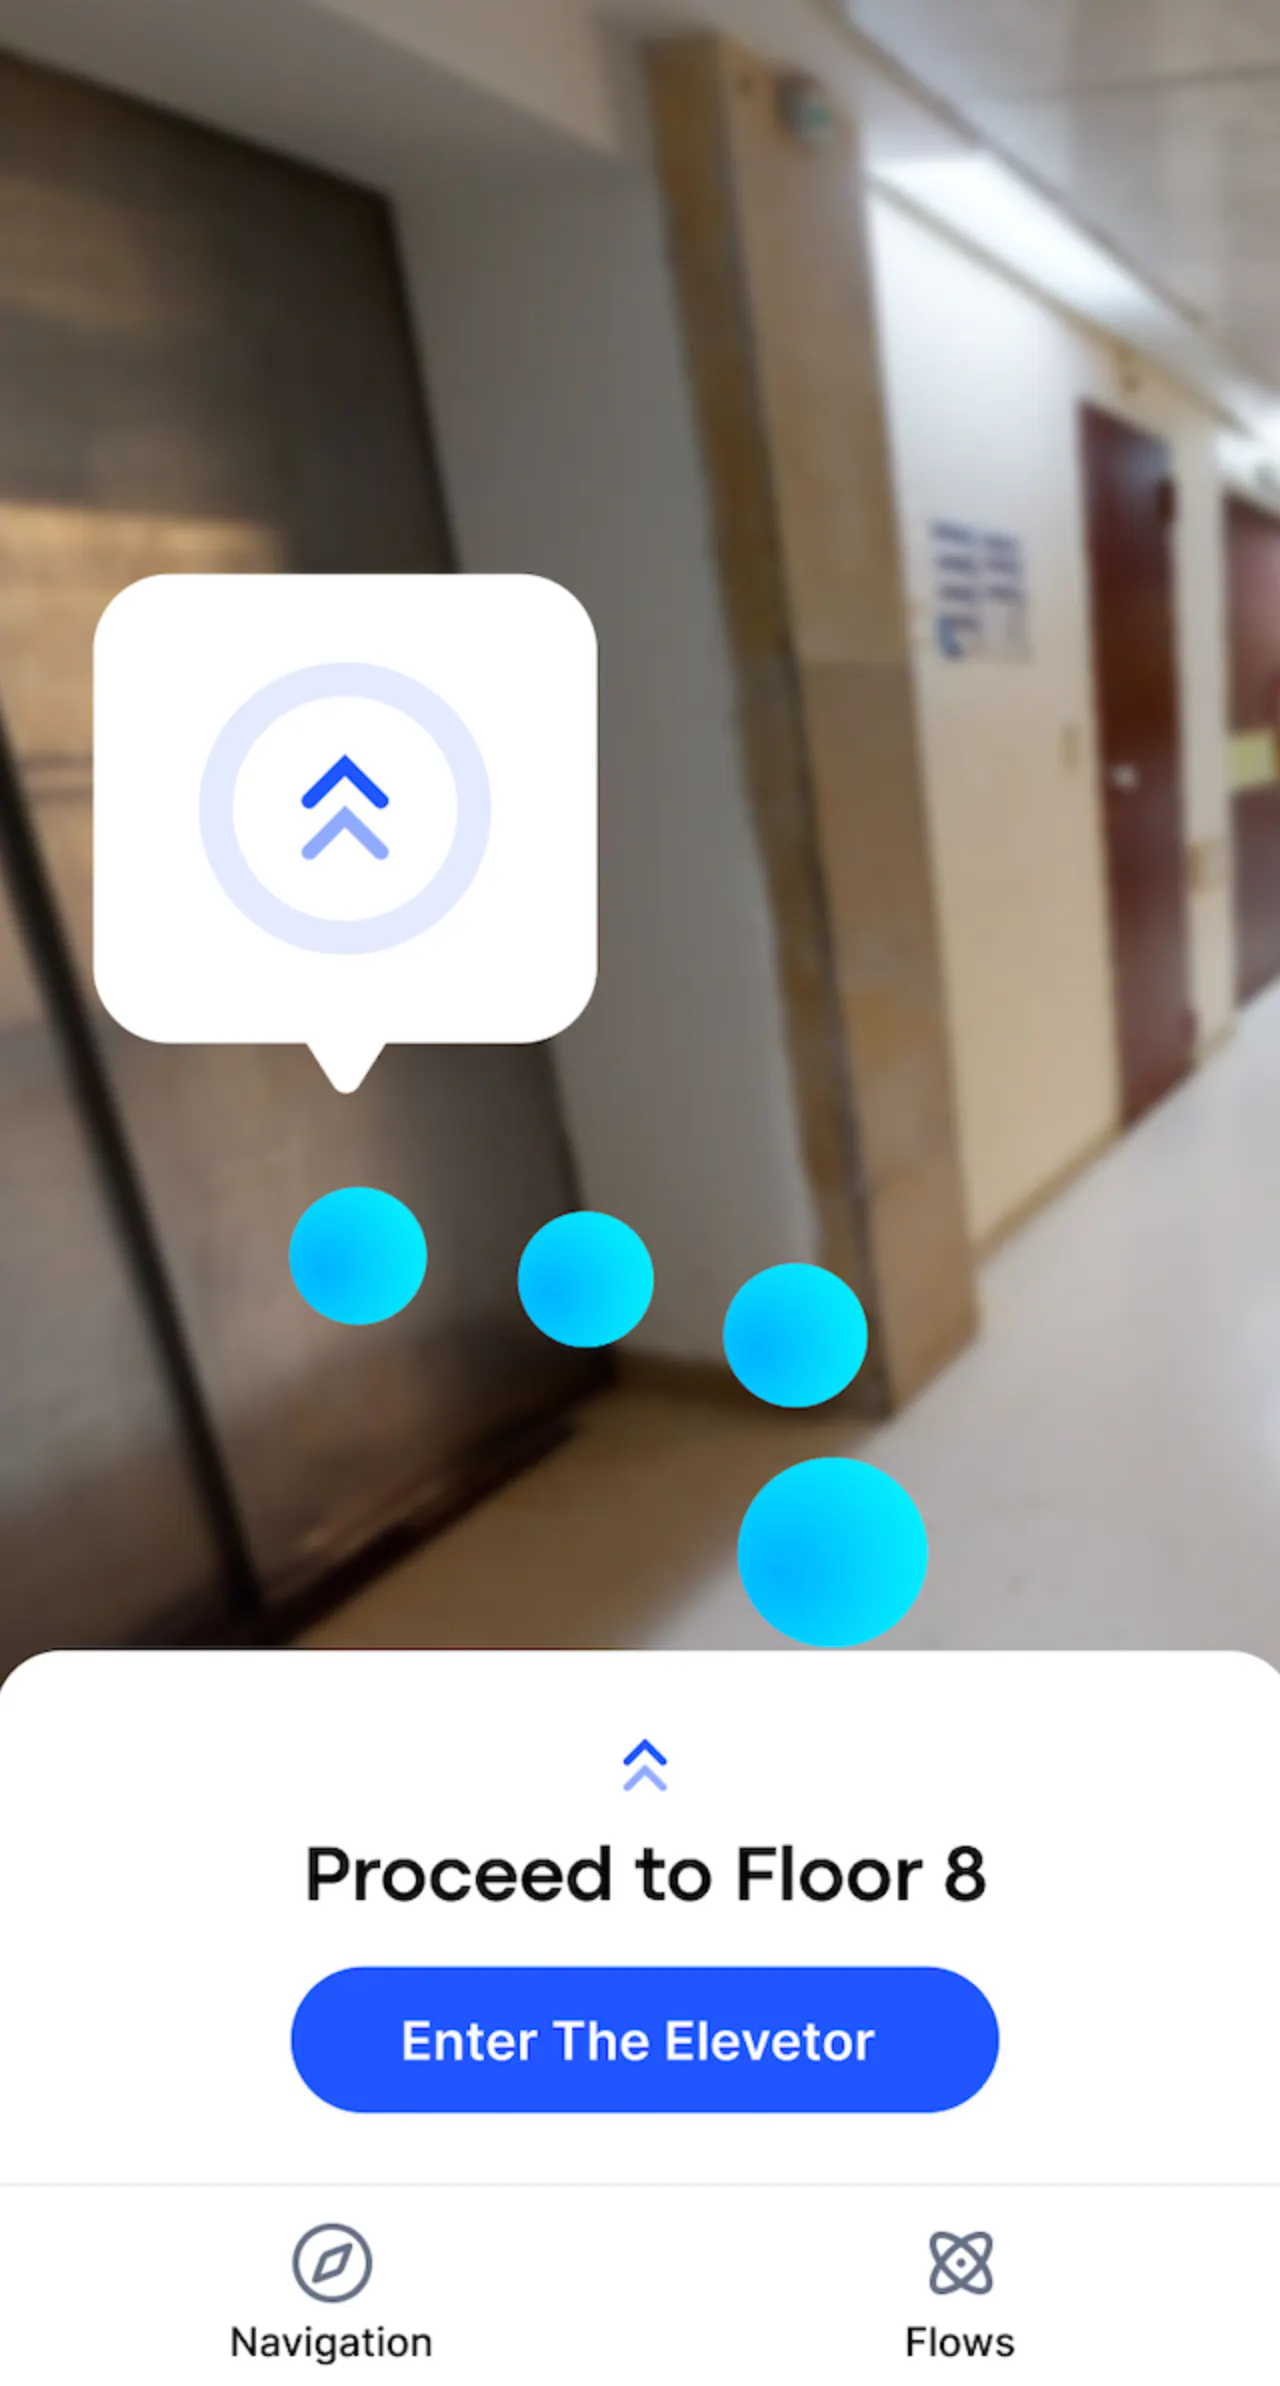
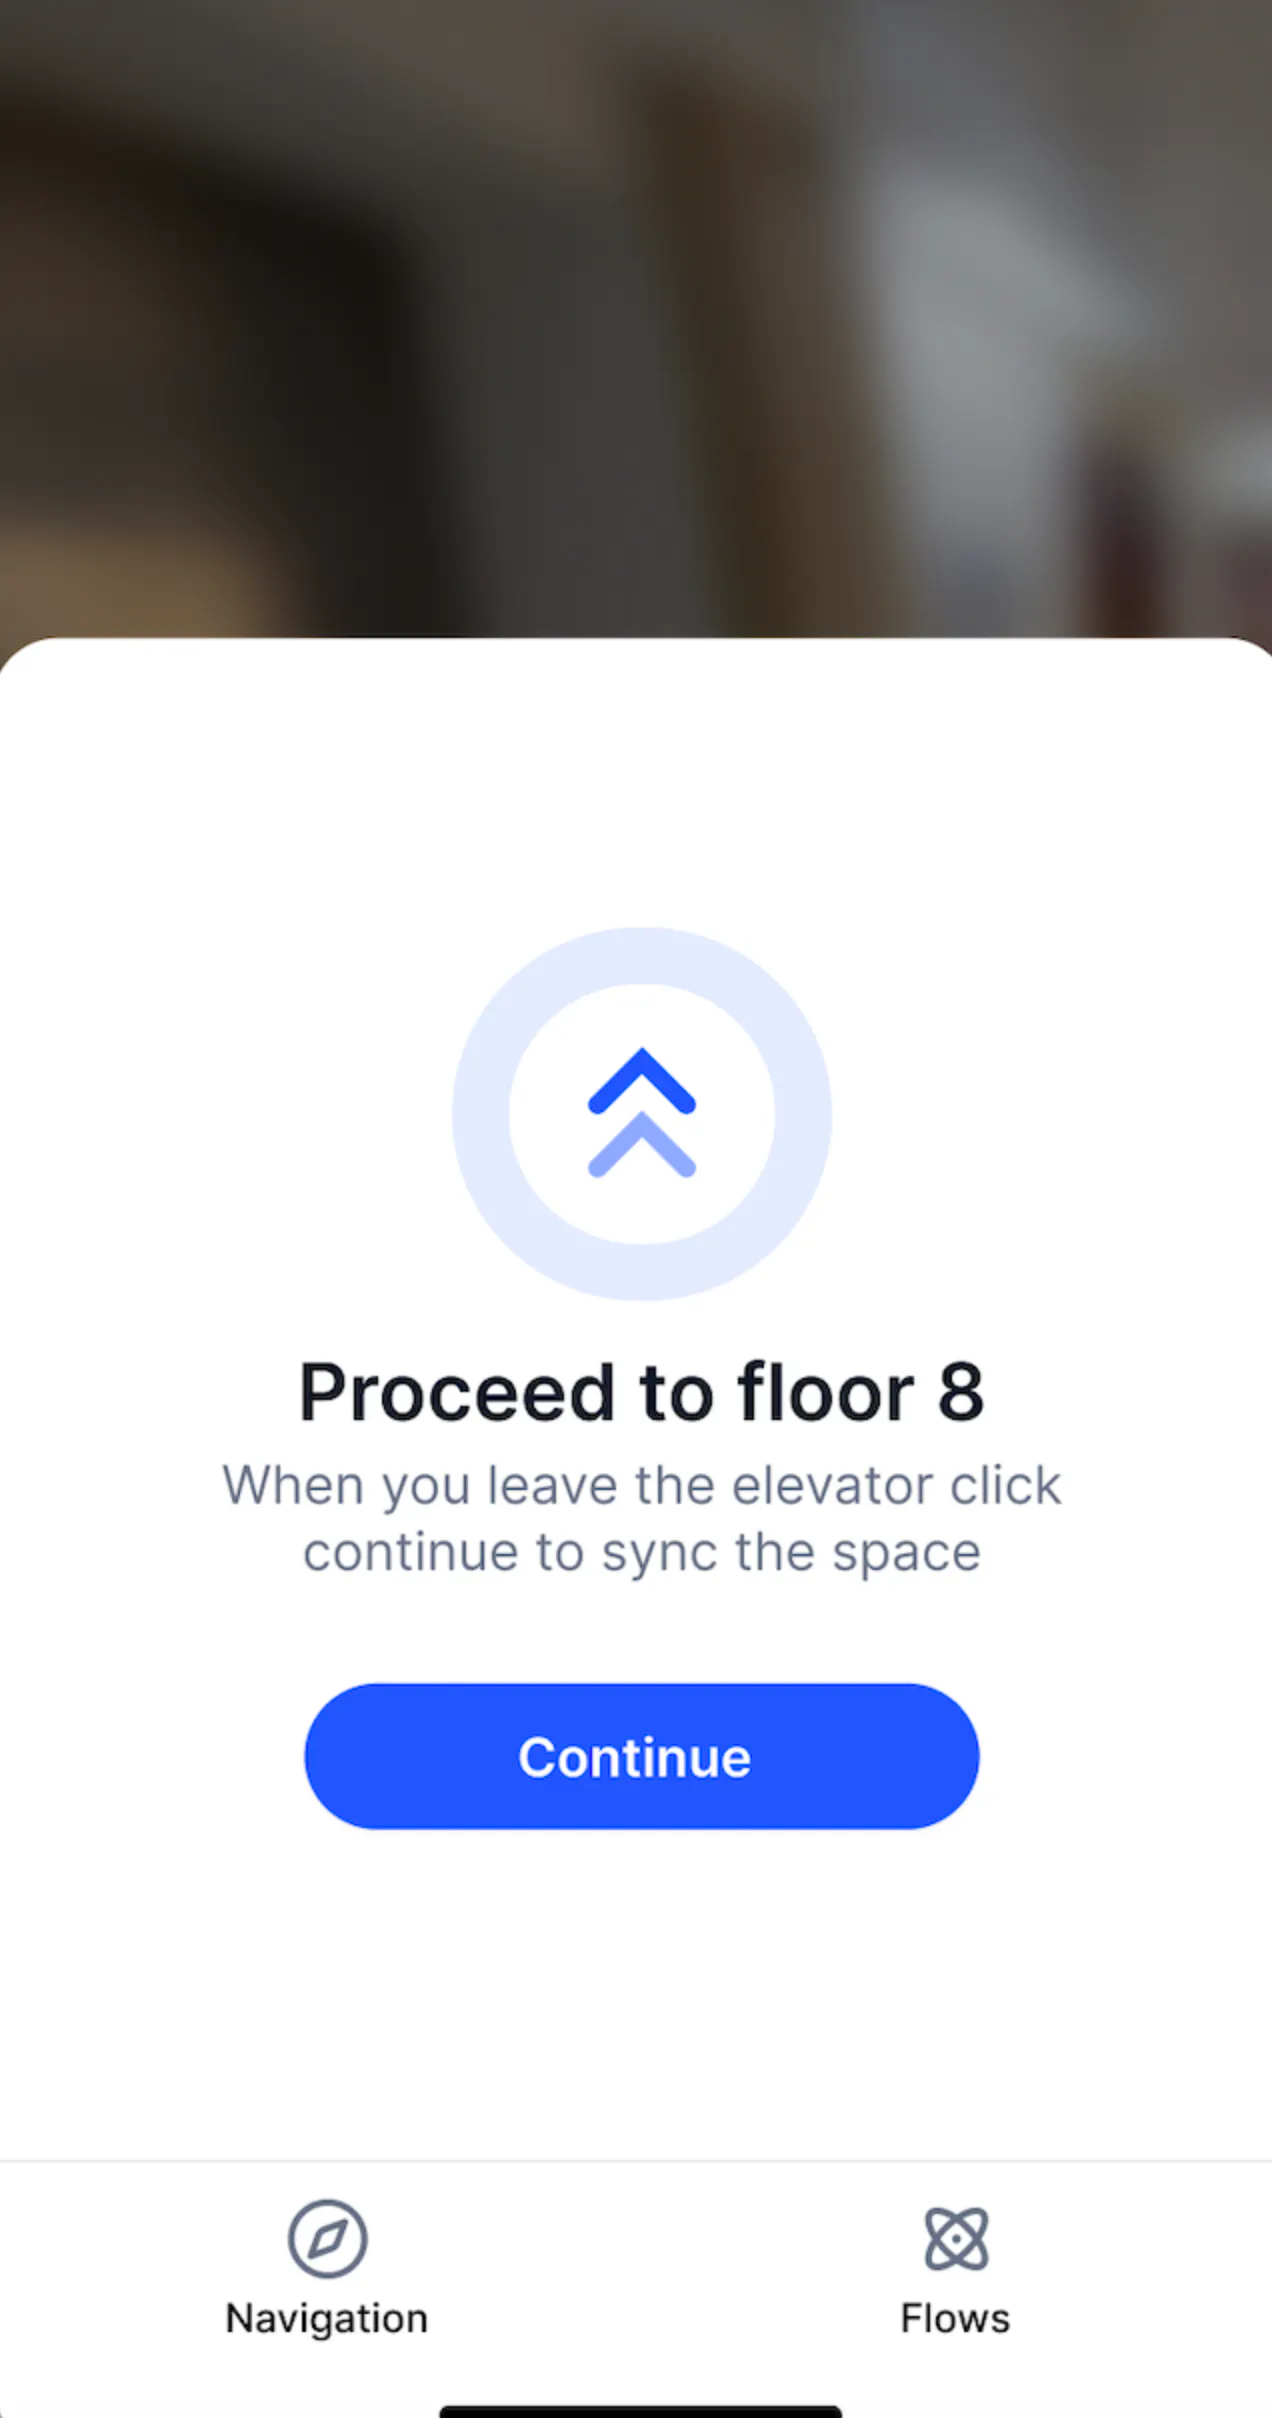
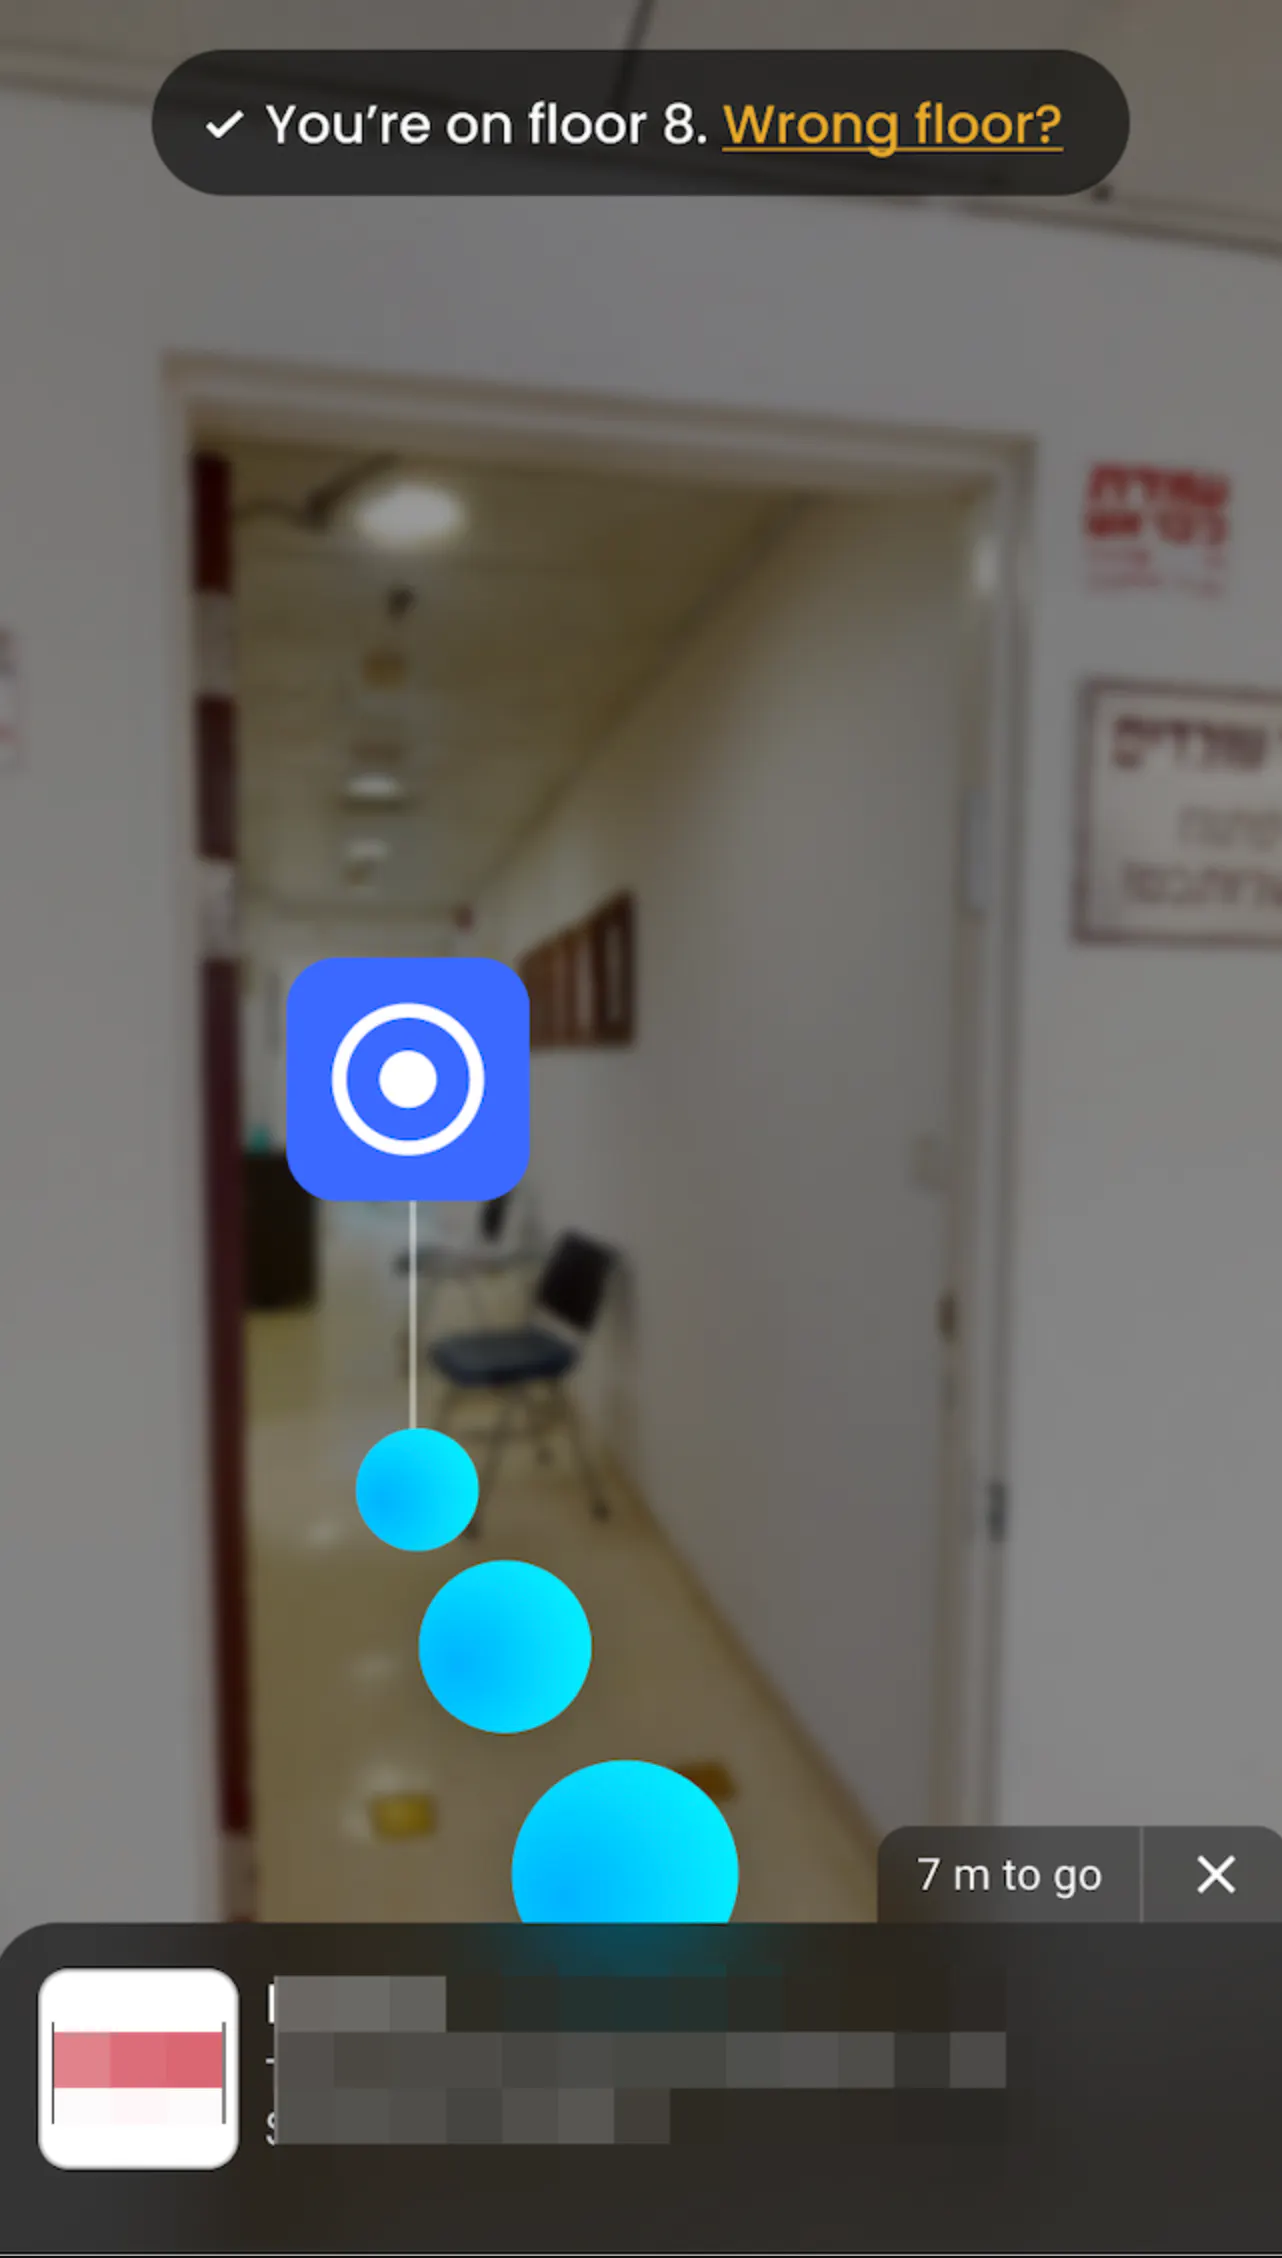
When the visitors enter the elevator, both Web and AR mode will show the animation telling them the next actions:
WEB mode
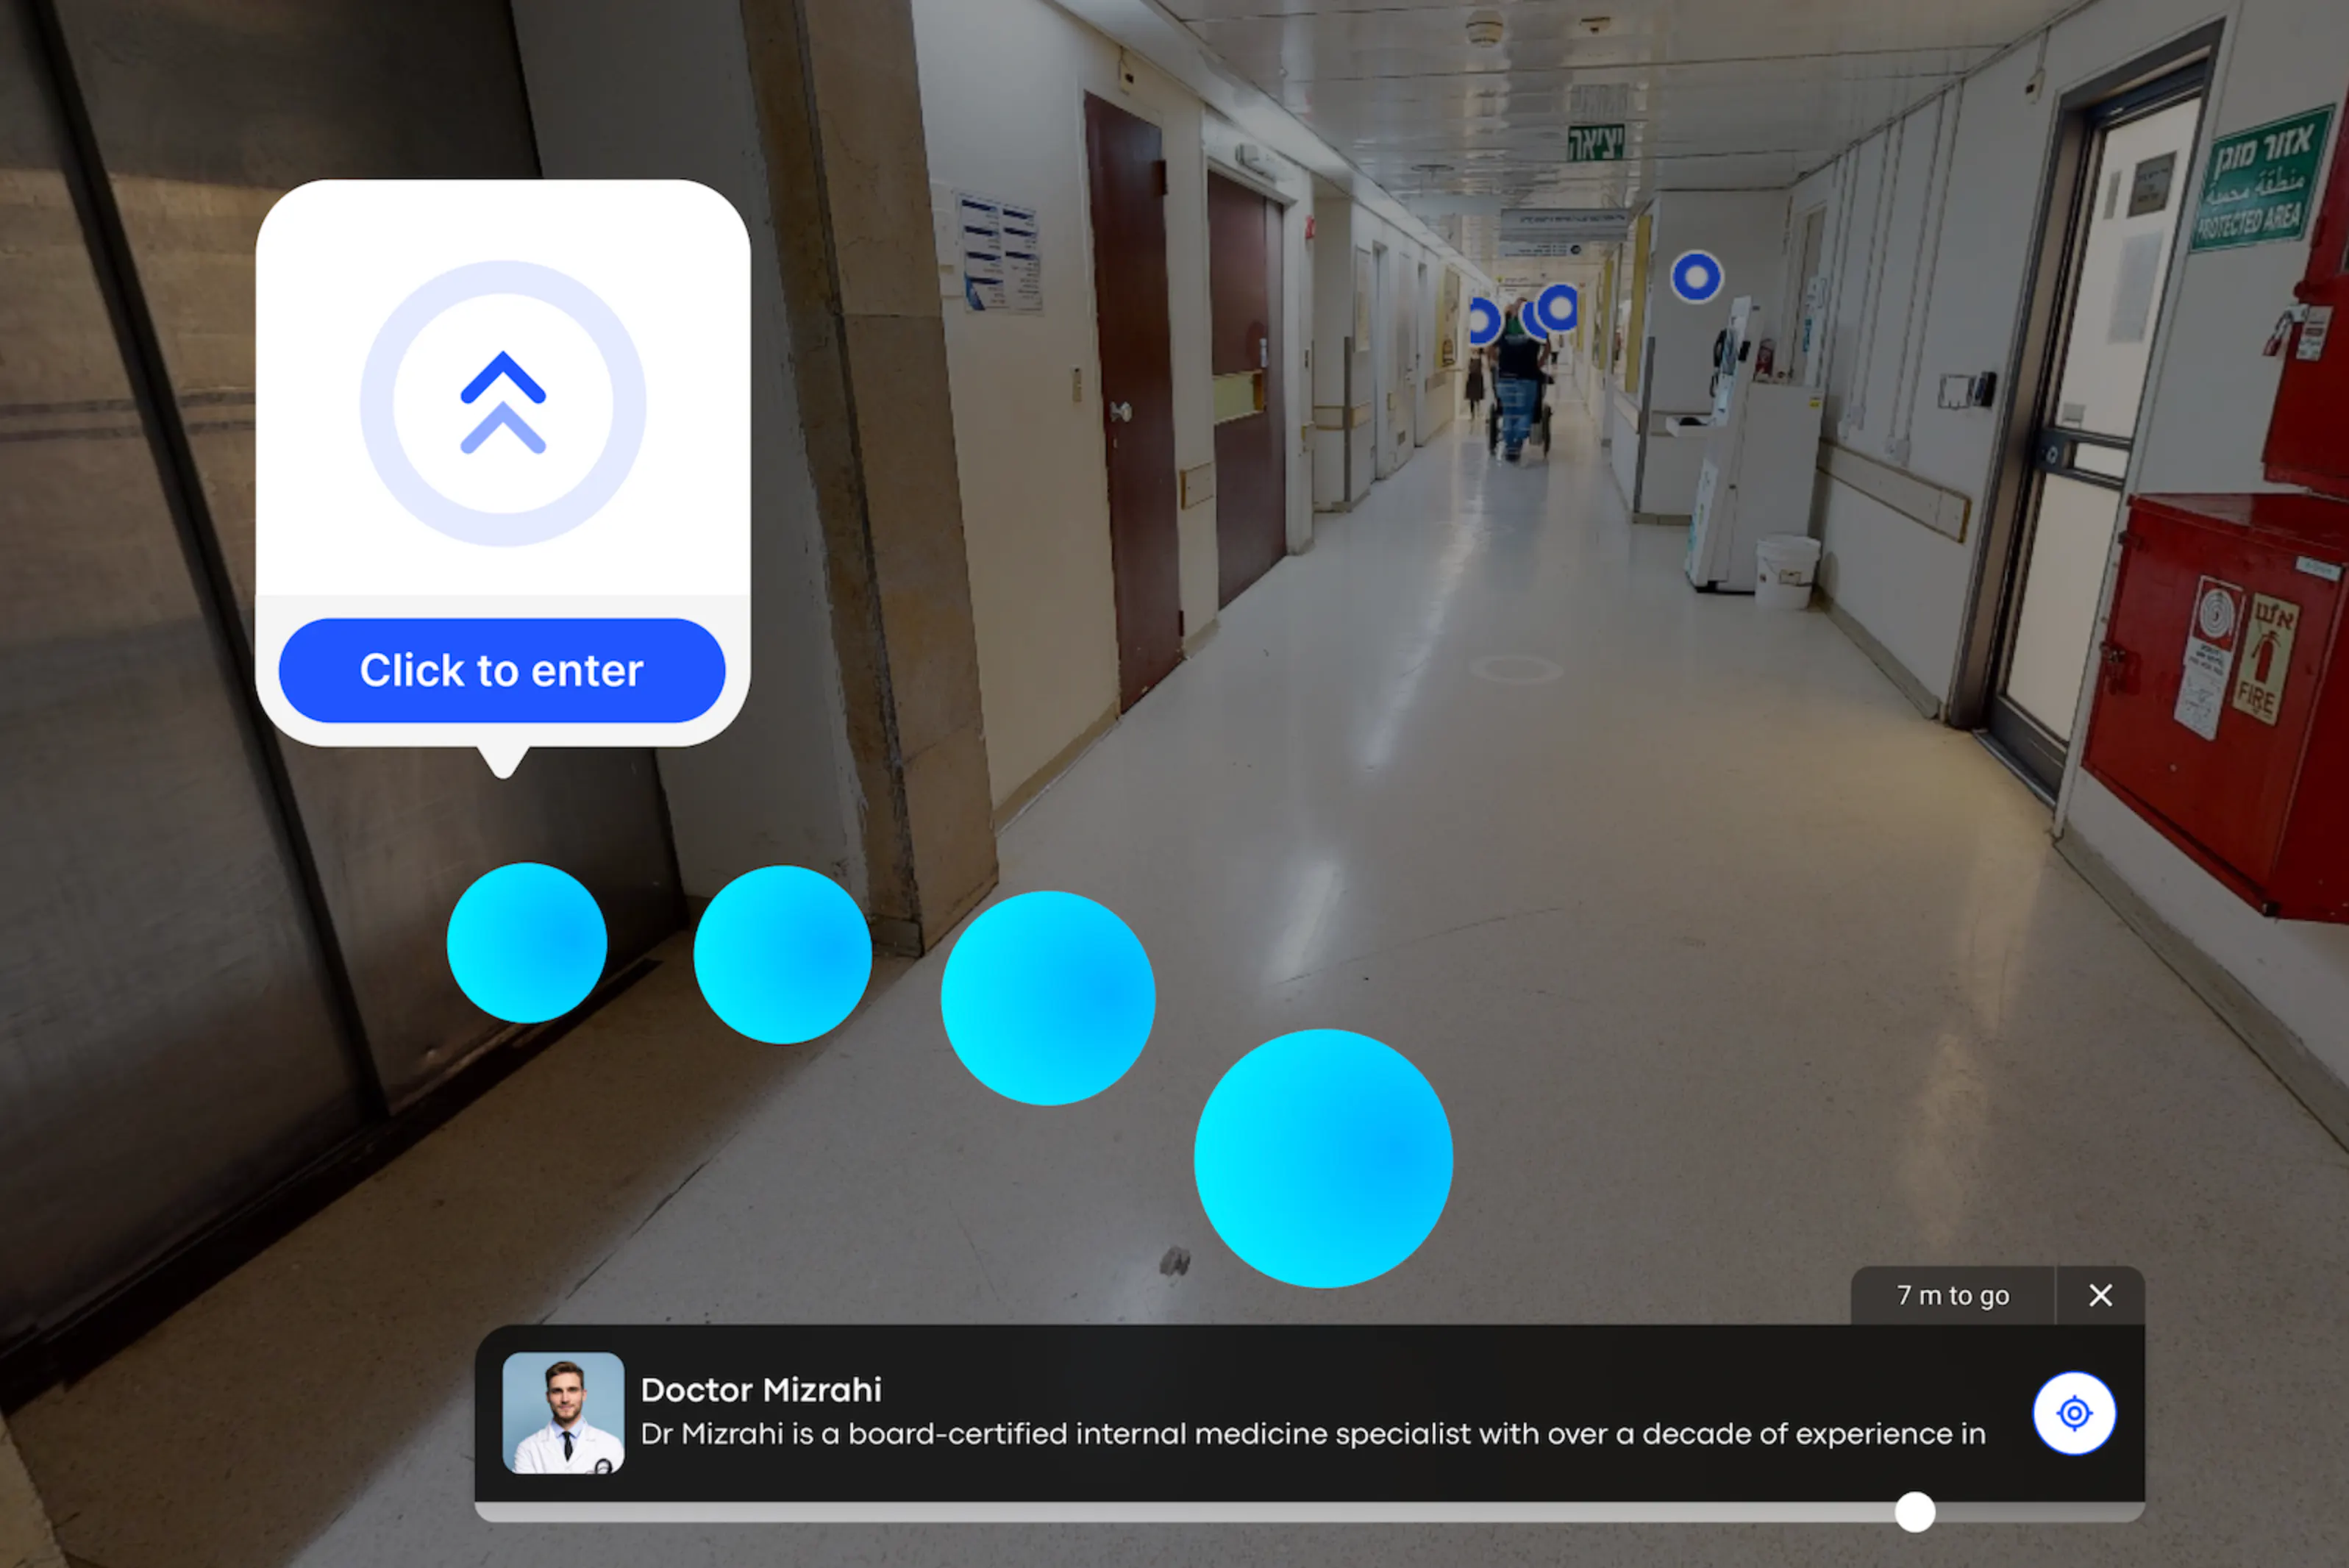
AR mode
Navigation Menu
Navigation menu is literally a menu of the tour. This menu exists to group and classify all available locations created in the tour, to make it easier and understandable for users to search for specific destination spots. When the visitor opens a tour public link, the first thing he/she will see is the Navigation Menu.
Menu Items
To make it possible for the tour visitor to search some location in the tour, you need to create the locations (navigation tags) in the first place.
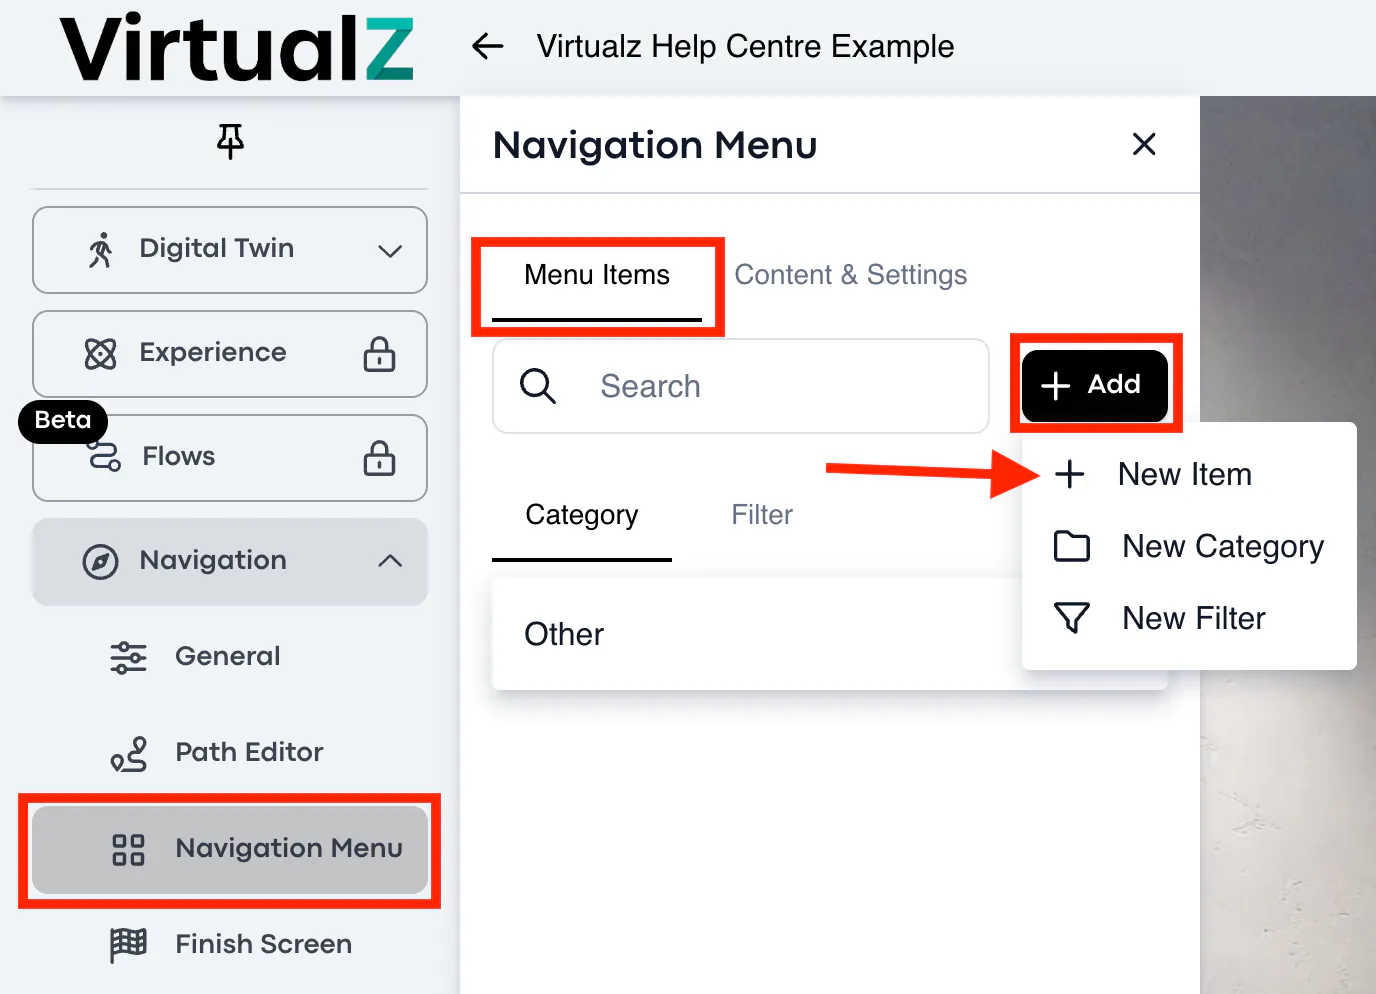
To create the location: open Menu Items > click + Add > New Item, it will offer to place a regular tag.
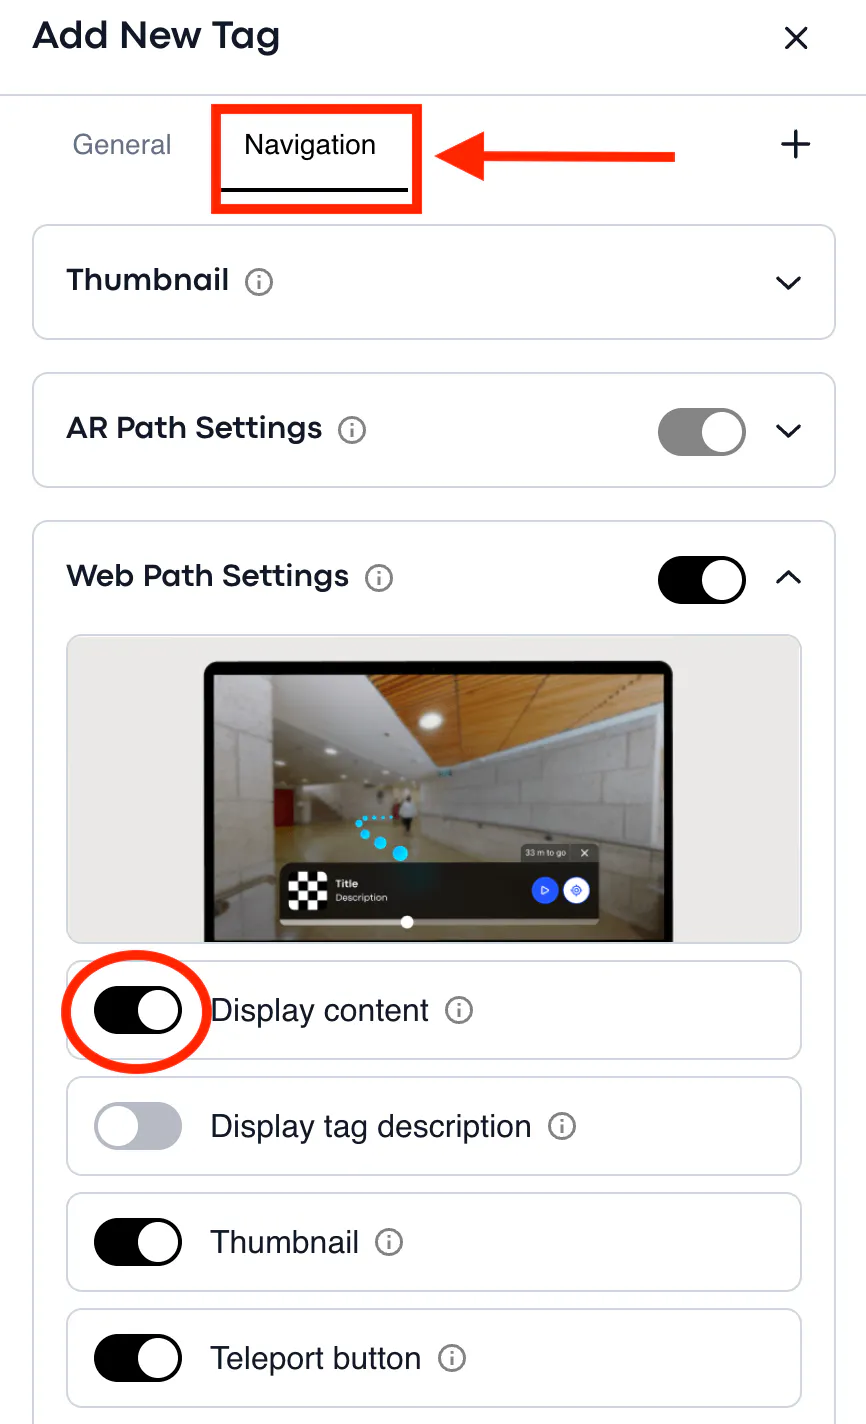
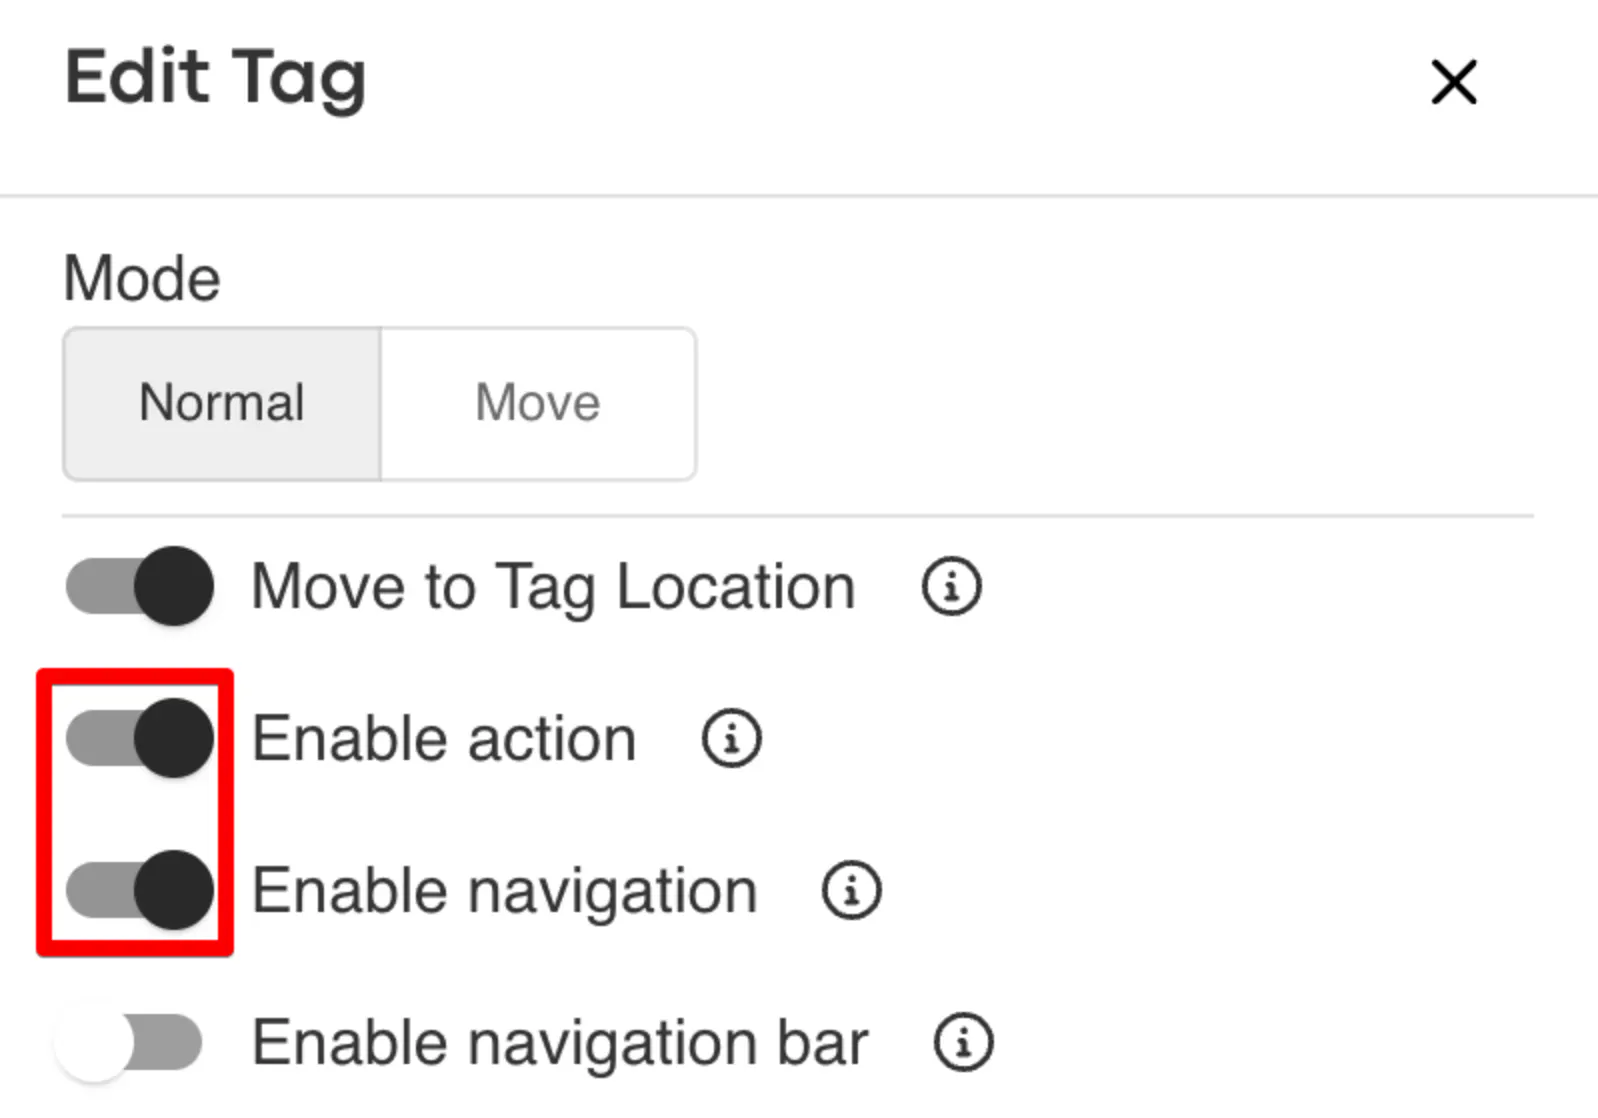
Add the tag name and keep the following navigation settings enabled.
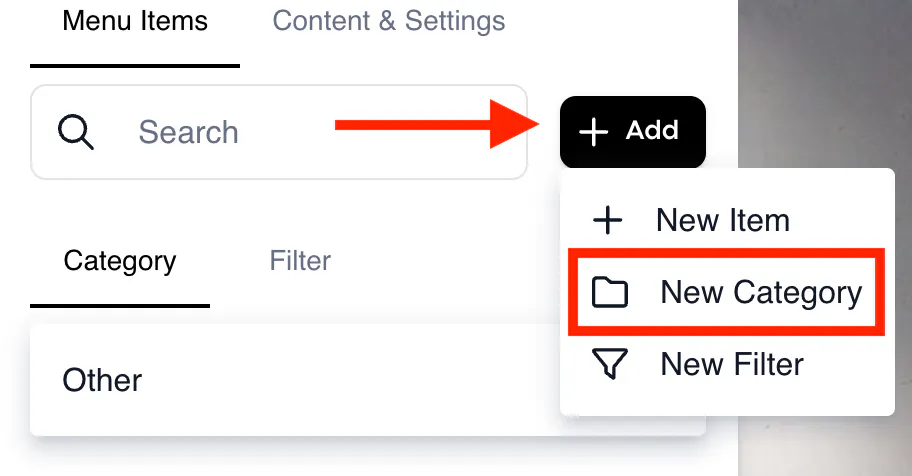
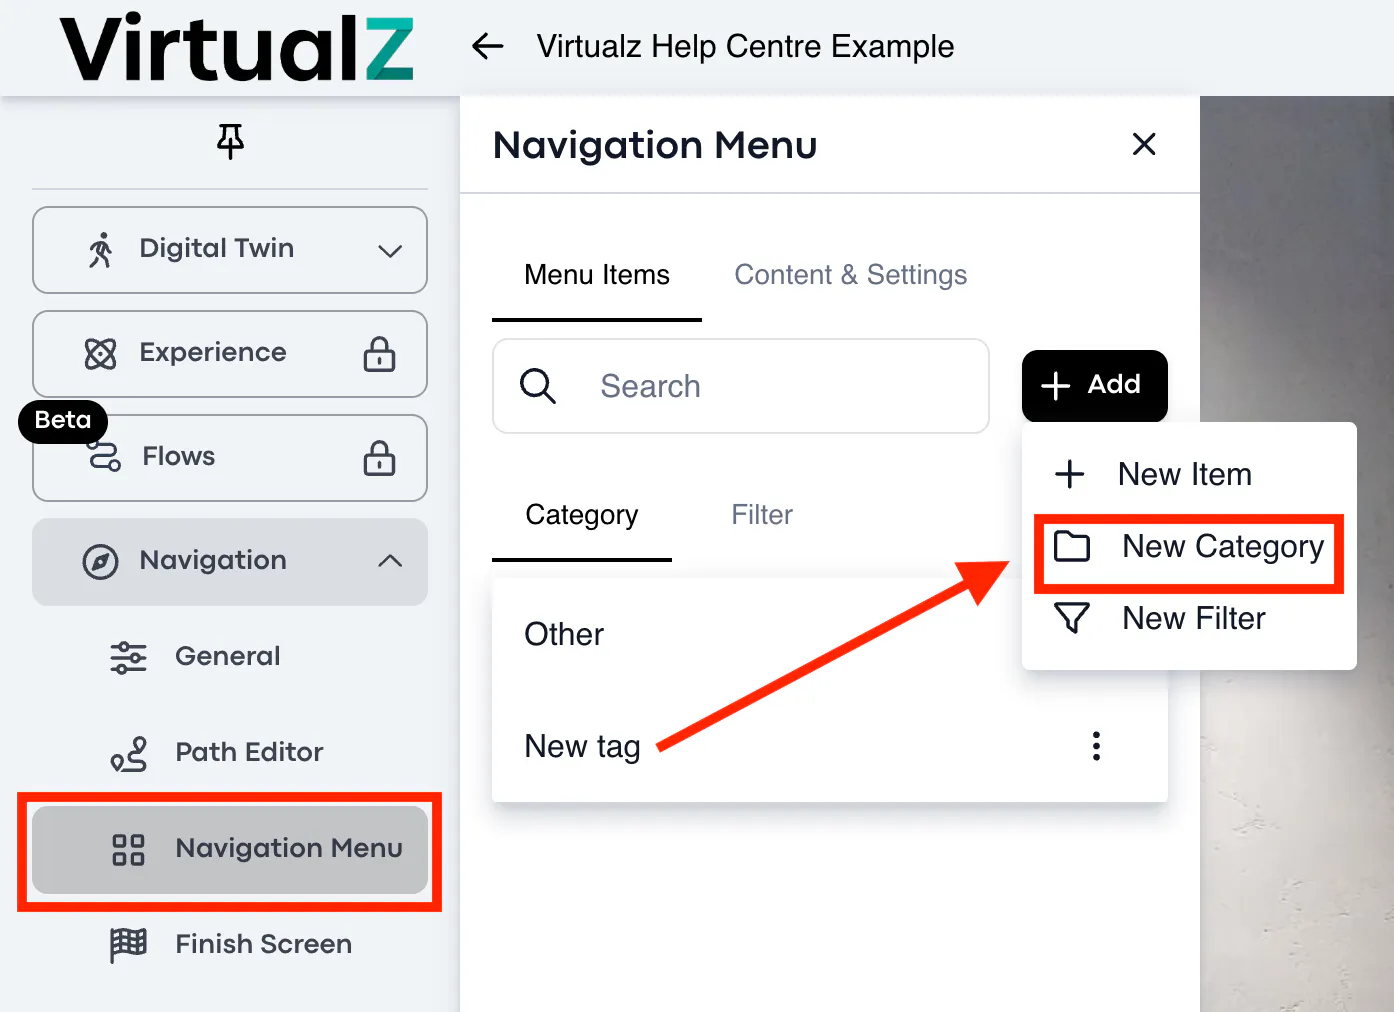
When the needed location (tag) is created, it will be automatically placed into the default category 'Other'. You can also create the new categories for your Navigation Menu and move the tags between the categories. To create a new category > click + Add > select 'New category':
For the new Category you can:
- edit the category title
- pick the category icon and its color
- select the background color
- select the tags to be grouped under the new Category
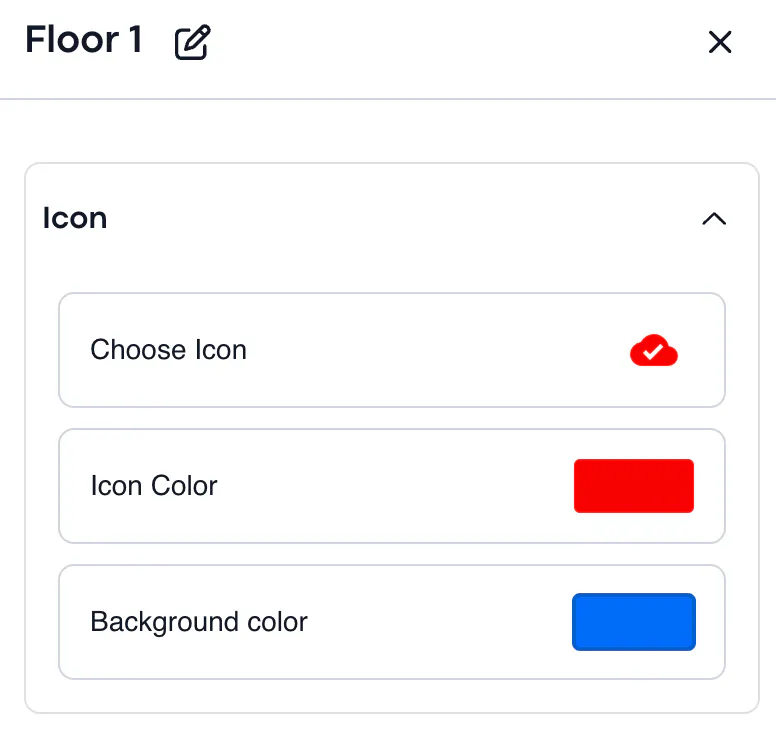
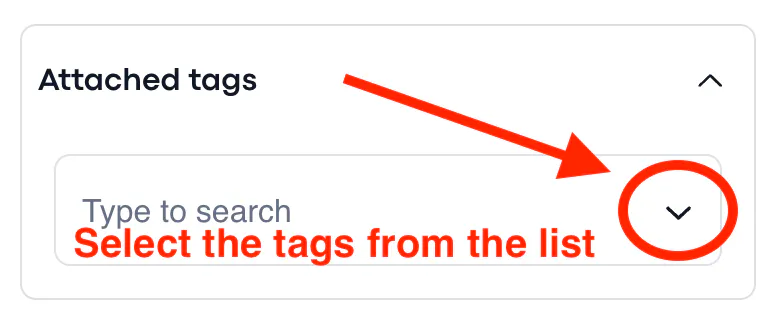
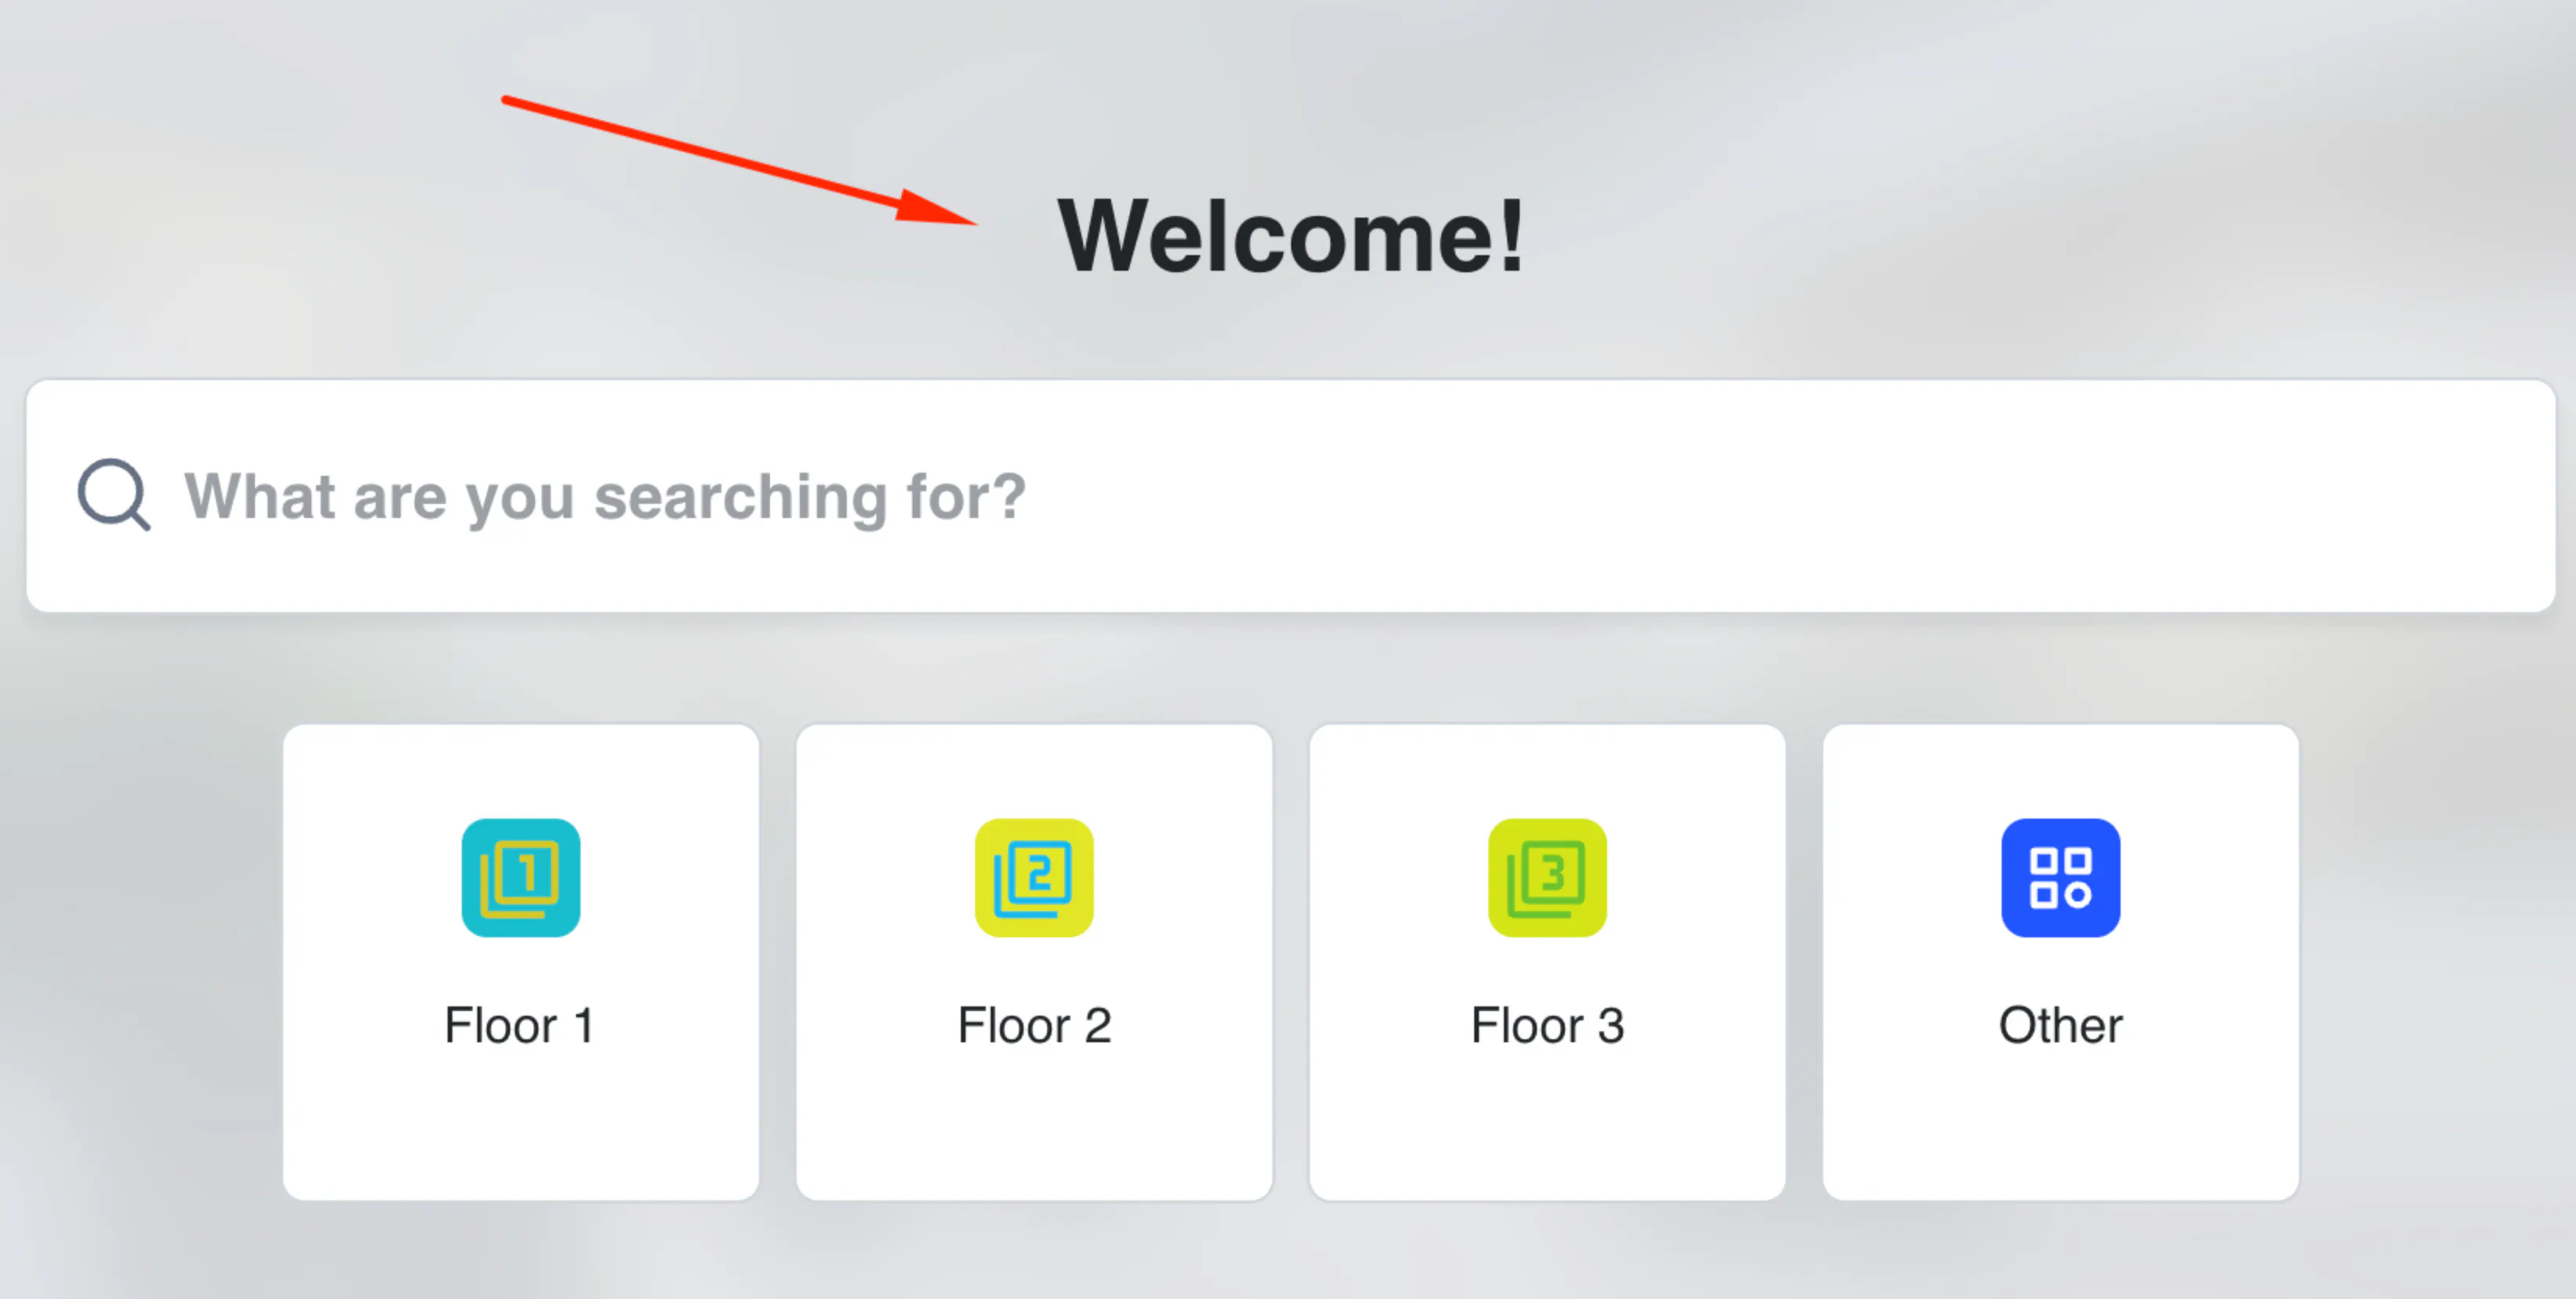
Here is an example of the Navigation Menu with Categories for the Floor 1, 2, 3 + default category 'Other'. Categories will be visible for all viewers when they enter the tour that has a Web or AR Navigation mode enabled.
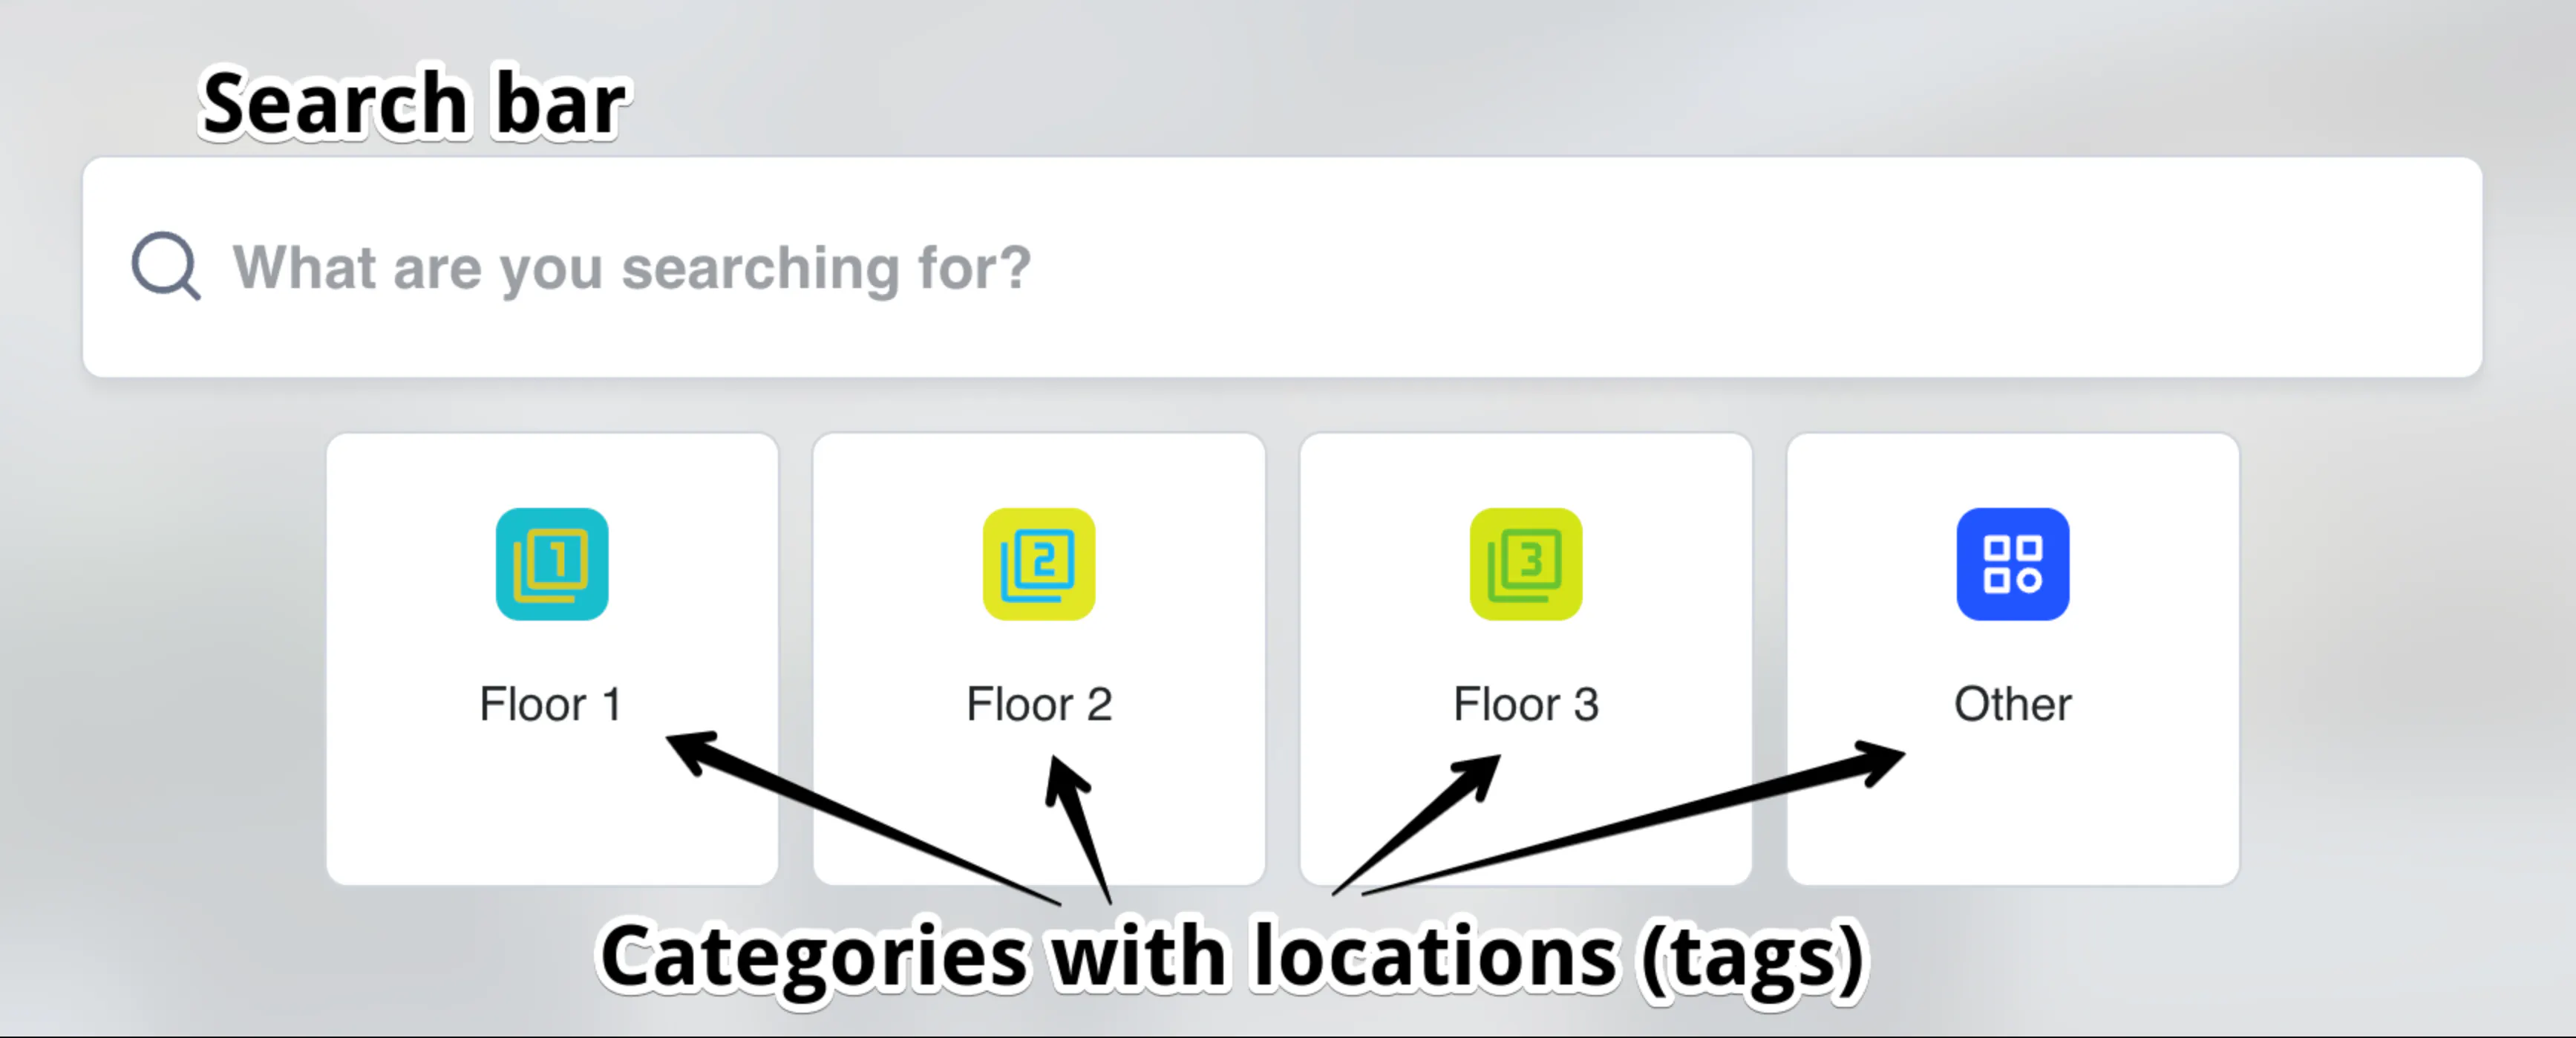
Each category includes the locations (tags), which can be easily moved between the categories.
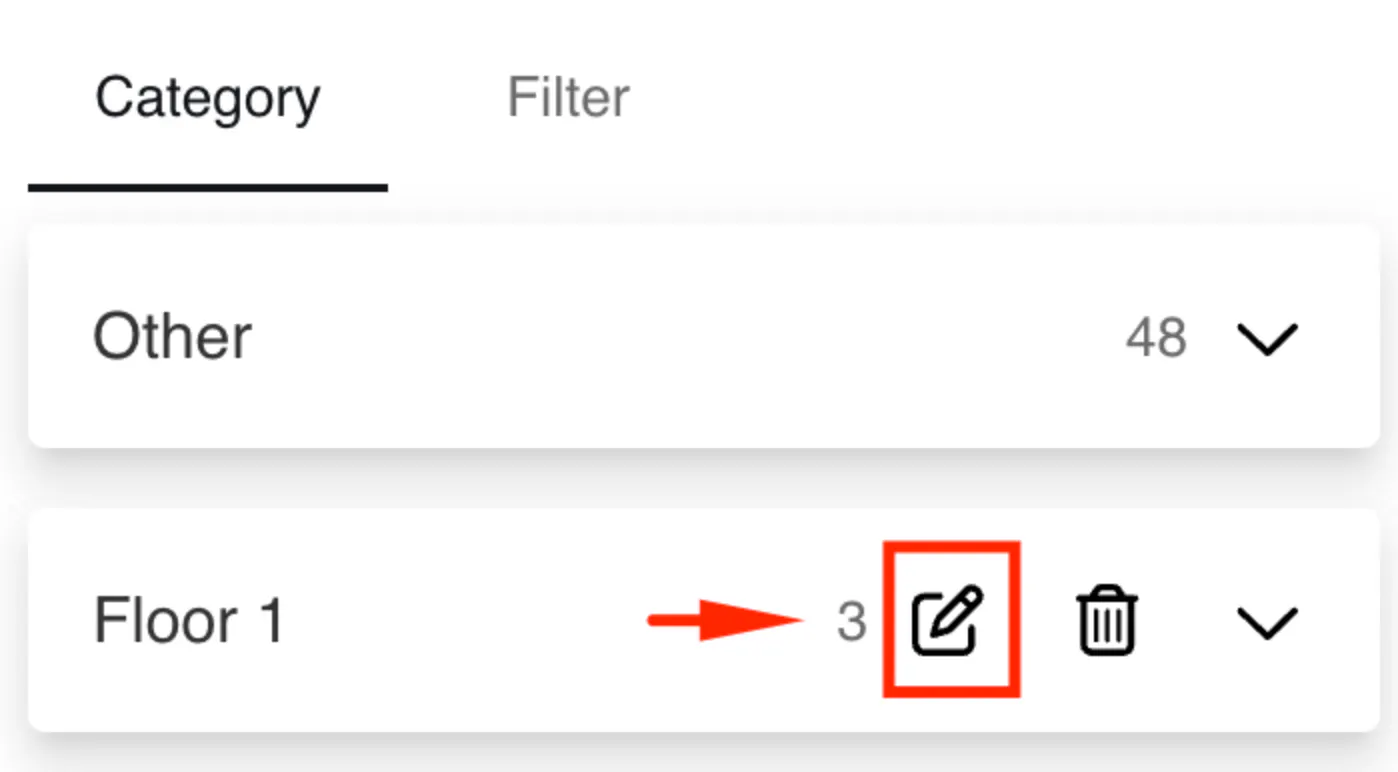
To change the Category for the location (tag), you need to open the Category in workspace > click on the pencil to edit > select the Tags that should be in this Category. When saved, the location (tag) will be automatically transferred from one Category to another.
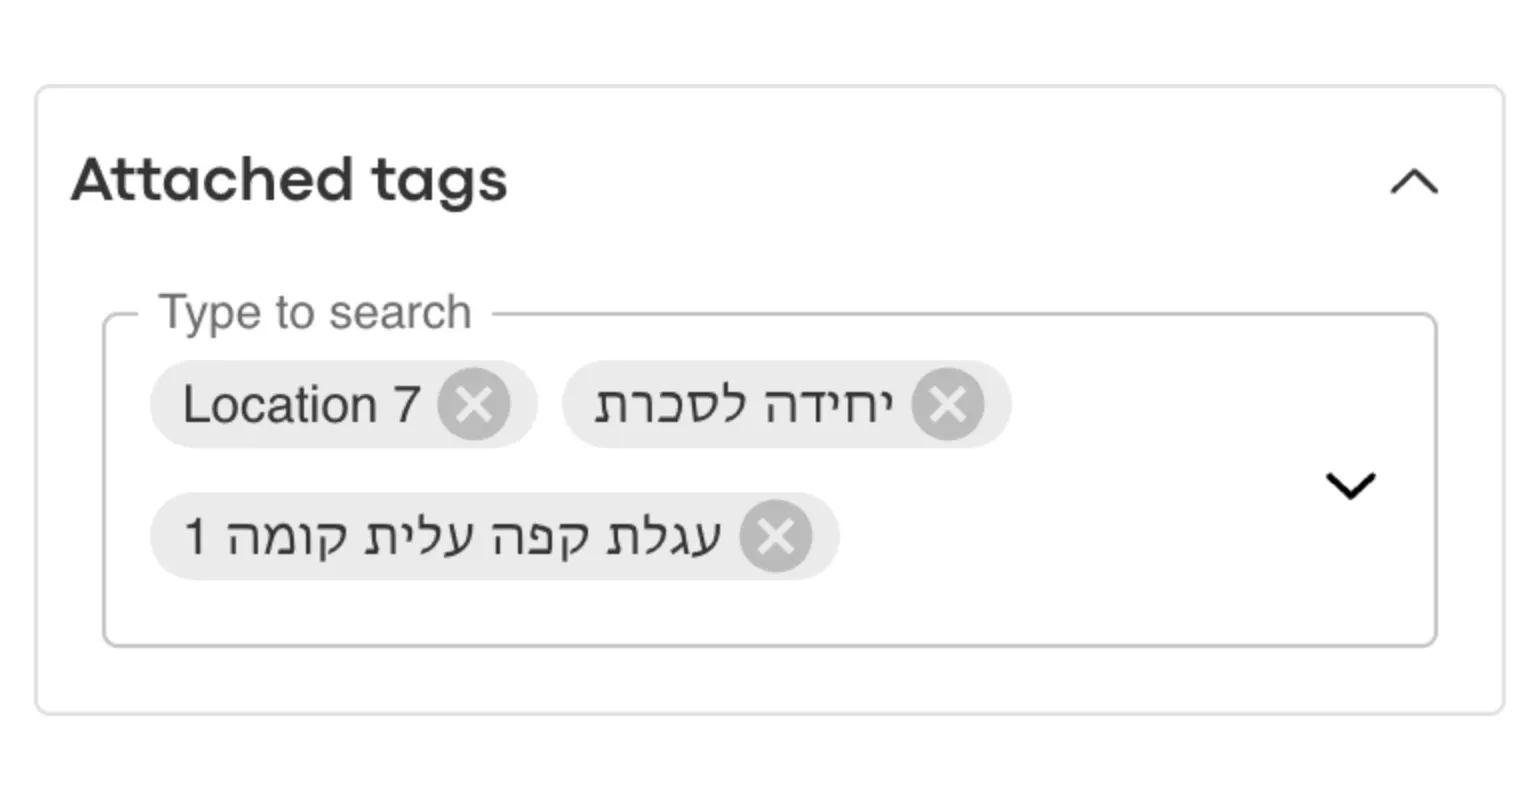
If the category doesn't include the menu item (location tag), such category won’t be displayed on the Navigation Menu.
If there is single default category 'Other' created in the Navigation Menu, then only a list of locations will be offered in the search bar at the entrance of the tour (for Web mode only). If you are using AR mode, the default category 'Other' will not be visible, so you will need to group the locations in some new categories.
Content & Settings
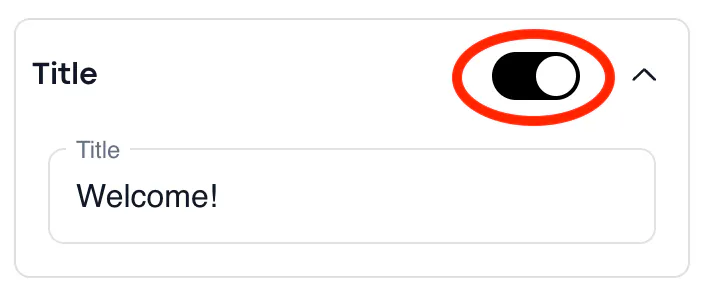
- Title: you can enable and add the title for the starting page above the Navigation Menu.
- Navigation Modes: to decide between the Web and AR mode:
Web
- Open the Navigation Menu in full screen upon entering the tour.
- Open the Navigation Menu by clicking on the Menu icon on the sidebar (is under development at the moment).
AR
- Yes - open the Navigation Menu on launch when viewer enters the tour.
- No - open the Navigation Menu by clicking on the 'navigation' icon.
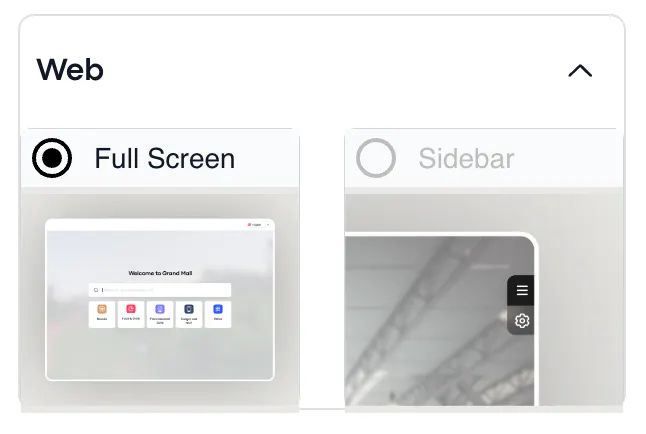
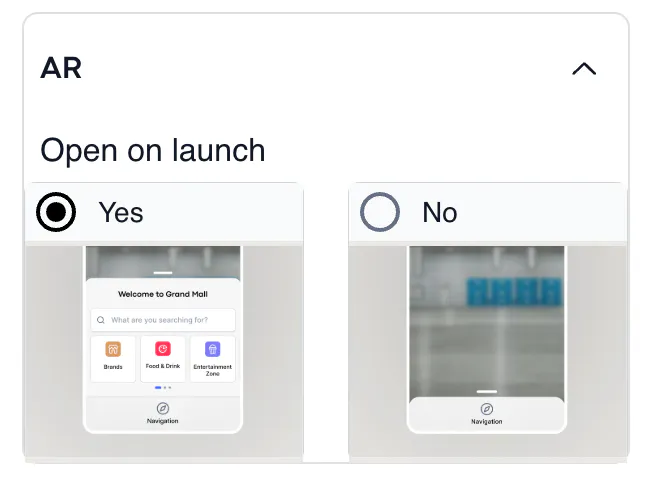
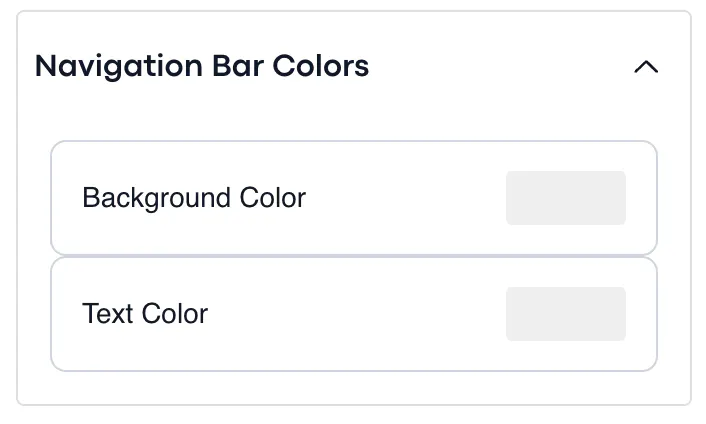
- Navigation Bar Colors: to pick the color of the navigation bar and its text.
Note: the color of bubbles can't be changed.
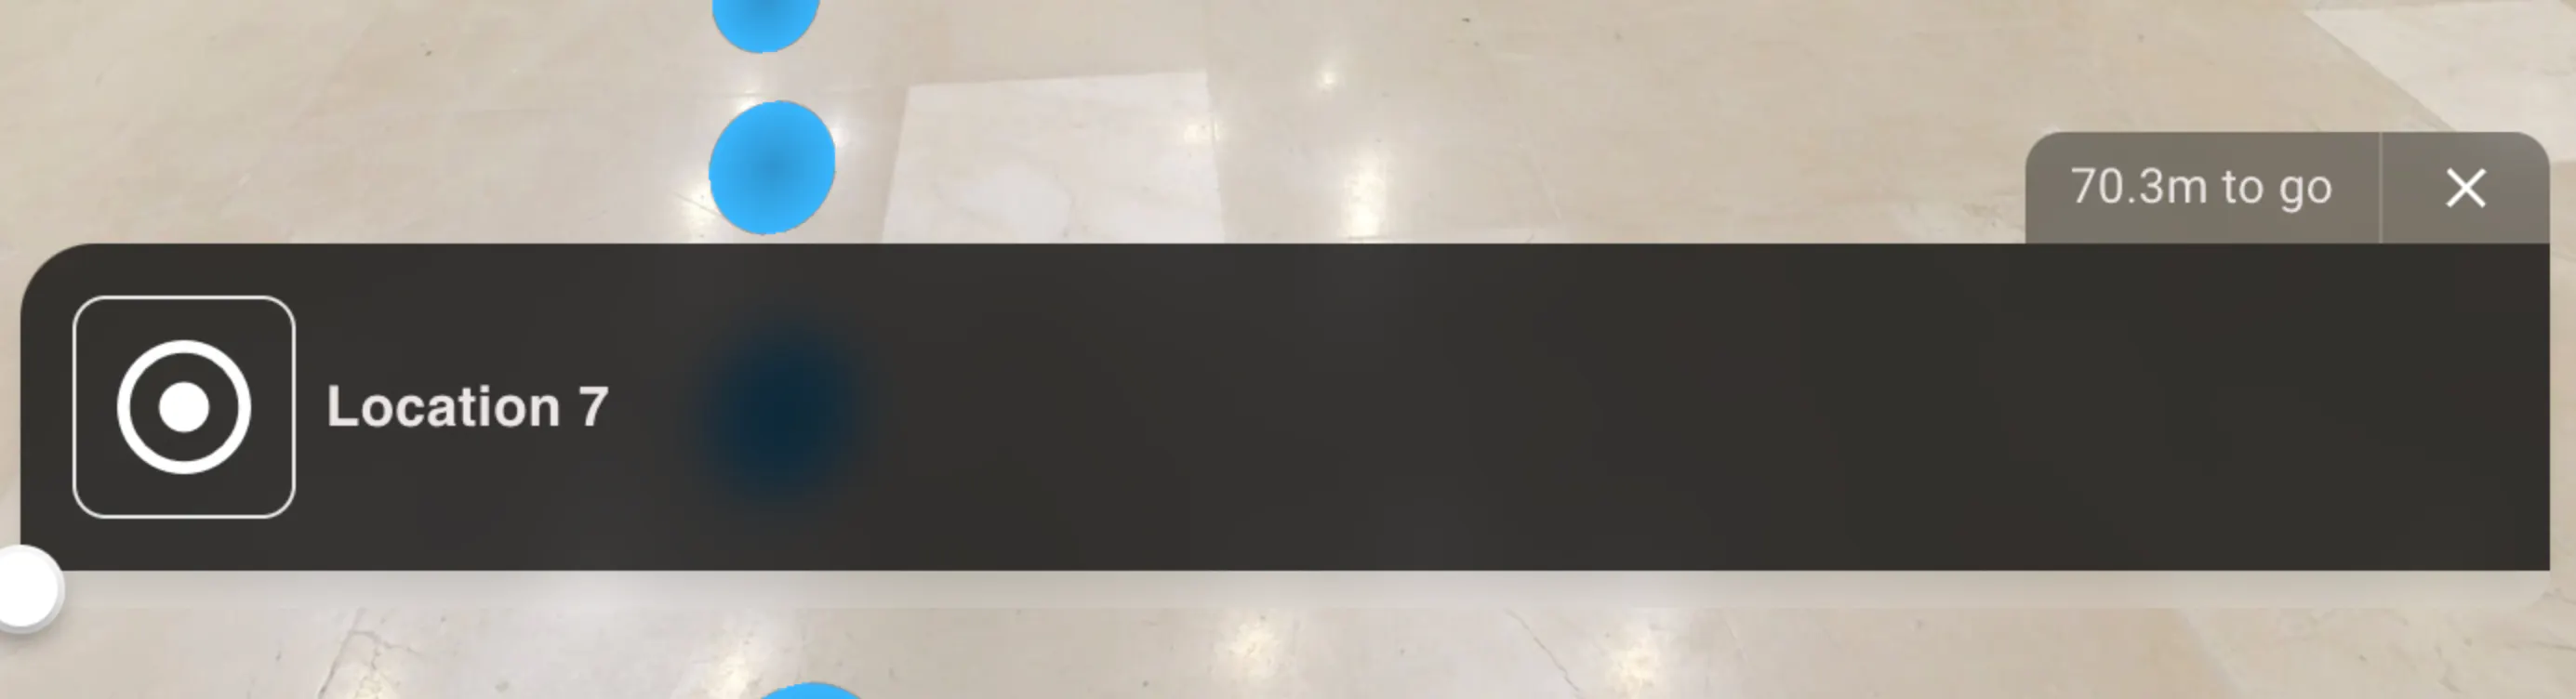
- Navigation Menu Settings: to enable/disable the sorting and filters in the navigation menu to moderate results sequence.
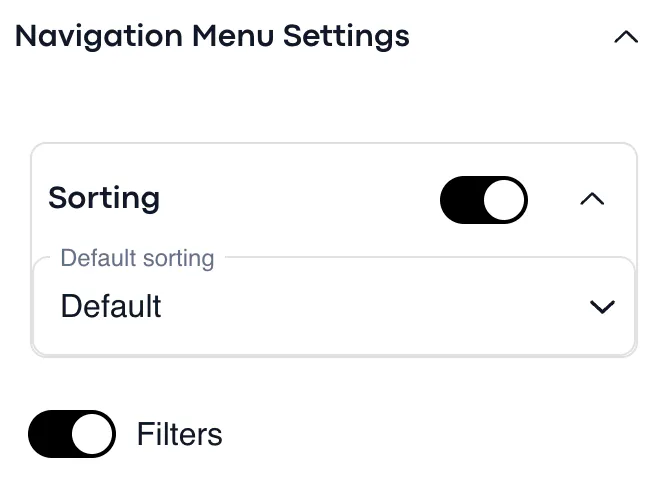
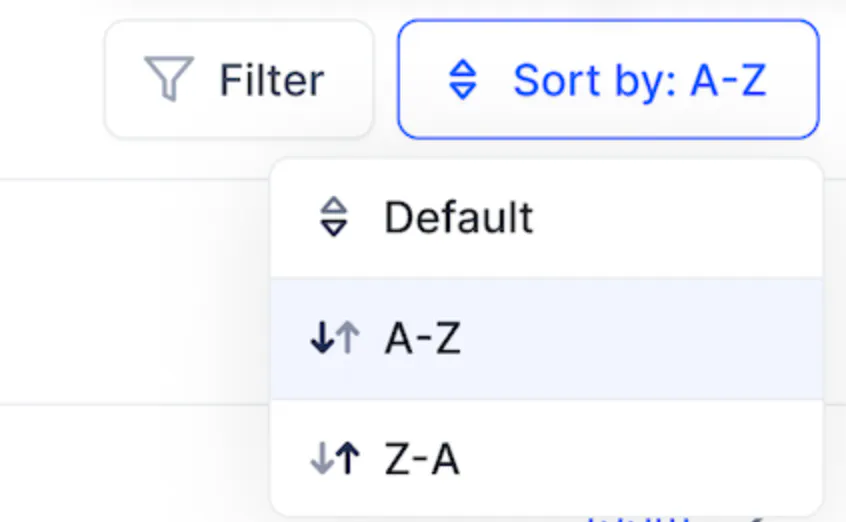
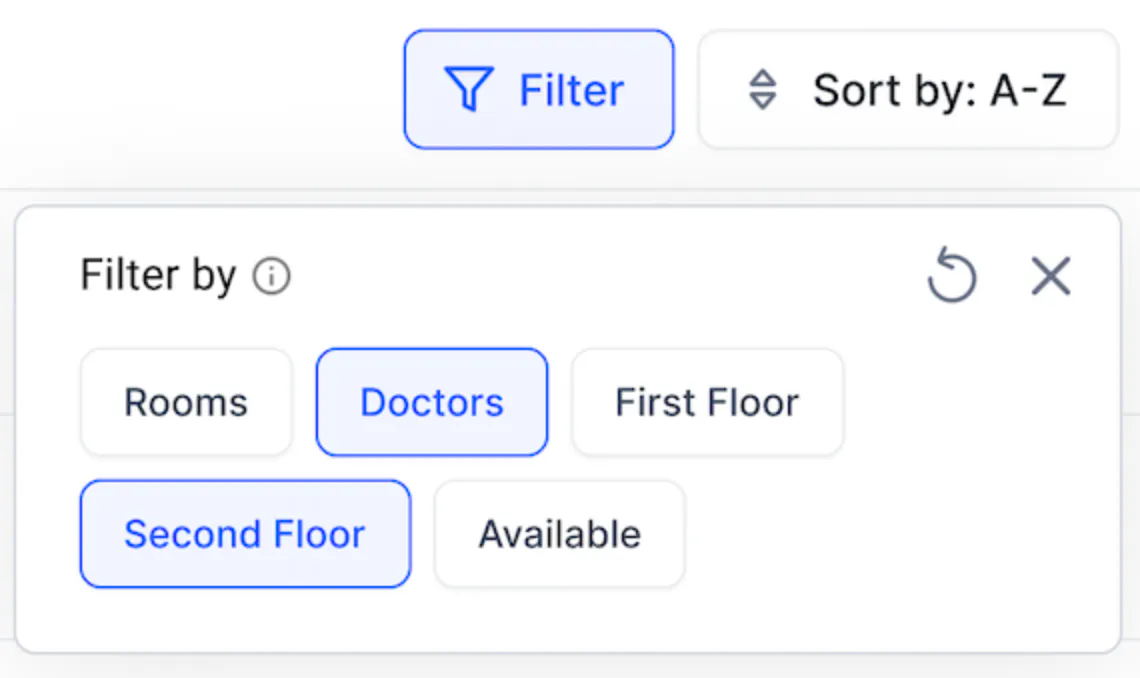
- Default Navigation Path: to set up the configurations for AR and Web navigation path.
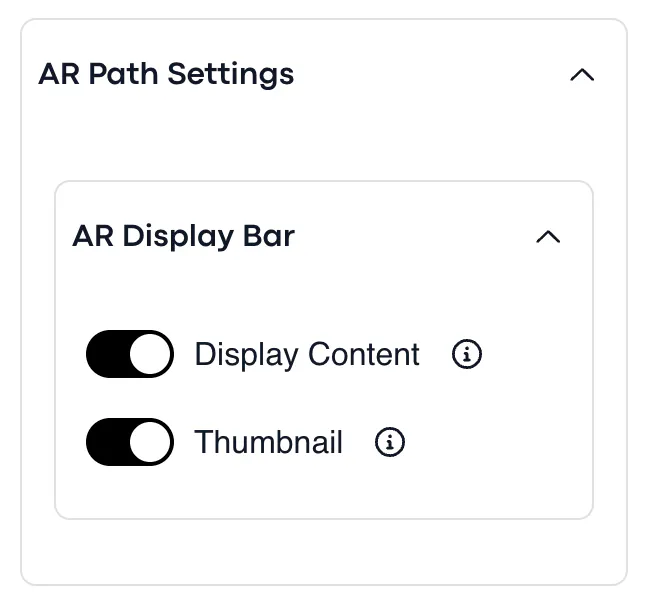
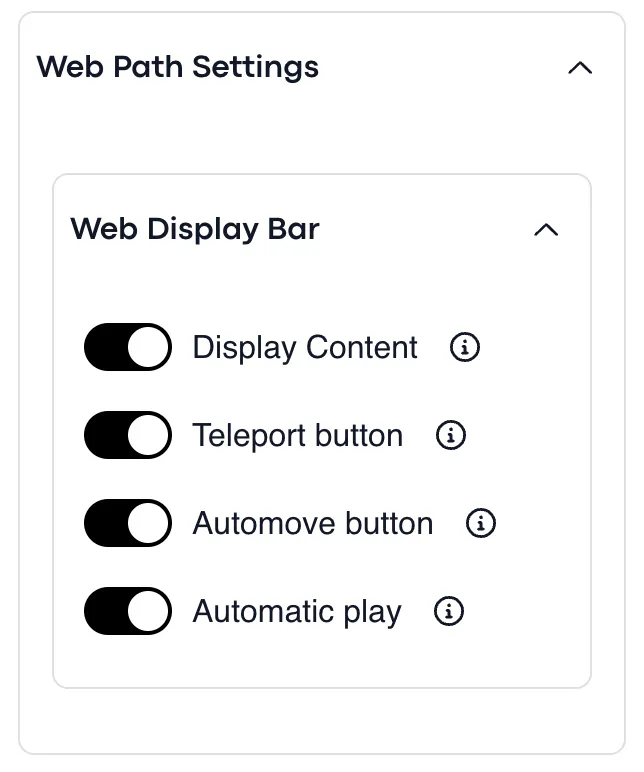
- AR Display Bar
- Display content - Enable/disable AR display bar
- Thumbnail - Enable/disable AR thumbnail - Web Display Bar:
- Display content - Enable/disable web display bar for the navigation path
- Thumbnail - Enable/disable Web thumbnail
- Teleport button - Enable/disable the teleport button
- Automove button - Enable/disable the automove button
- Automatic play - Enable/disable the automatic play
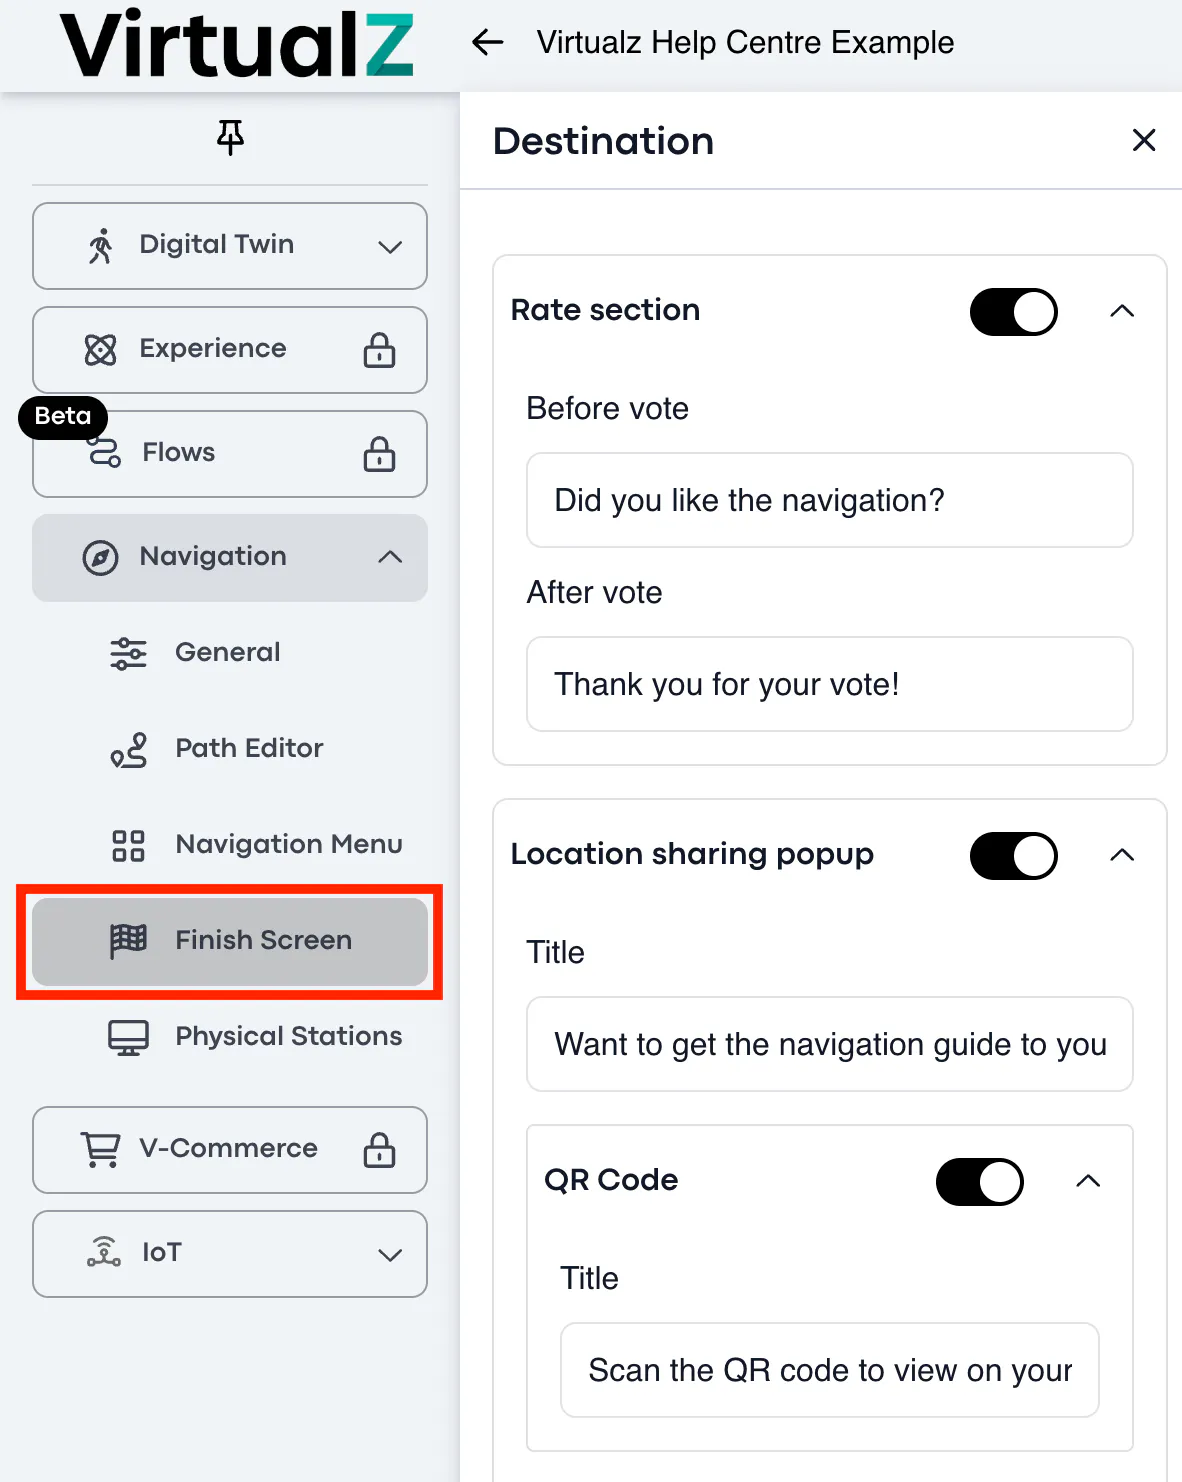
Finish Screen
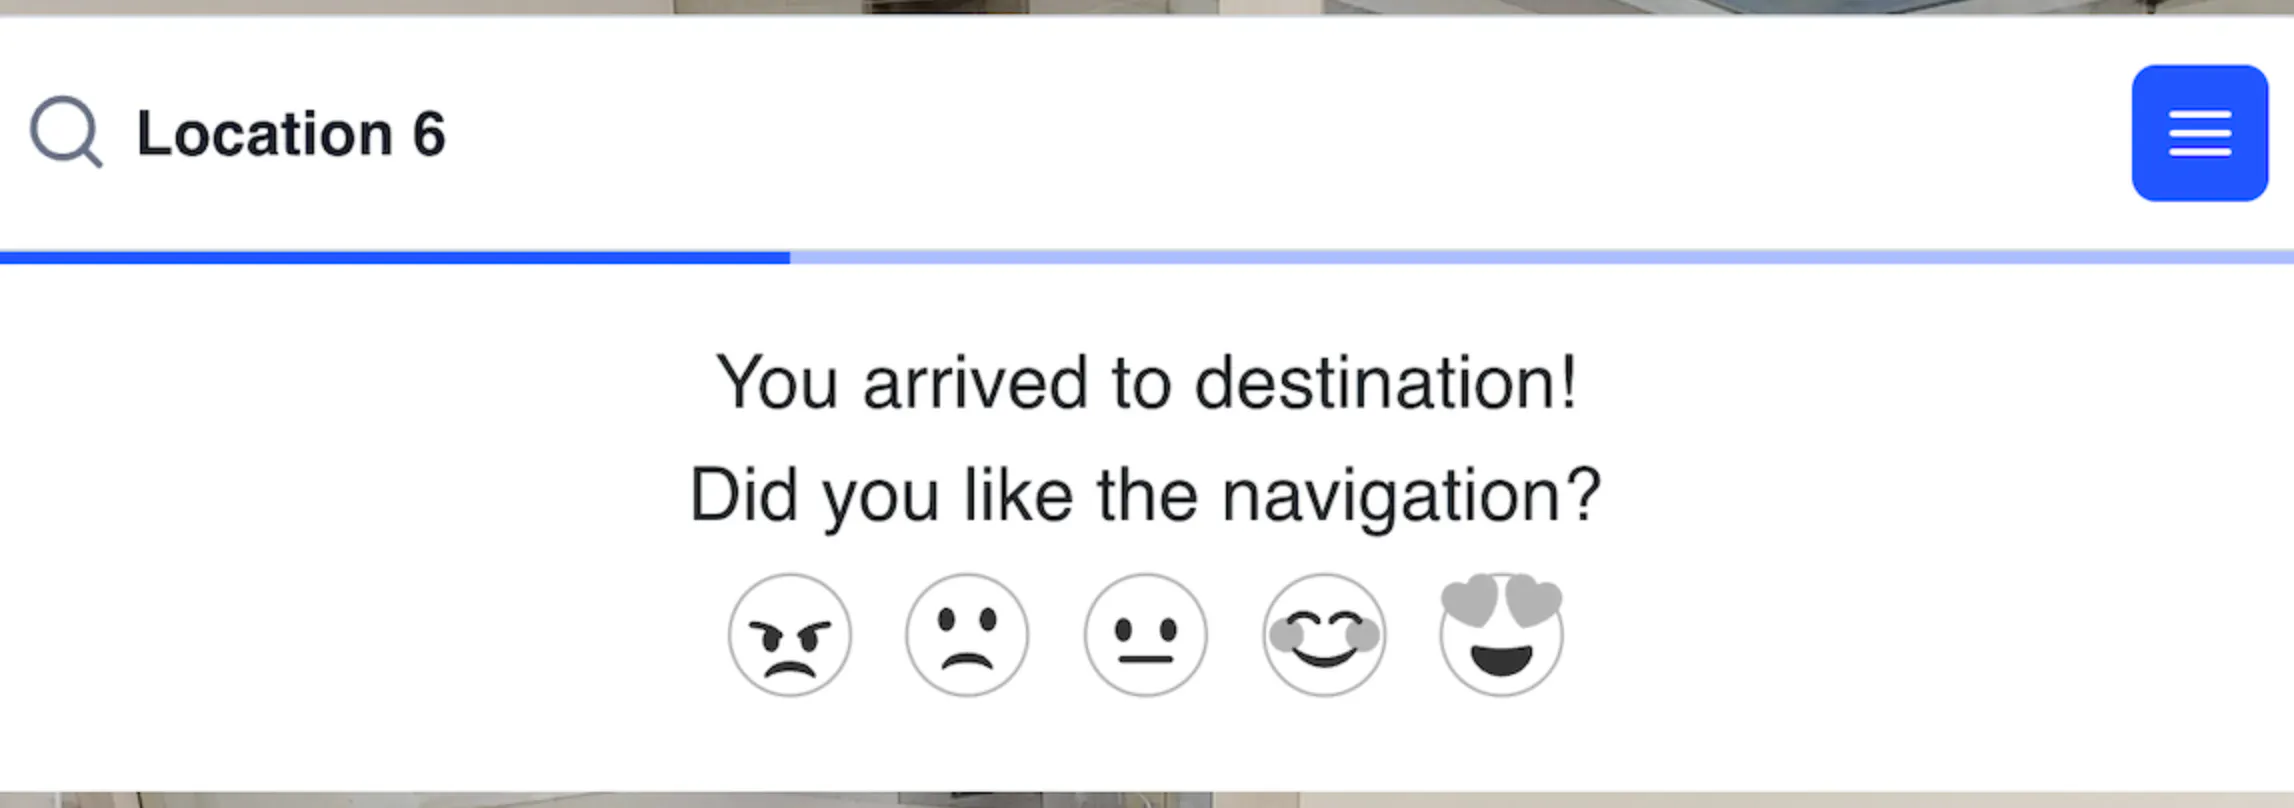
The finish screen is what the viewers see after they reached the destination spot. It allows to set up the "Rate" and "Location sharing" sections.
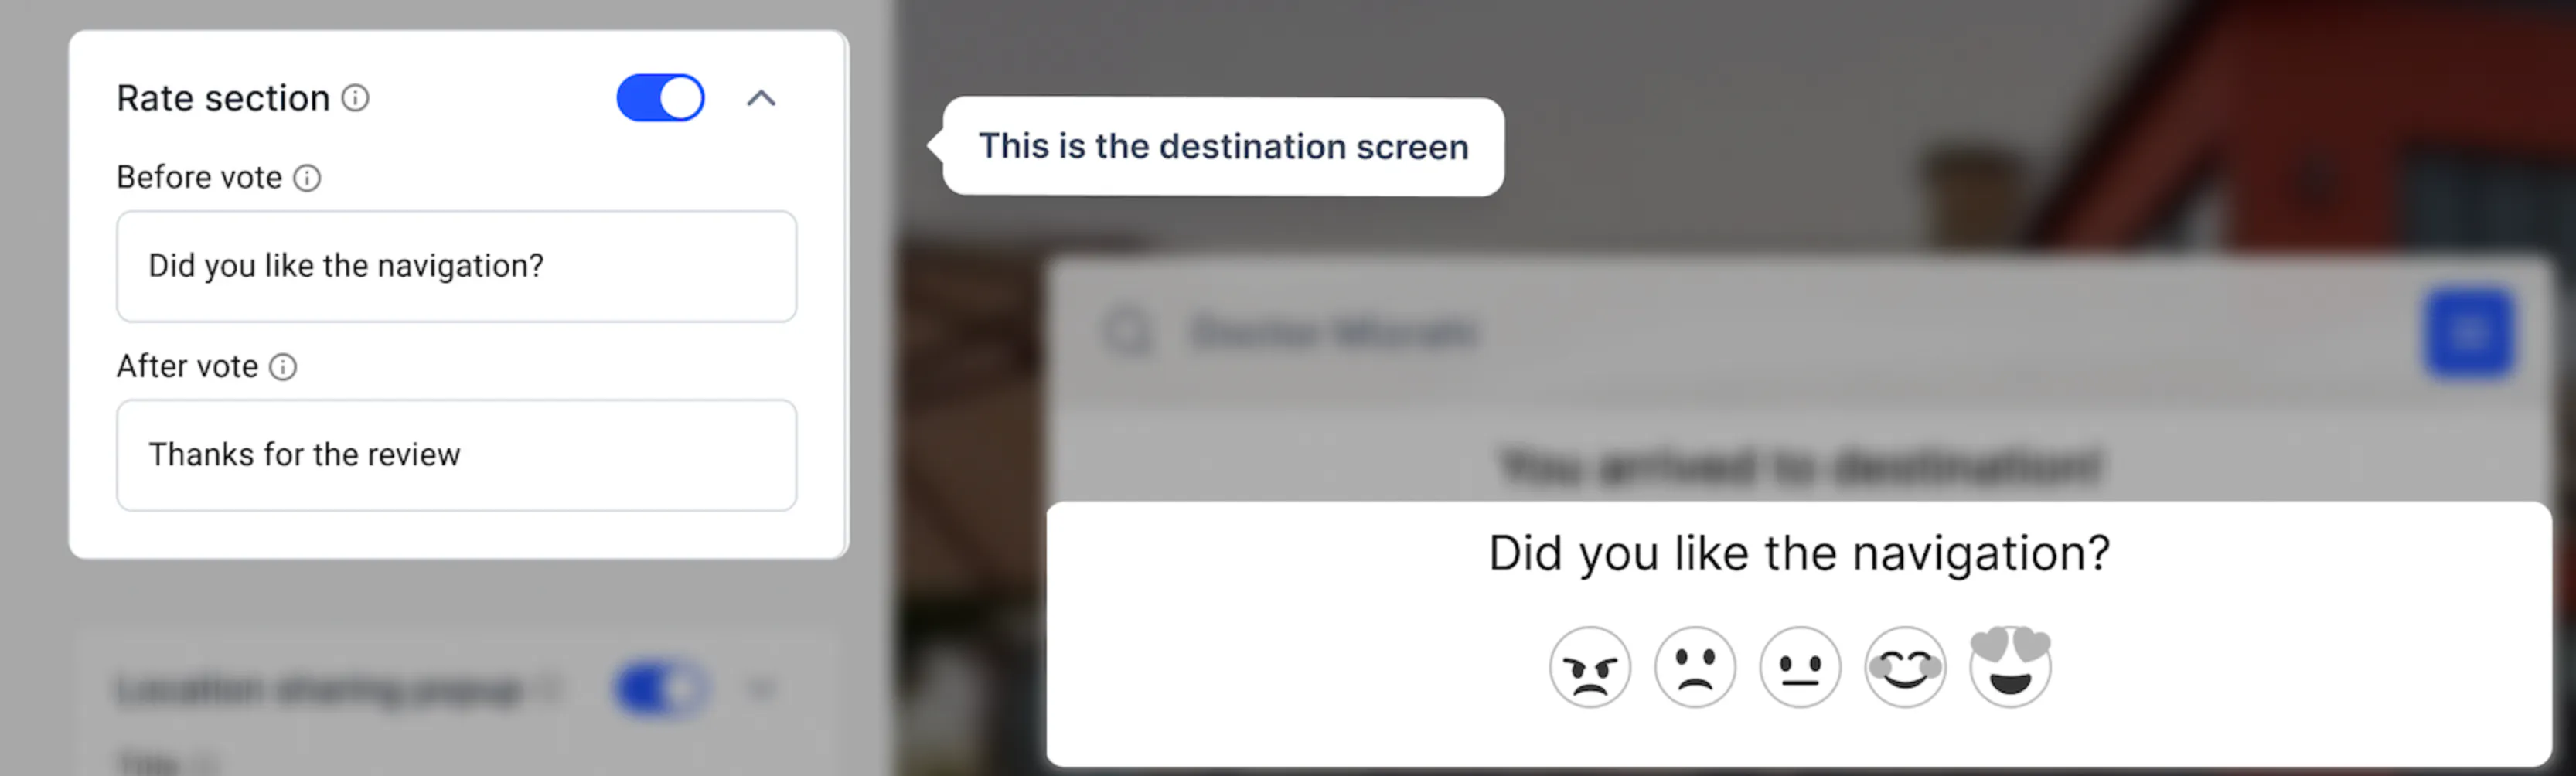
Rate Section
When the visitors get to the destination place, they can rate the navigation tool, if this option is enabled. You can set 'before vote' phrase and 'after vote' phrase.
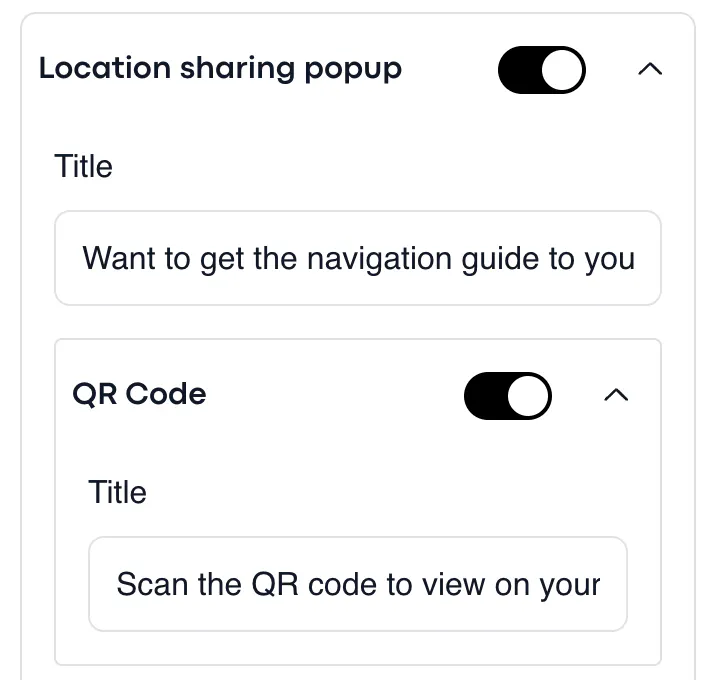
Location Sharing
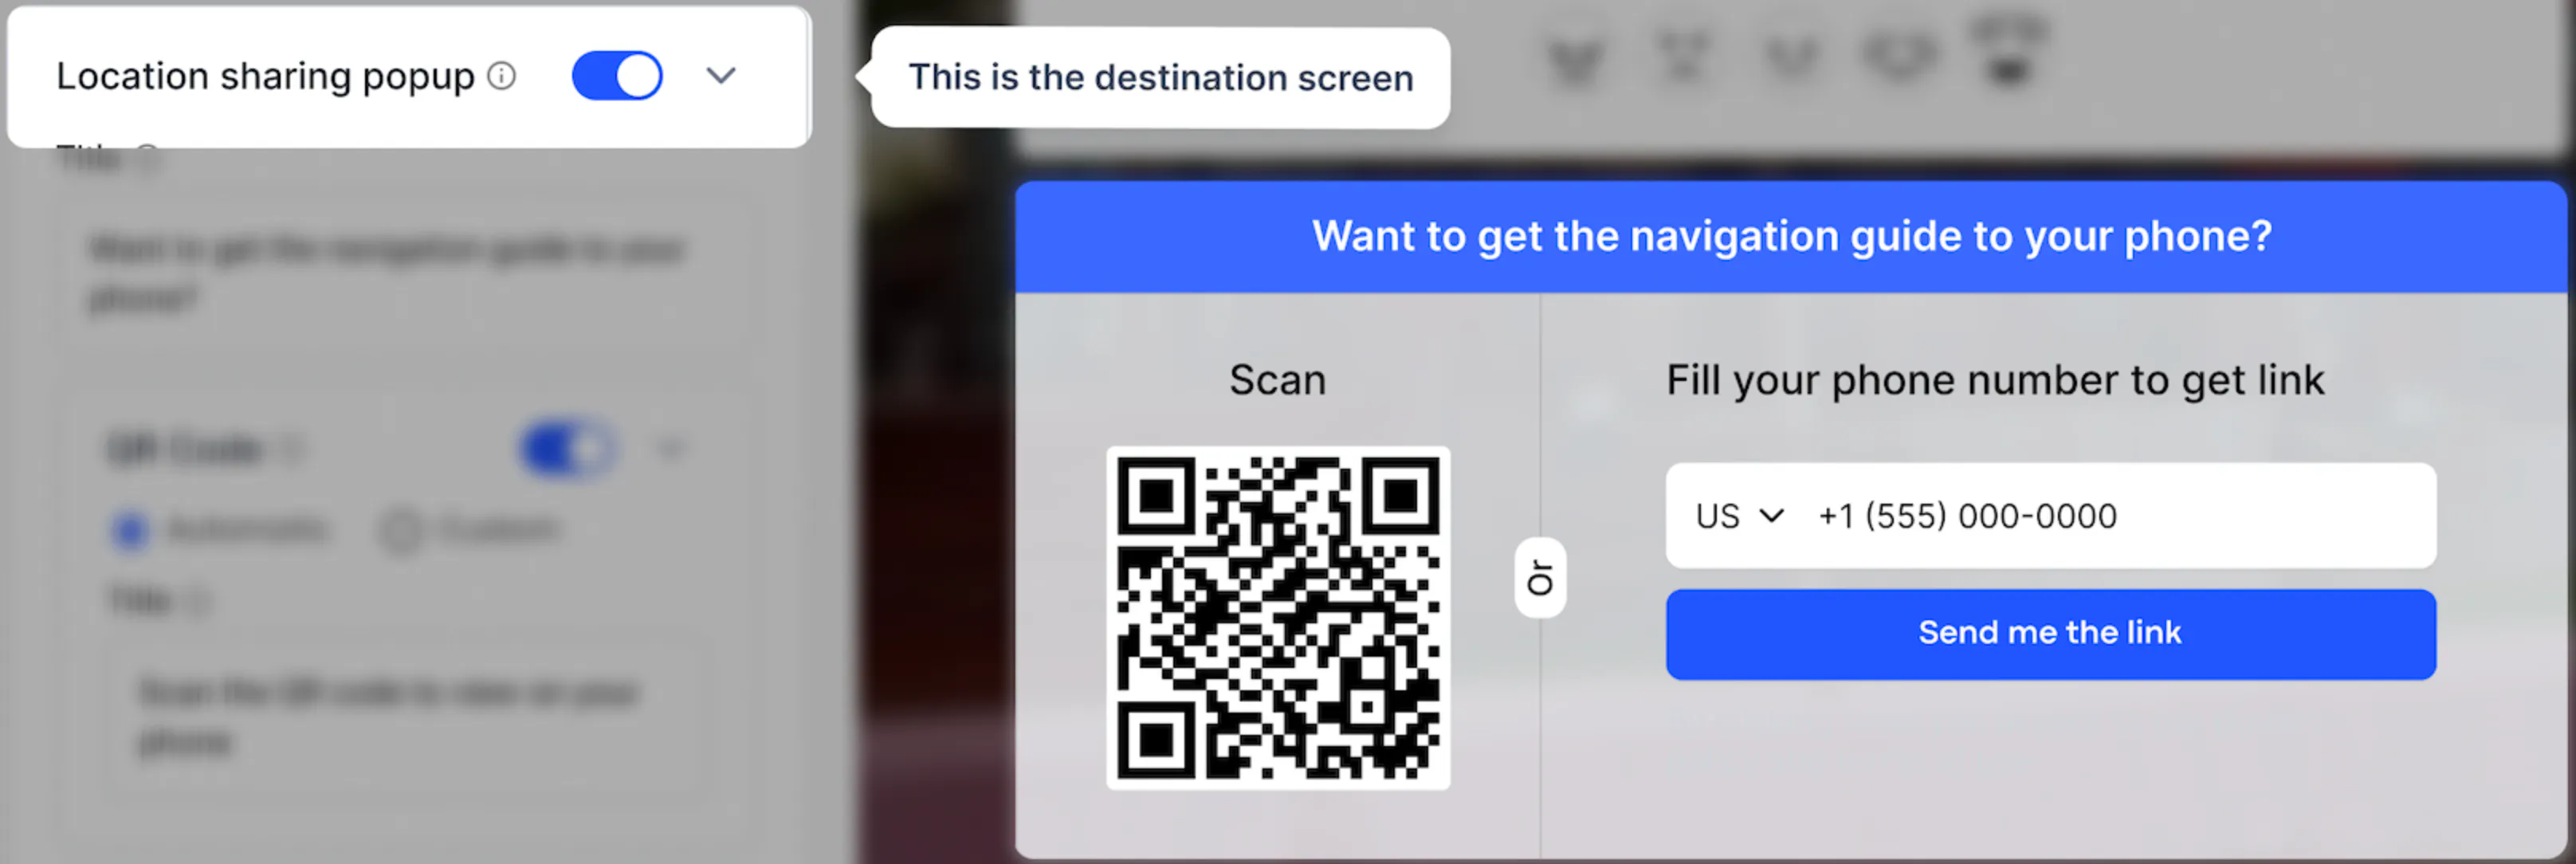
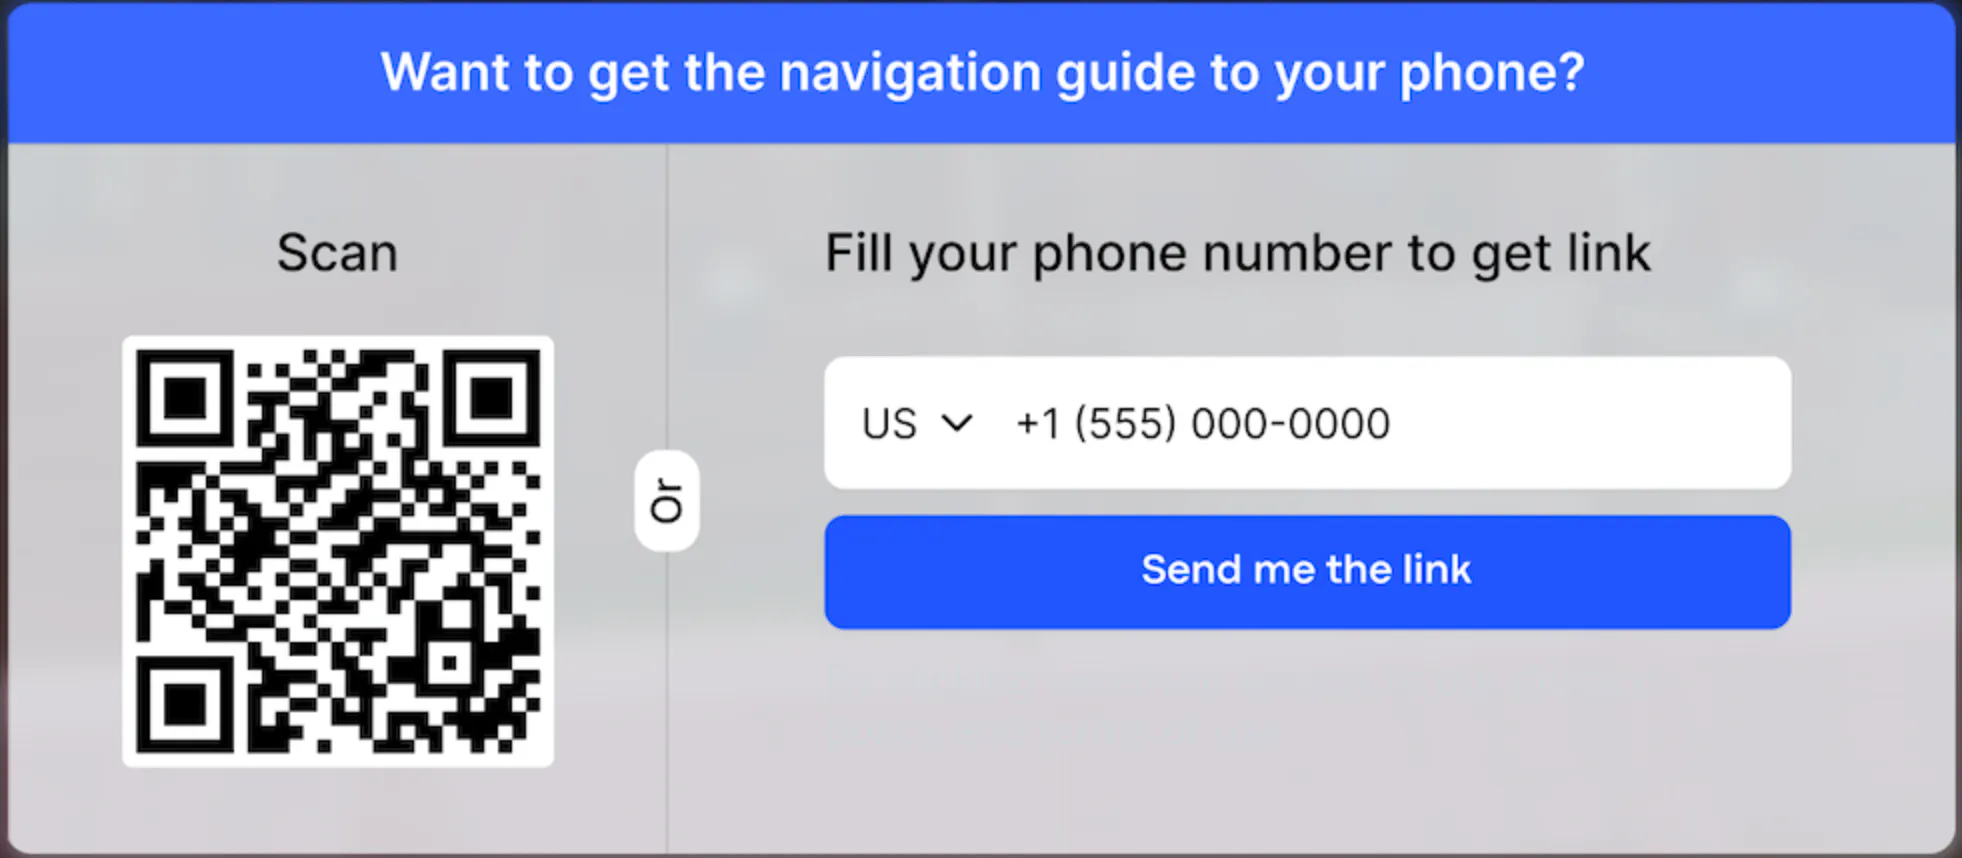
Location sharing pop-up can be used, if there are Physical Stations (kiosk) in the tour. When visitors reach the destination place, they can get the link for the same navigation path to their phone:
- by scanning the QR code (system will generate the navigation link automatically);
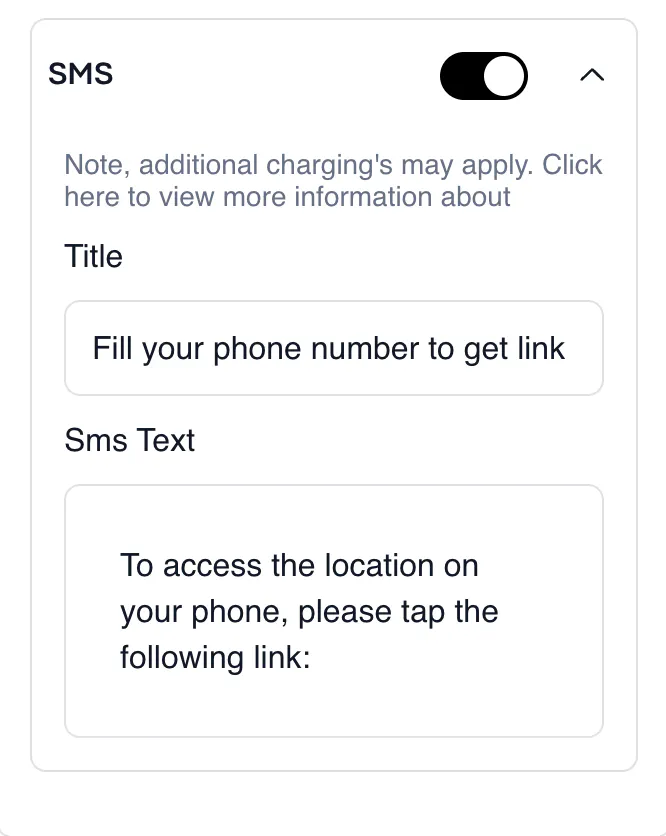
- via SMS (you can set up the title of the text message and the message itself).
Physical Stations
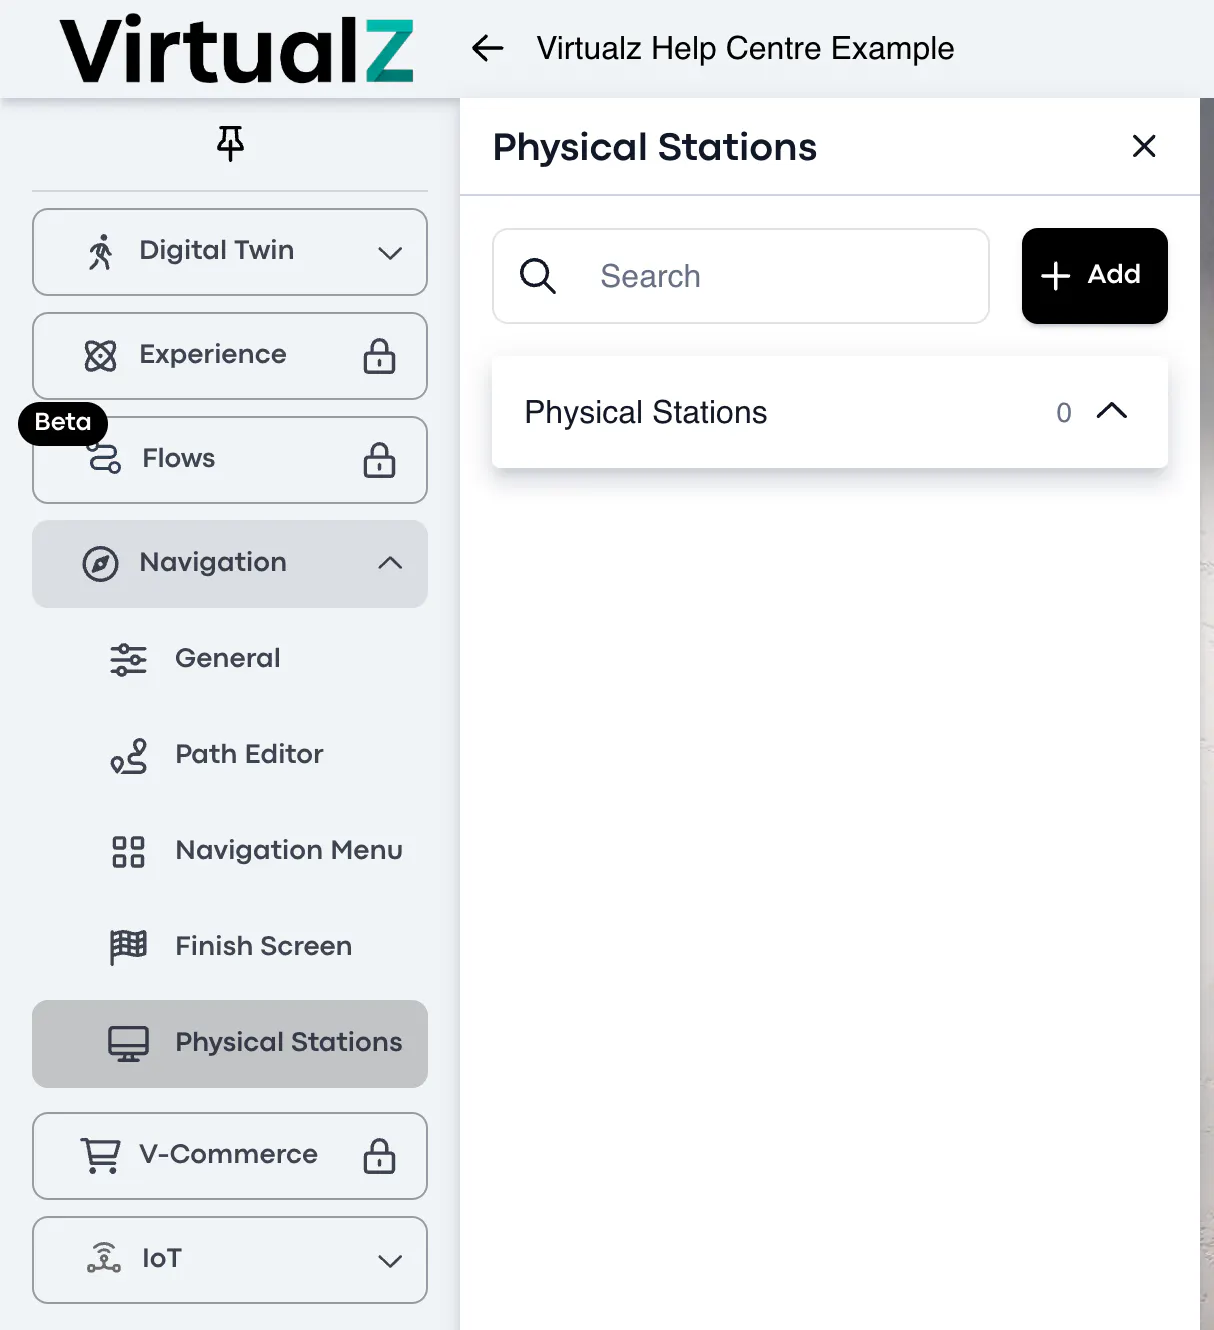
Physical Station is for the kiosk mode. It is a web version implemented under the physical station (kiosk), which is a standalone booth placed in the physical building, be it a hospital, shopping mall, hotel, factory etc. Kiosk mode exists to define the starting point of the navigation path.
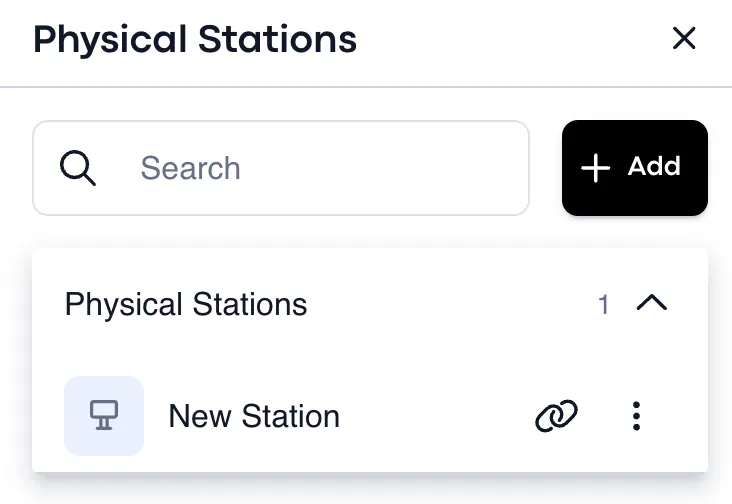
To add a physical station (kiosk), click + Add > and the title > add deep link or click to copy the current location > insert the URL link. When saved, the new kiosk station will be created. The edit mode is also available for the physical station, if there is a need to make some changes.
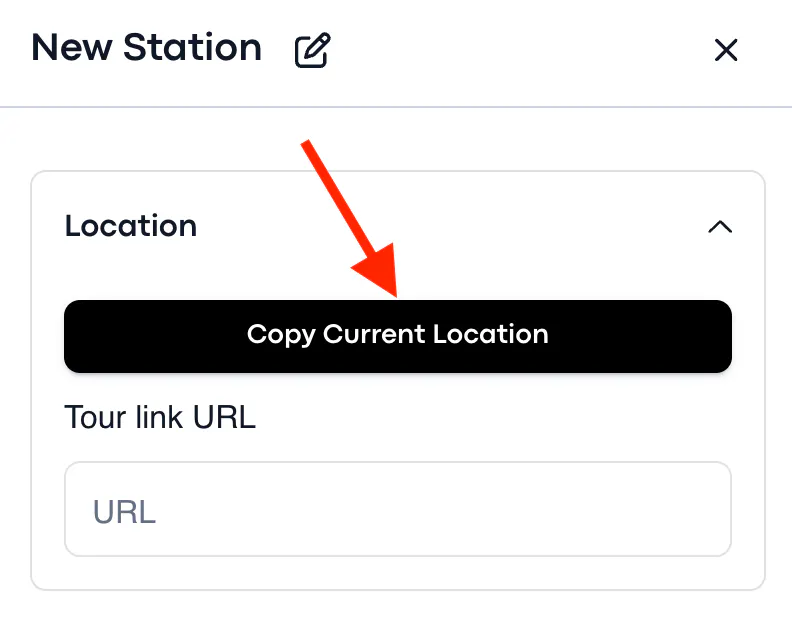
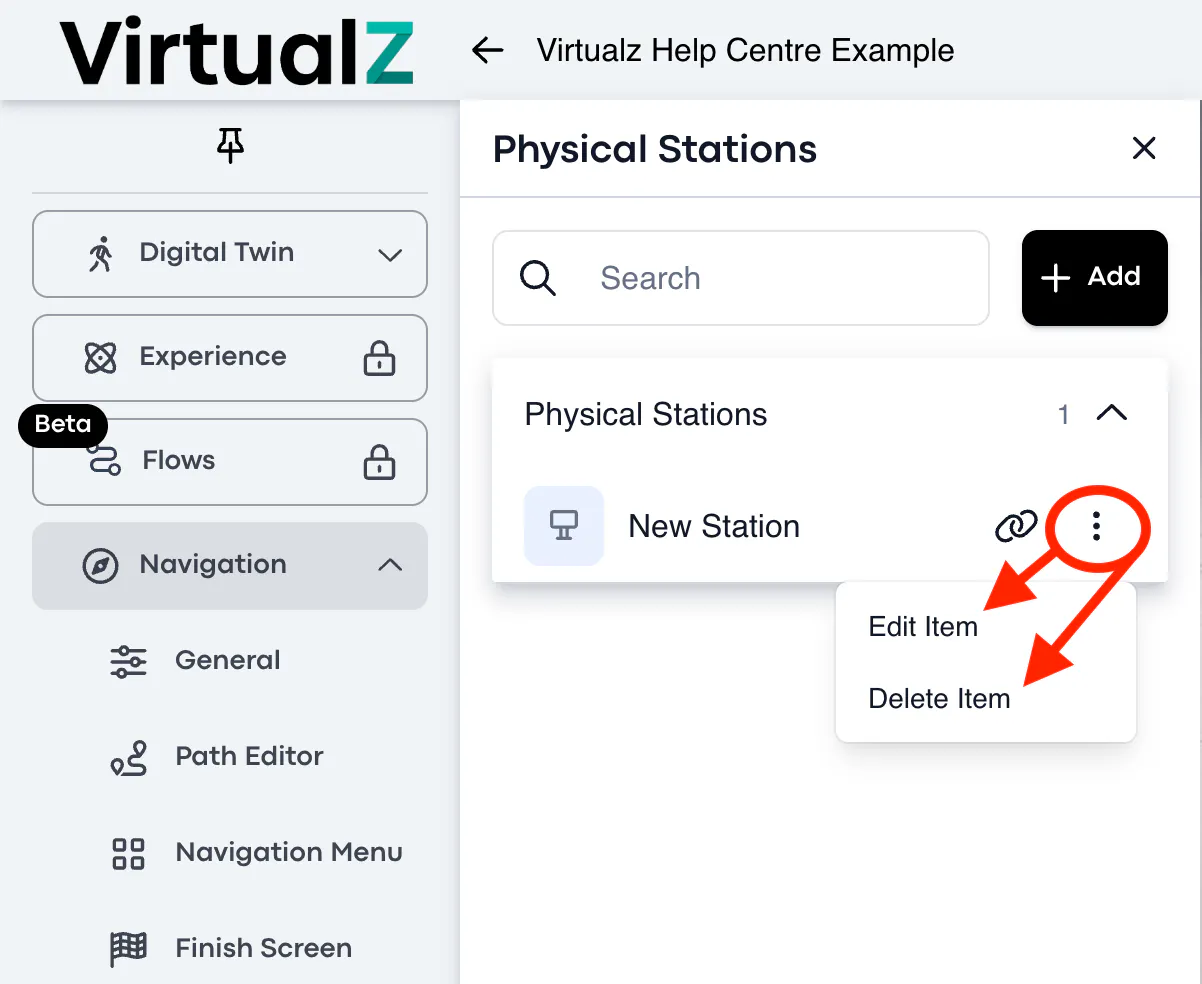
The operational system of the kiosk will show the path to the destination place basing on its physical location in the building. So you will need to indicate the deep link for the exact location in the physical stations in Virtualz workspace.
When the visitors arrive to the destination spot, they will get a pop-up screen, asking if they want to get the navigation route by scanning the QR code or via SMS. When the QR code is scanned or the phone number is entered, the user will get a link for the same route that starts from the physical station (kiosk), and shows exactly where the user needs to go, so a tour visitor is aware of the path in advance.
Kiosk mode has a timer, so if the users do not take any actions, the pop-up message will be closed in 30 sec and will open the starting page with the Navigation Menu.
__________________________________________________________________________________
FAQs
I don't see the Path Editor on the admin panel. How to open it?
The Path Editor will be displayed on the panel only after you have enabled the navigation mode (AR or Web) in 'General' settings.
Will the Matterport tags work in AR navigation? Or do I need to create Virtualz tags?
Yes, the Mattertags will also work in AR mode. To configure the tags, open the tags settings in Virtualz workspace and click to 'enable action' AND 'enable navigation' for each tag. Also there may be a need to move these tags from the default "Other" category into newly created category (to make the tags visible in AR mode).
I configured the tags (locations) for AR navigation but when I click on the tag, it doesn’t show me the route, why?
Can be 2 reasons:
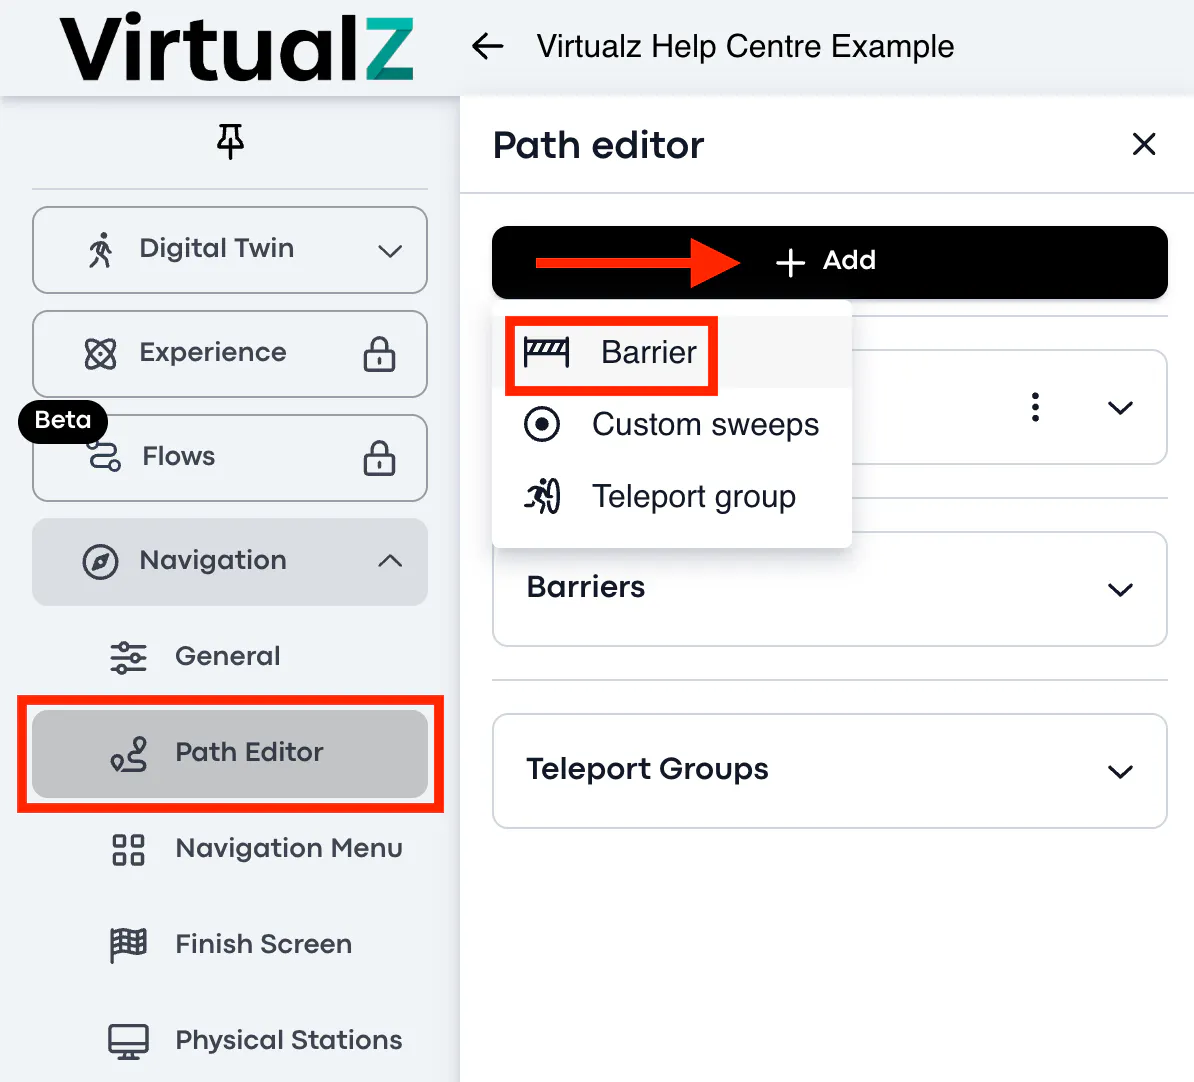
1. You need to create and remove a barrier on the space (temporary requirement while the Navigation Tool is BETA). Just click to create and put a barrier anywhere on the space and delete this barrier.
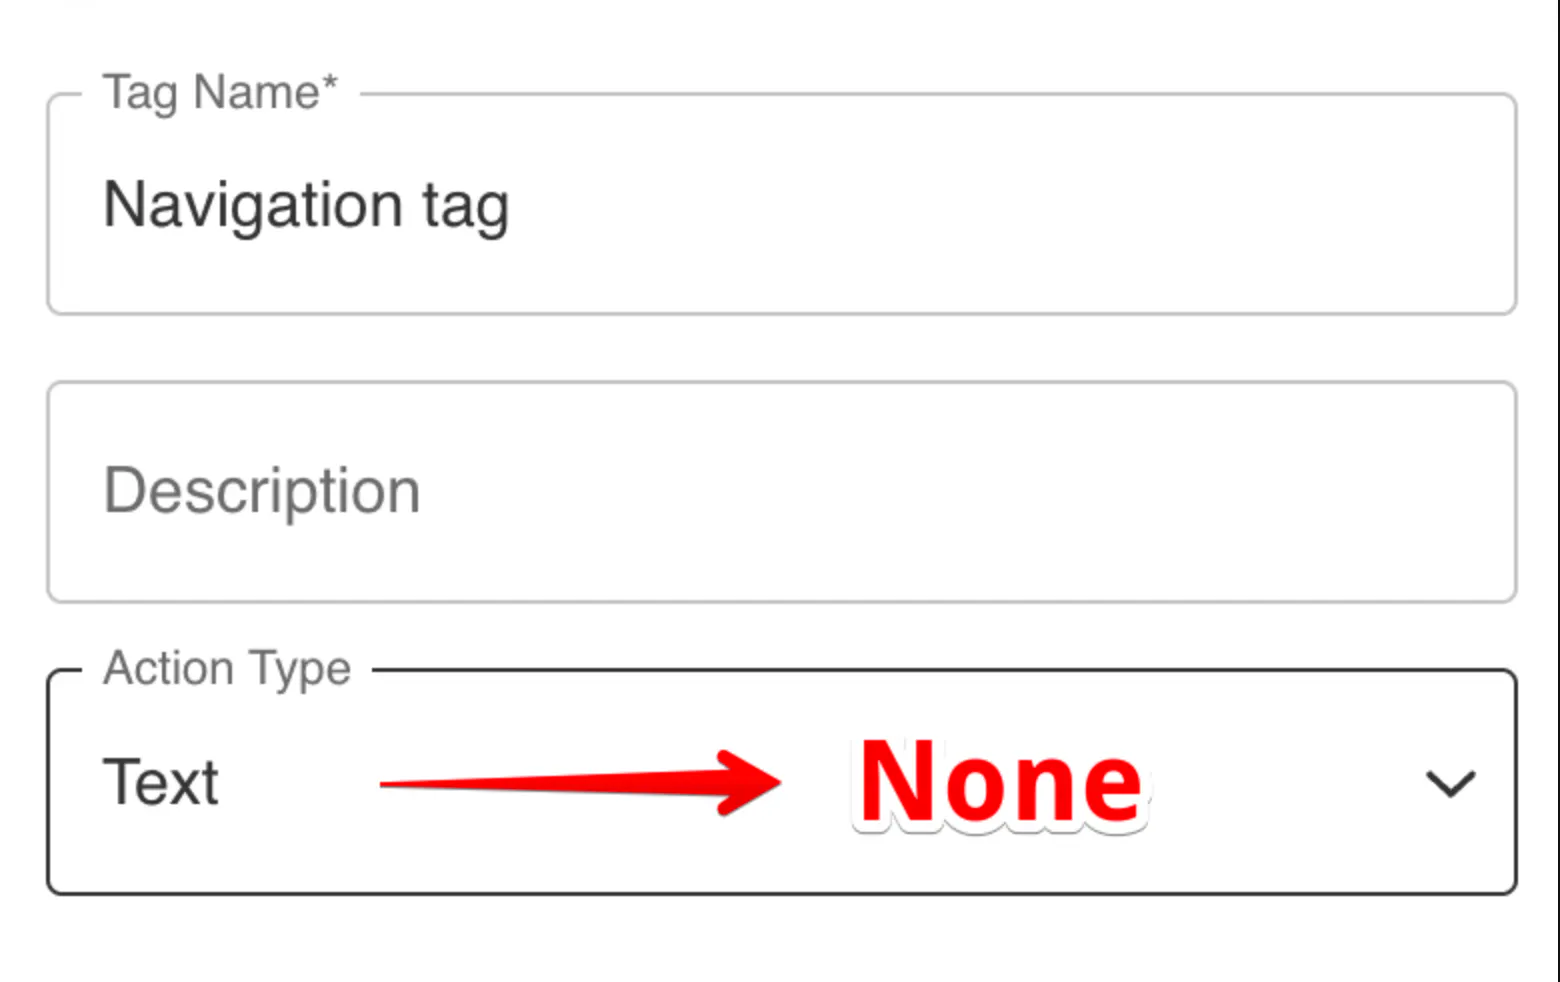
2. AR navigation can't recognize the tags, if they don't have NONE action type (also temporary, will be improved to make it work with all action types). You just need to change the tag action type to 'None' to make the tag(s) work properly in AR mode.
________________________________________________________________________________