V-Commerce Workspace: Adding Products
Once you have your settings in place, you can begin editing your V-Commerce tour in the workspace by adding products.
____________________________________________________________________________________
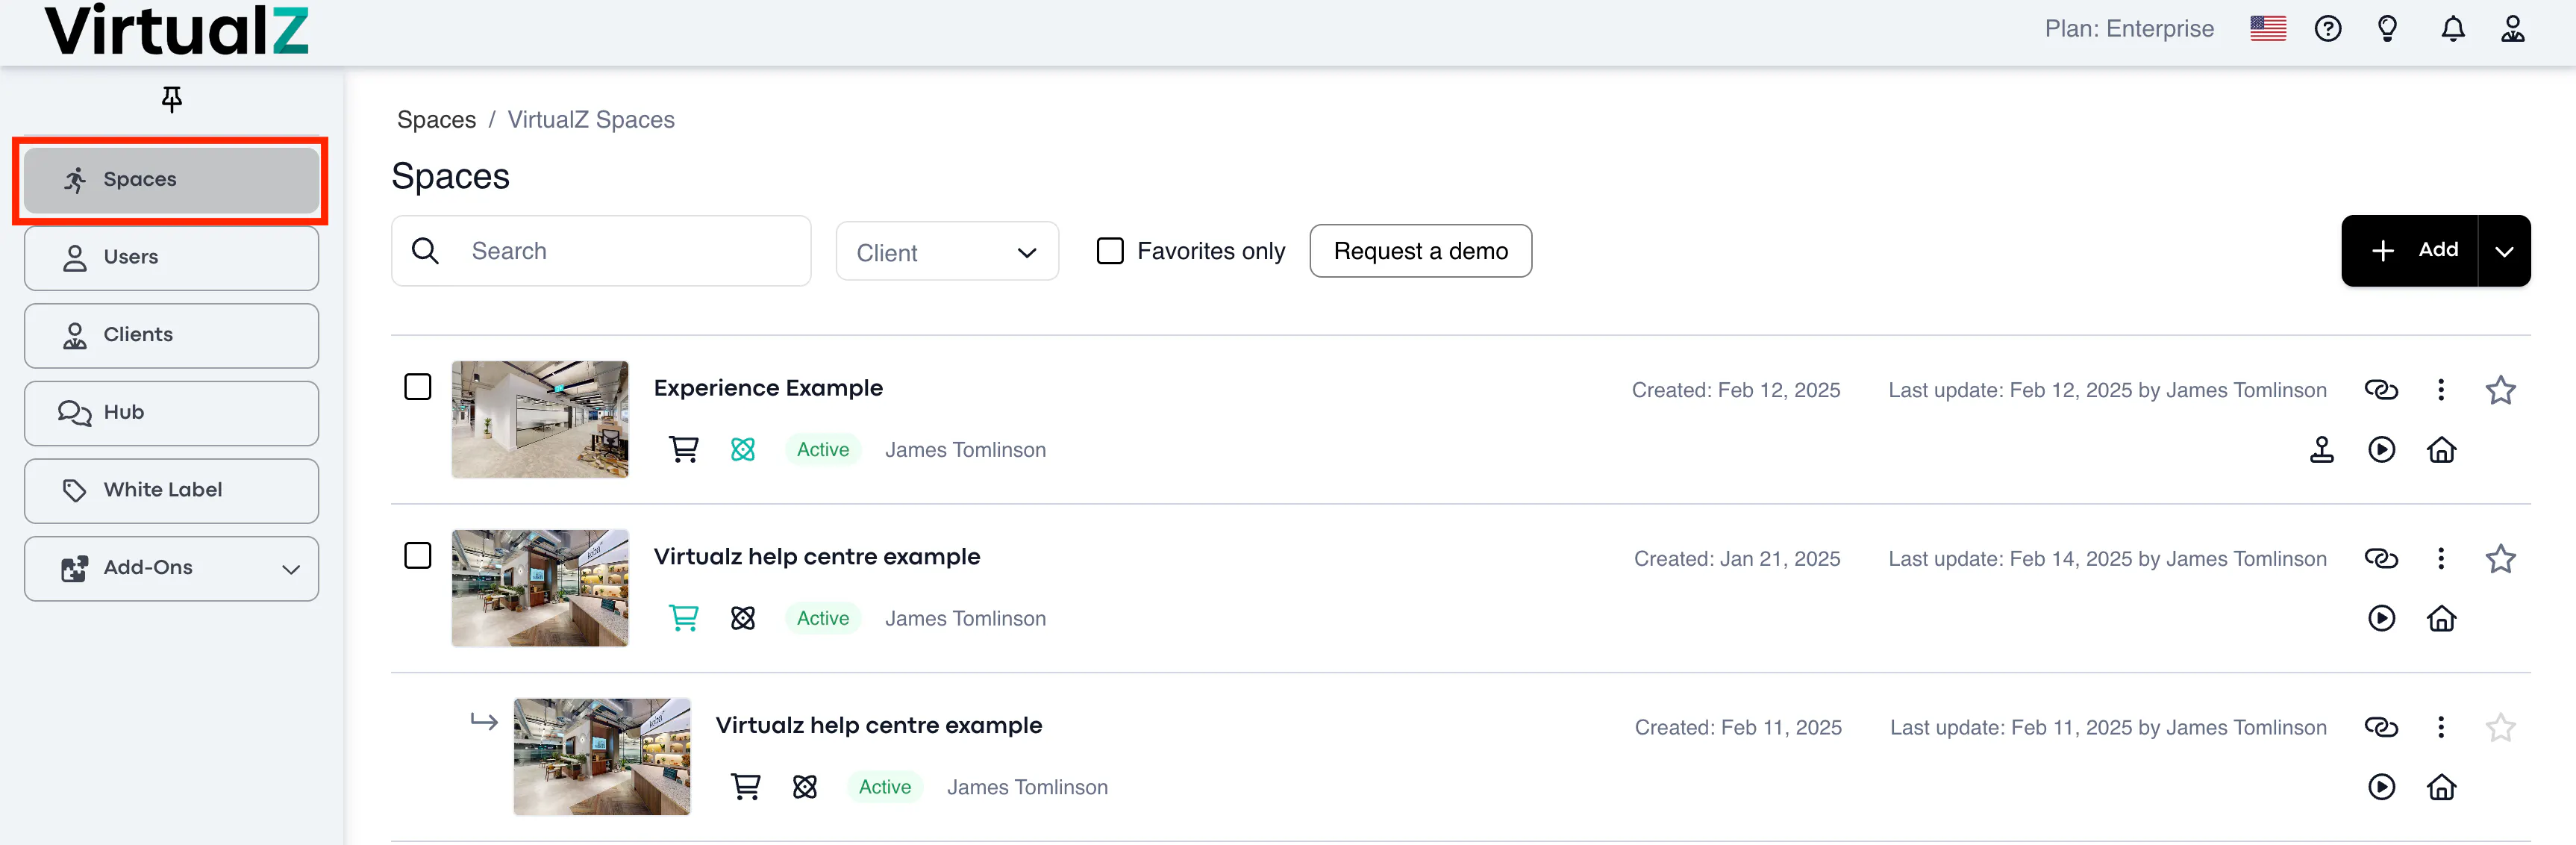
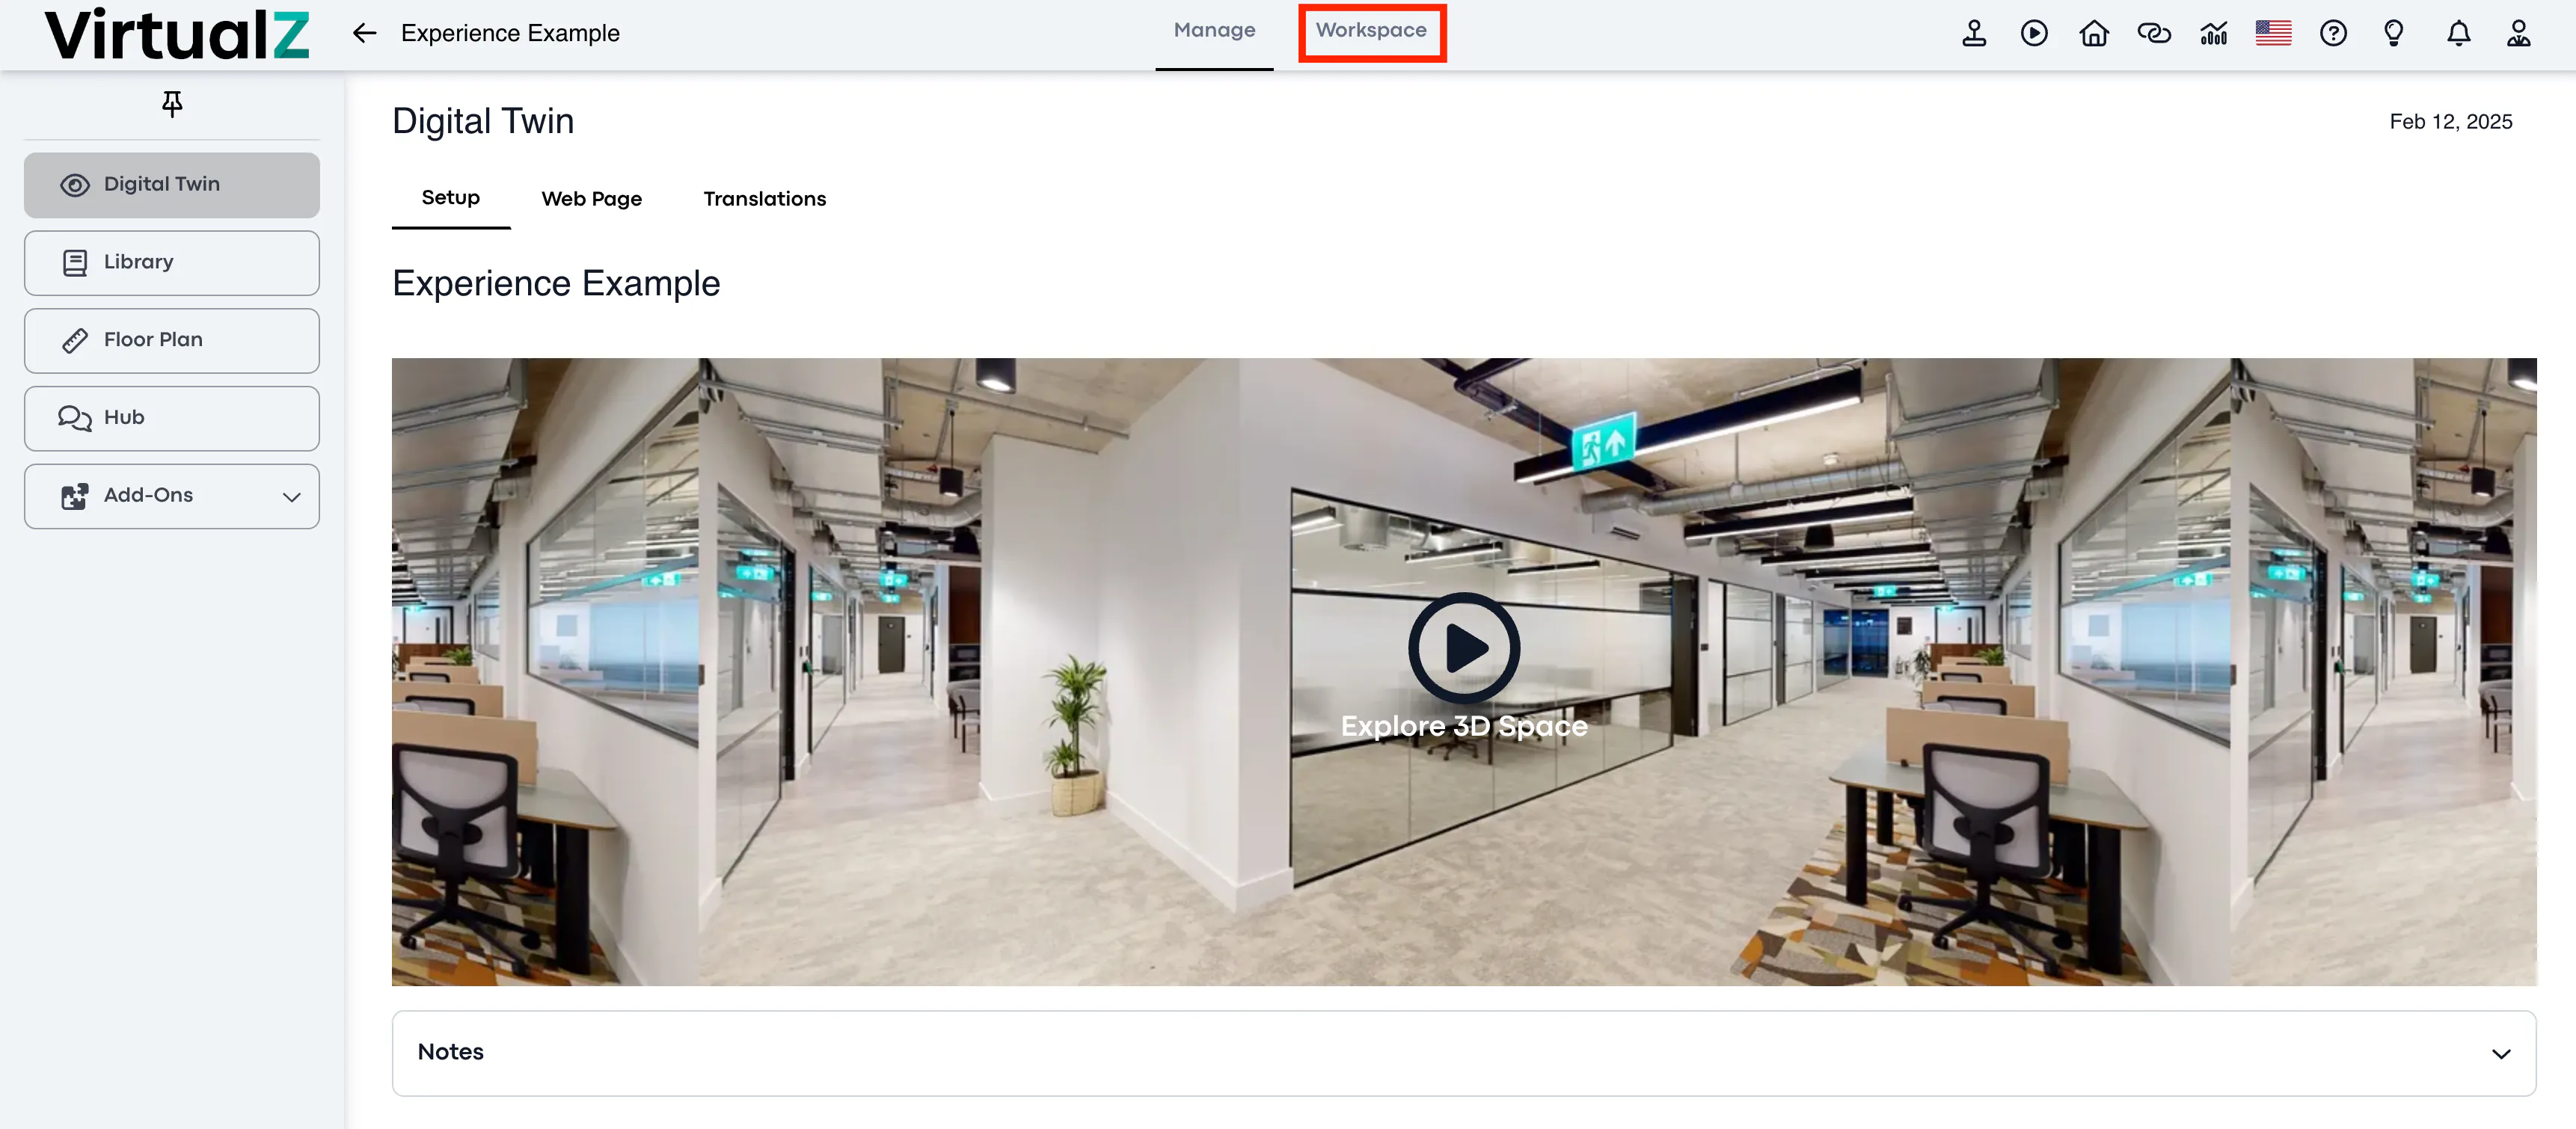
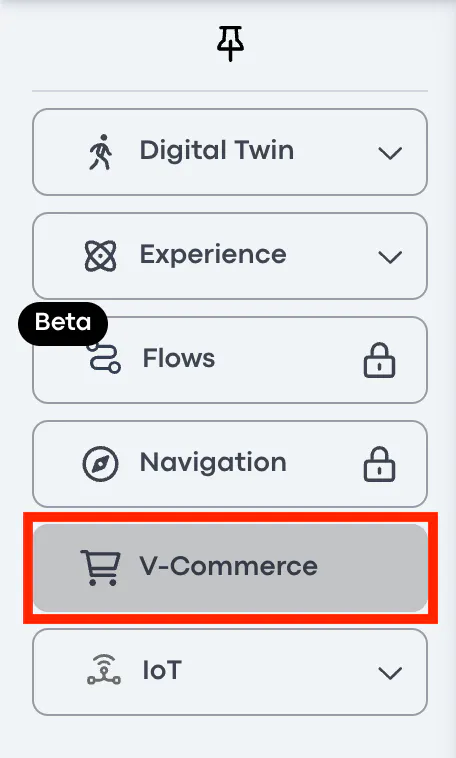
To add products to the tour, follow this path:
1. Spaces > Select the tour
____________________________________________________________________________________
2. Workspace
____________________________________________________________________________________
3. V-Commerce
____________________________________________________________________________________Functionality
Settings
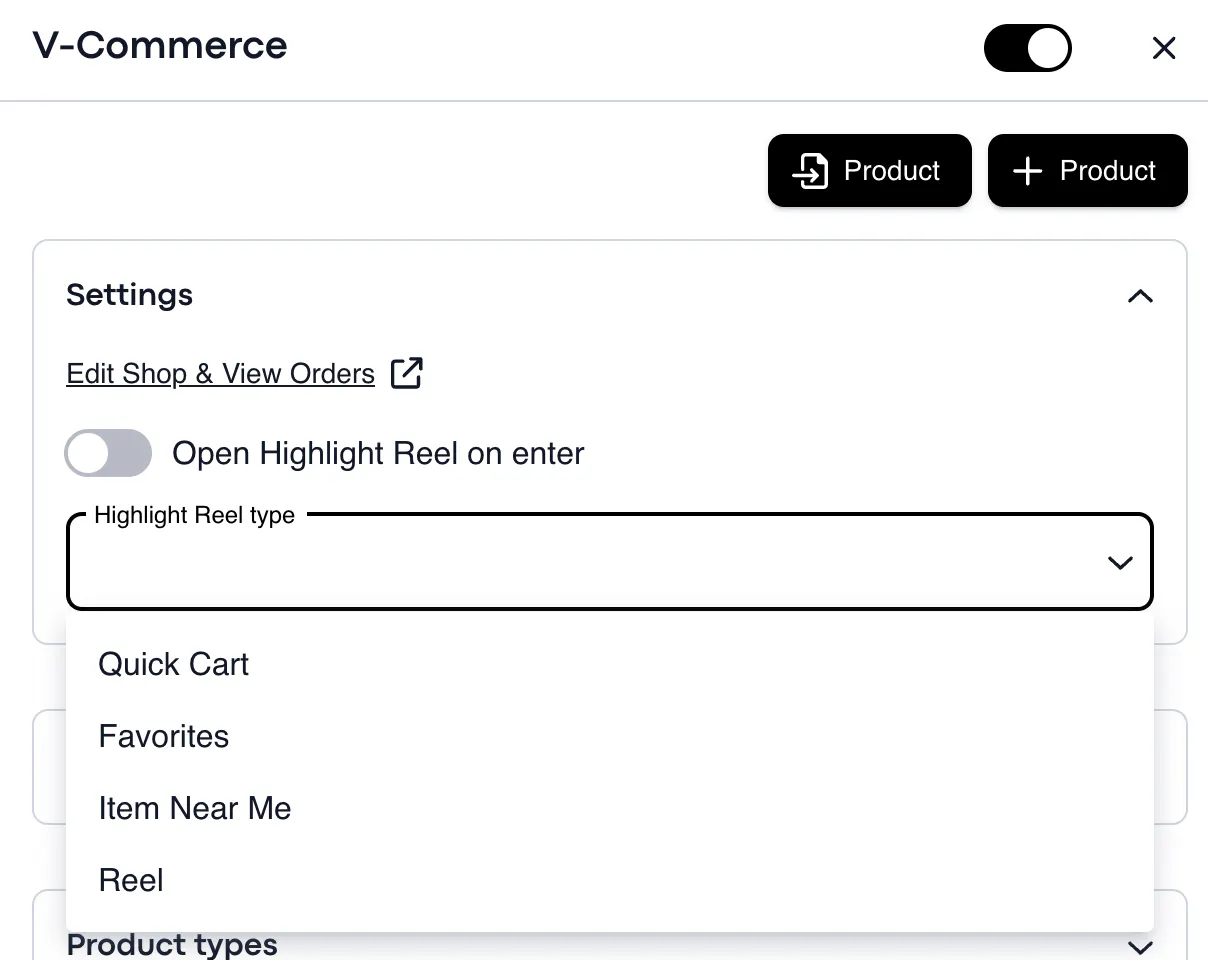
You can decide if you would like a Highlight Reel to open as soon as the user enters the tour.
You are given four options for the type of Highlight Reel.
1. Quick Cart: This option enables a quick view of the user's cart from the Highlight Reel.
2. Favorites: This option enables a quick view of the user's product favorite's from the Highlight Reel.
3. Item Near Me: When this option is enabled, product images will appear on the Highlight Reel when the user is near to them.
4. Reel: This is the classic Highlight Reel.
________________________________________________________________________________
Products
You can add products in one of two ways.
The first is to import them into the tour as CSV files following the CSV format of "title, description, vendor, product type, price, compare price, VAT, media".
The second is to add the products manually from within the workspace.
________________________________________________________________________________
Manually Adding Products
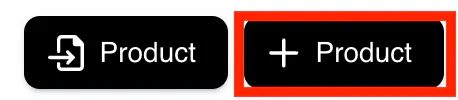
To manually add products to the tour, click the "+ Product" button.
________________________________________________________________________________
Info
There are various settings under Info when adding products manually.
________________________________________________________________________________
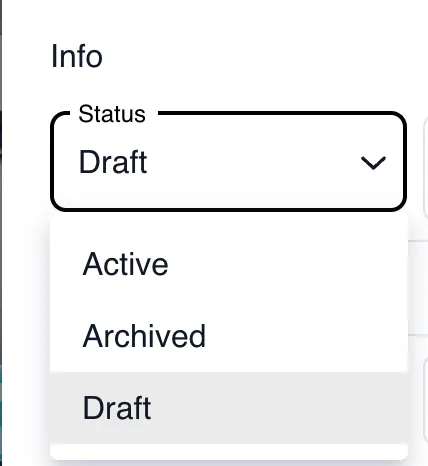
Status
Choose the product status. Only choose 'Active' when you are ready for the product to be displayed in your V-Commerce tour.
________________________________________________________________________________
Type & Vendor
Manually add the type of product, for example 'shoe', and the vendor for this product.

________________________________________________________________________________
Product Name
This name will be visible to the users.

________________________________________________________________________________
Link to product
You can provide a link to your product. This is optional.

________________________________________________________________________________
Pricing
Here you can determine the price of the product.
You can also insert a 'Compare Price' which is useful if you are having a sale, for example.
You can also insert the VAT for this product.

________________________________________________________________________________
Track Quantity
If you have a limited number of the same product available, then enable 'Track Quantity' to ensure that you do not sell more products than you have in stock.

________________________________________________________________________________
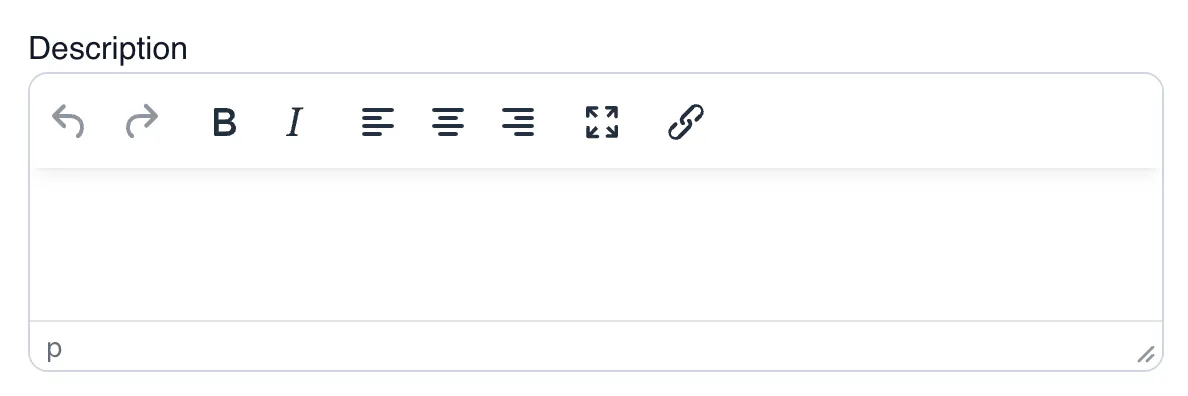
Description
You can add a description to be displayed alongside the product.
________________________________________________________________________________
Media
You can upload an image of the product

________________________________________________________________________________
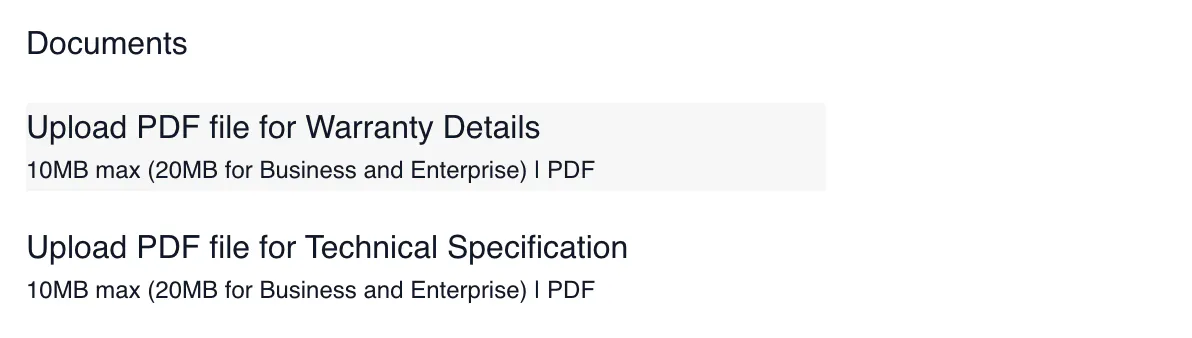
Documents
You can also upload documents relevant to the product.
________________________________________________________________________________
Specifications
You can create specifications for the product.

________________________________________________________________________________
Adding Specifications
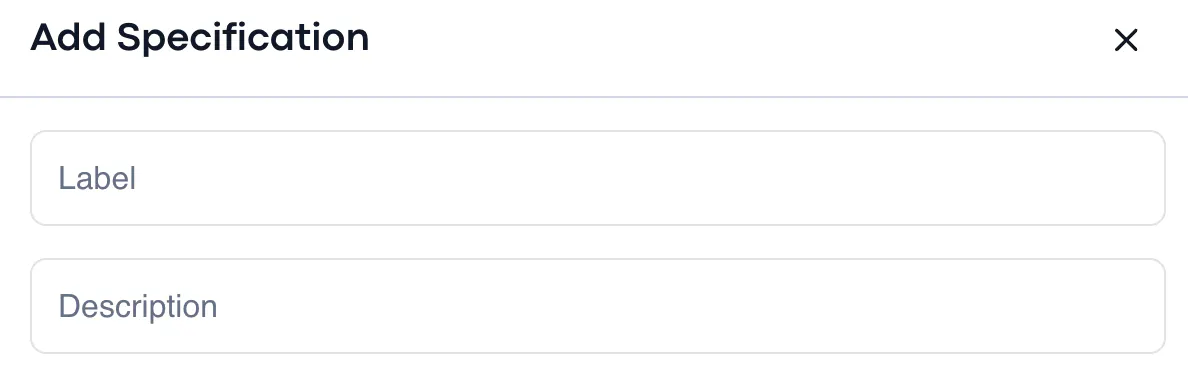
You can manually add product specifications.
If you wanted to specify the colour of the product, then the Label would be 'Colour' and the Description would be 'Brown', for example.
You can also add specifications later, after you have added the product.
_______________________________________________________________________________