Articles in this section
- Experience Creator: What is it and how to activate?
- Experience Creator: Preparation steps and examples
- Experience Creator: General
- Experience Creator: Timer
- Experience Creator: Experience Book
- Experience Creator: Backpack
- Experience Creator: Locks - General Info
- Experience Creator: Code Lock
- Experience Creator: Keyboard Lock
- Experience Creator: Collect Lock
- Experience Creator: Sequence Lock
- Experience Creator: Pop-up Trivia Lock
- Experience Creator: Genial.ly Lock
- Experience Creator: Conditions
- Experience Creator: Hints
- Experience Creator: Path General
- Experience Creator: Adding Steps to Path
Experience Creator: Conditions
Conditions are attached to locks. They’re used when you want to control the appearance and disappearance of objects in the experience. You can reveal, hide, or make a lock popup.
To find Conditions, follow this path:
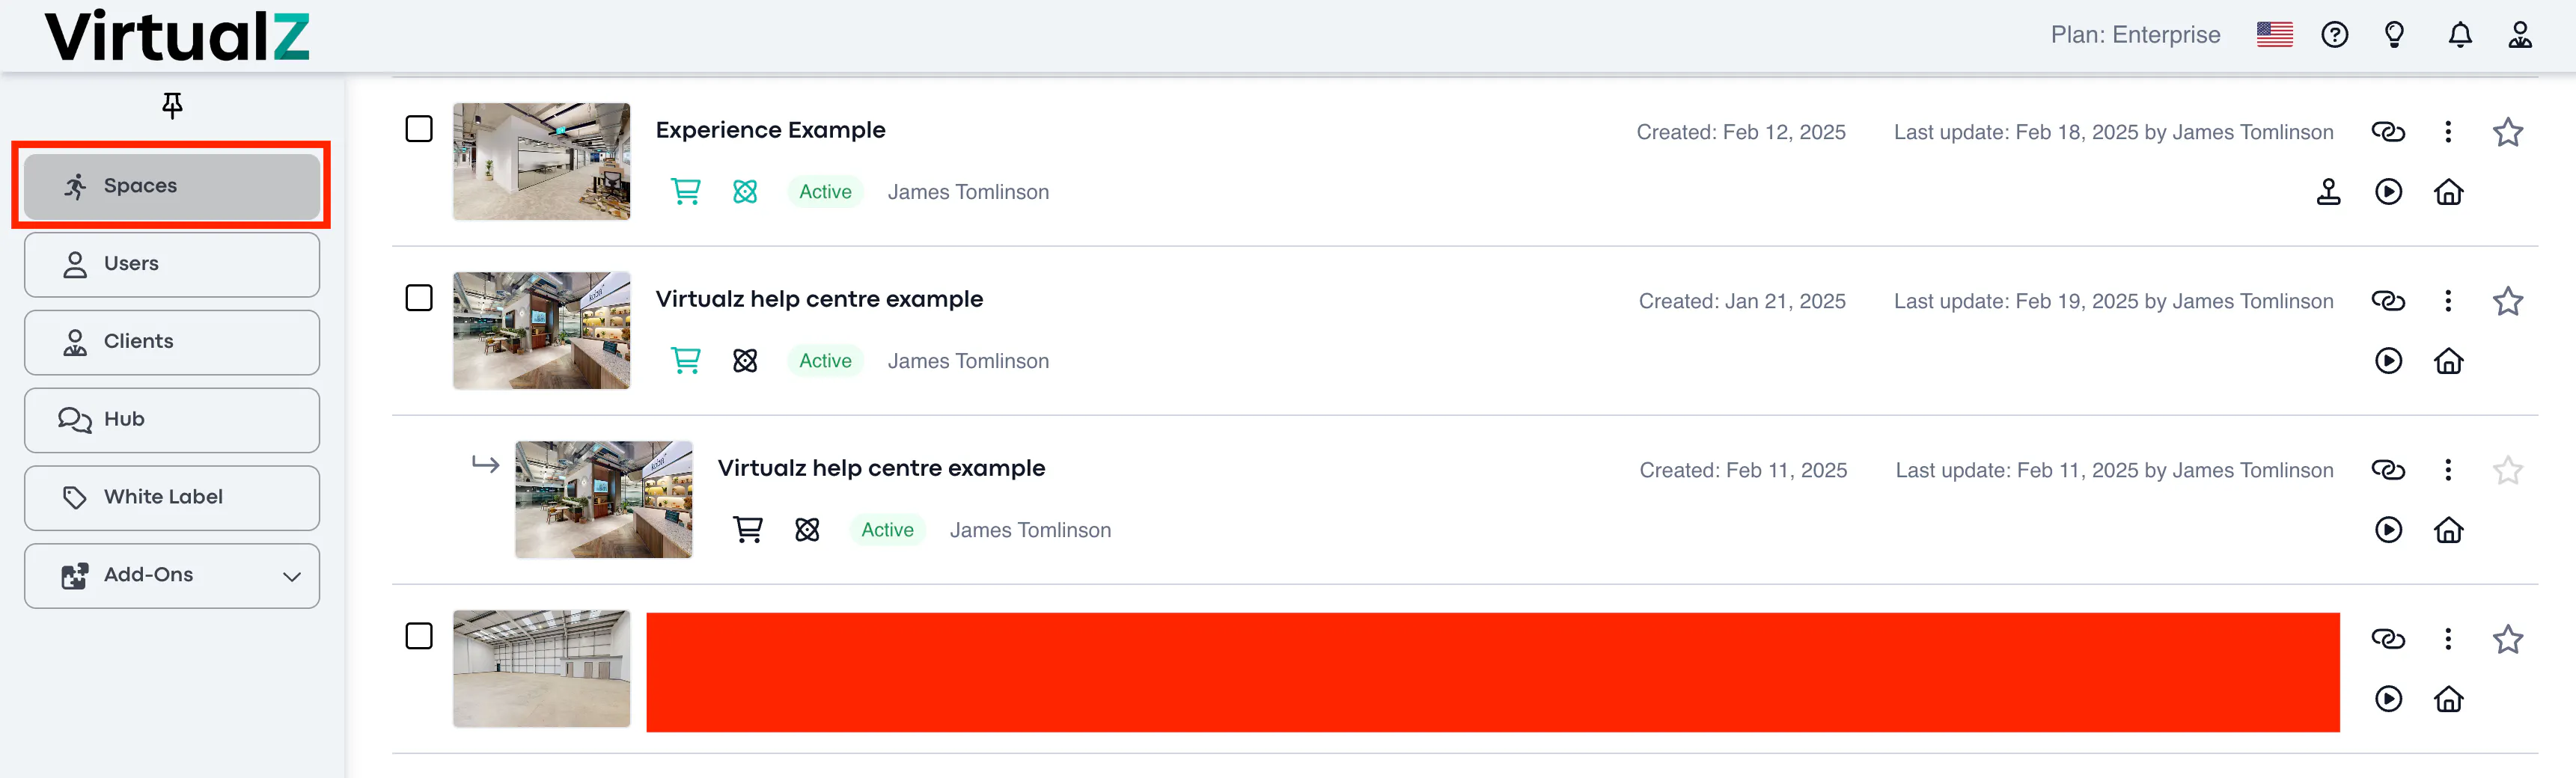
1. Spaces > select the tour:
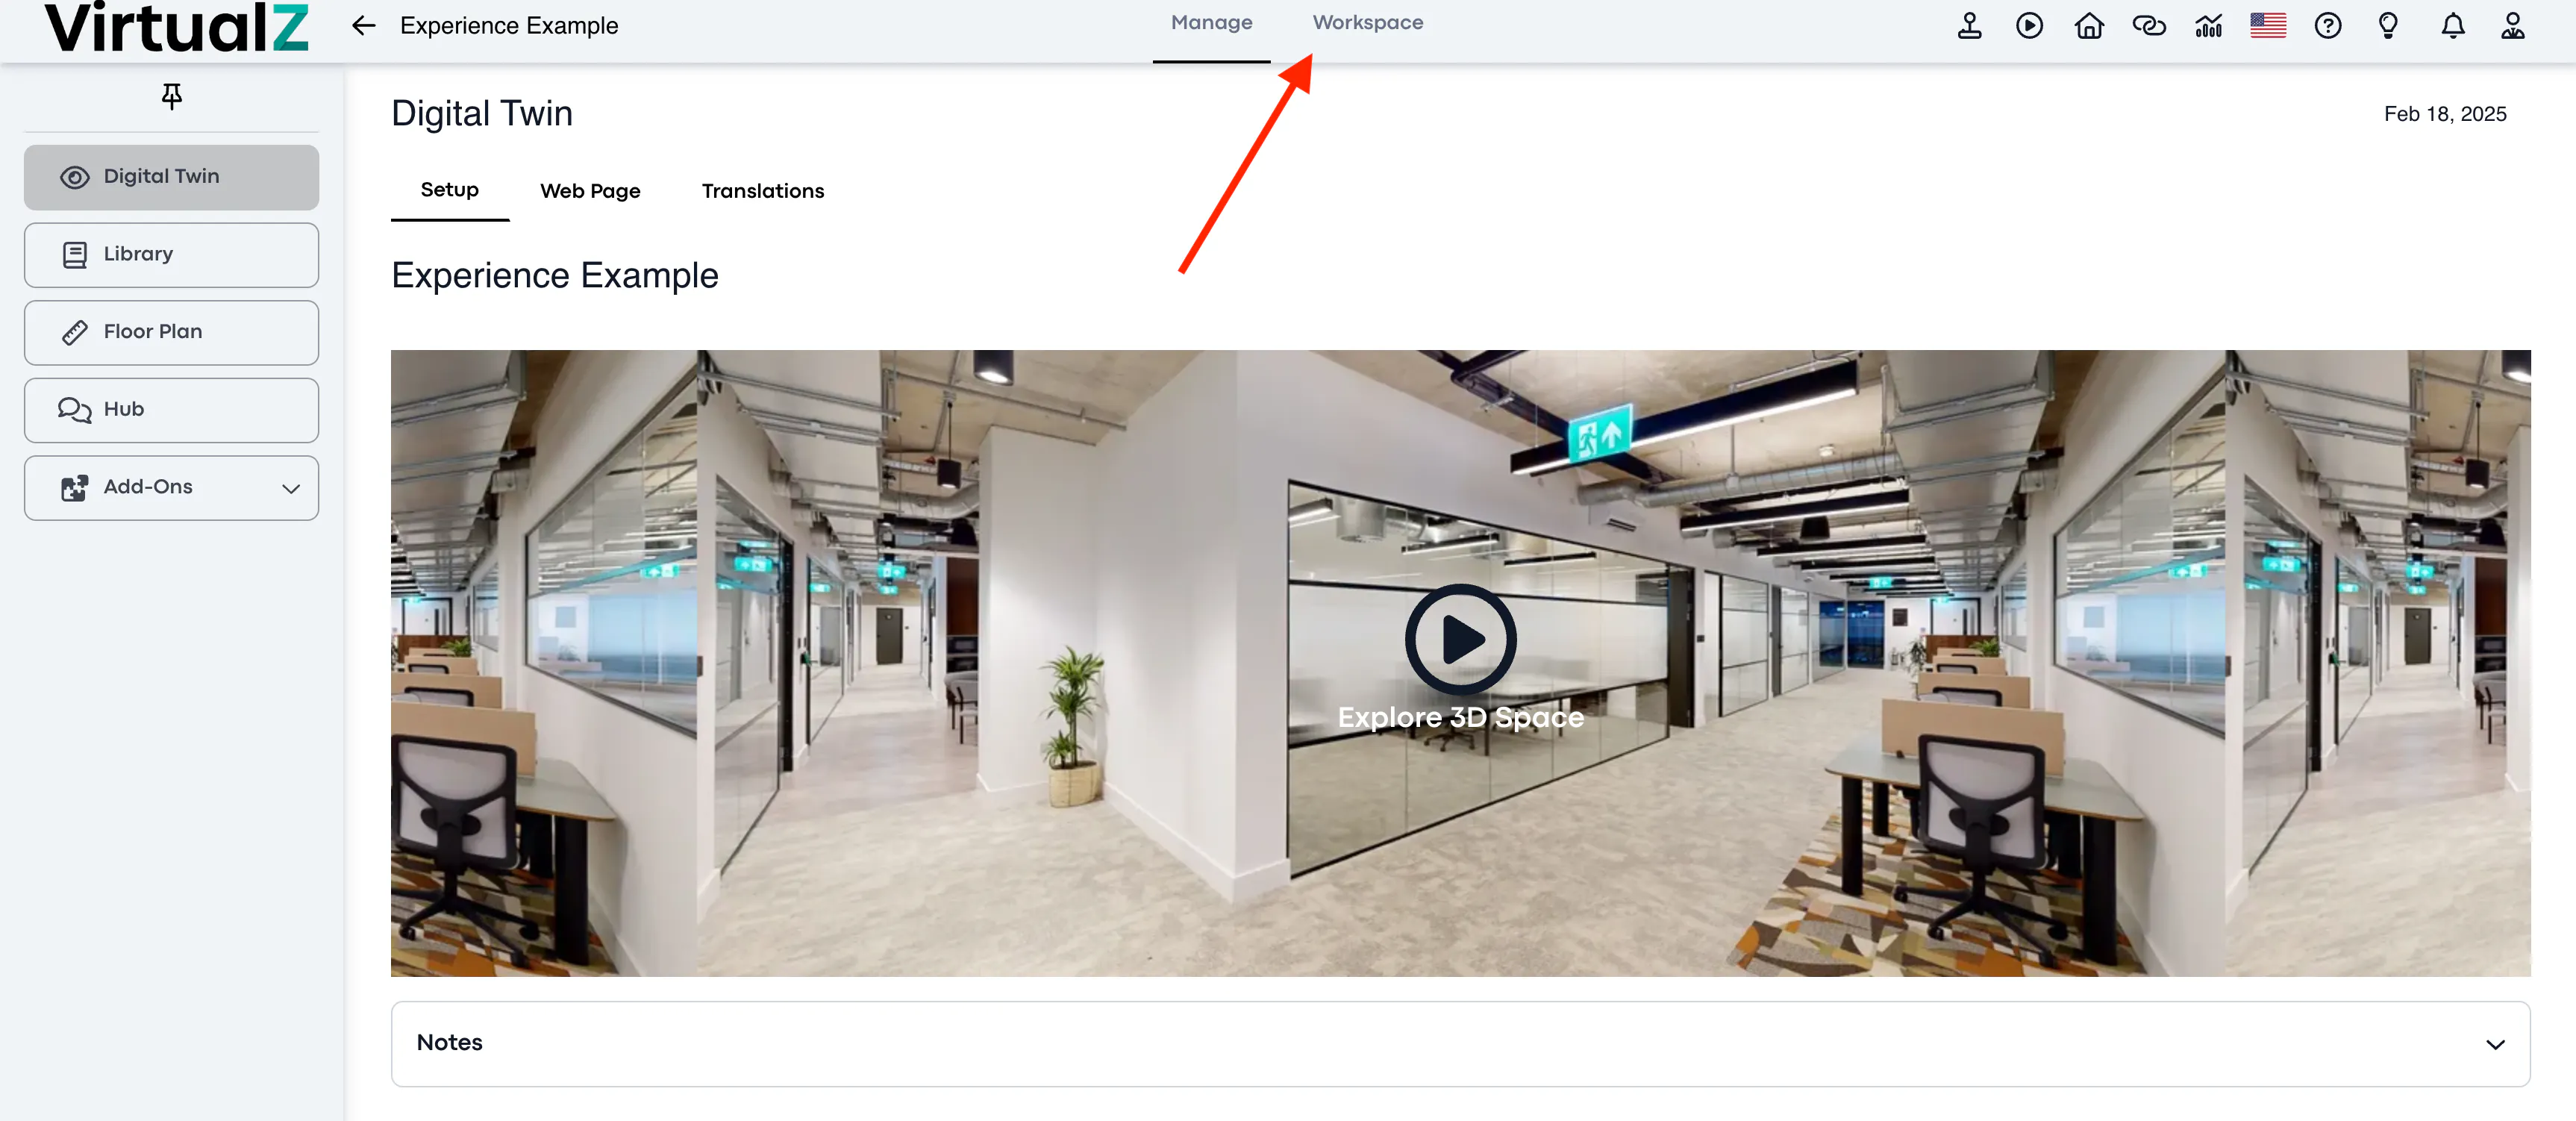
2. Workspace:
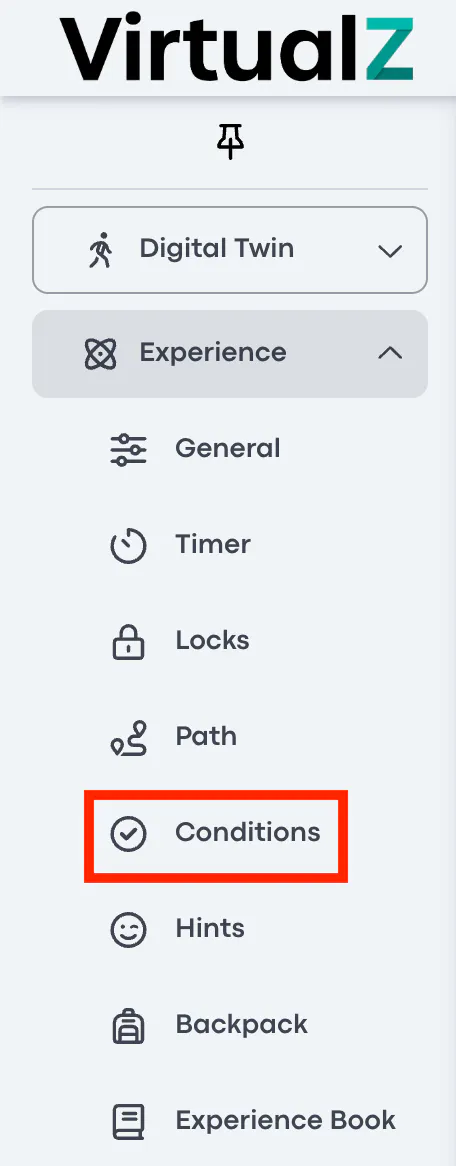
3. Experience add-on > Conditions:
Functionality
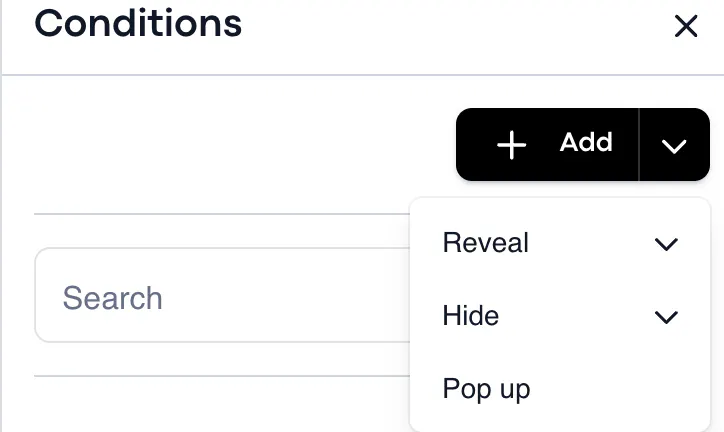
There are three types of Conditions that you can add to the experience. Namely: Reveal, Hide, and Pop Up.
____________________________________________________________________________________
Reveal
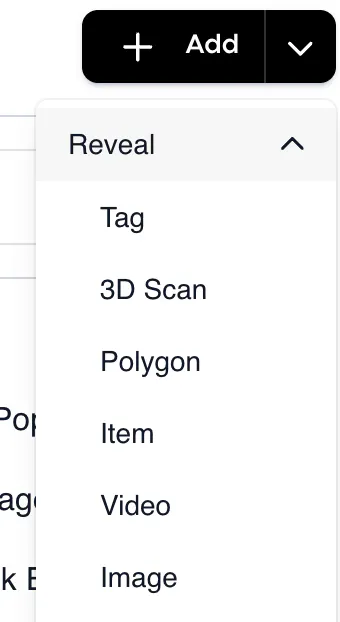
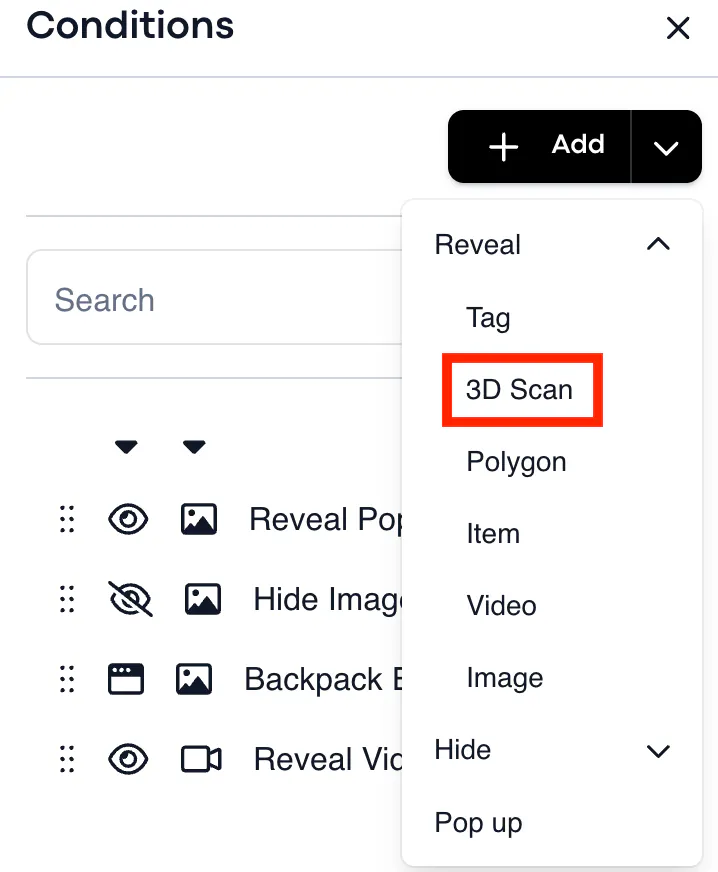
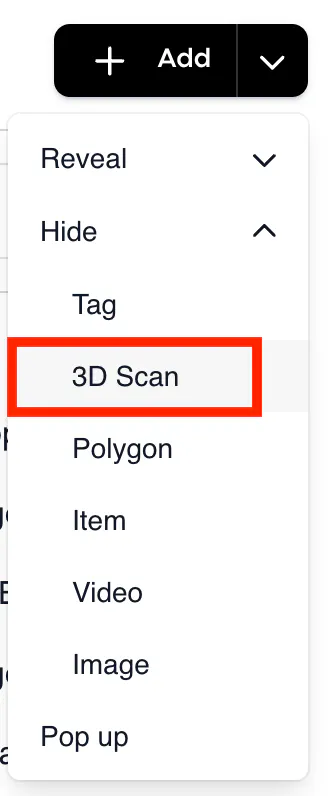
To add a Reveal Condition, click the dropdown menu and choose which element you would like to reveal.
Name
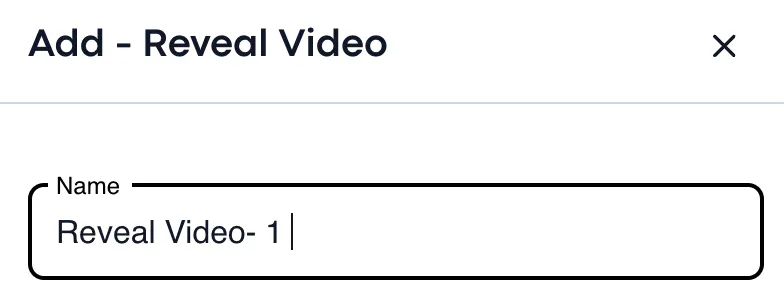
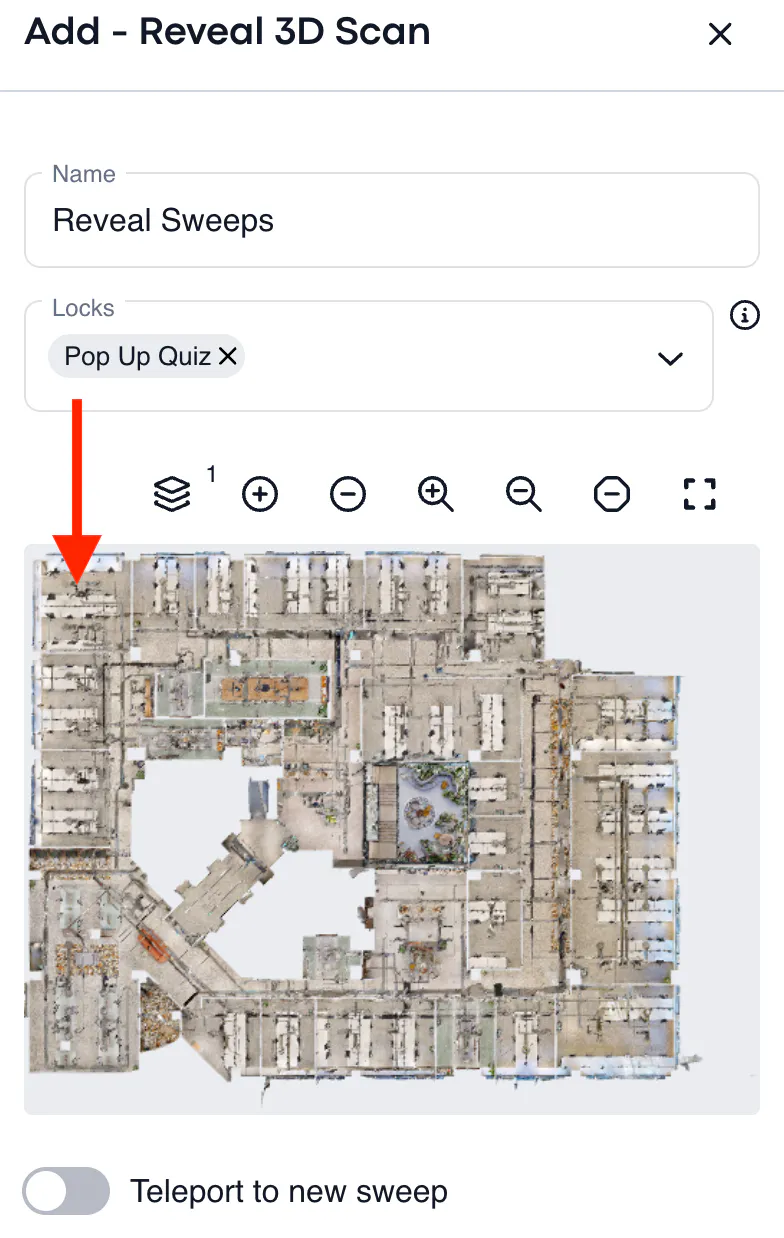
After you have chosen the type of element you would like to reveal, you need to give your condition an internal name.
Locks
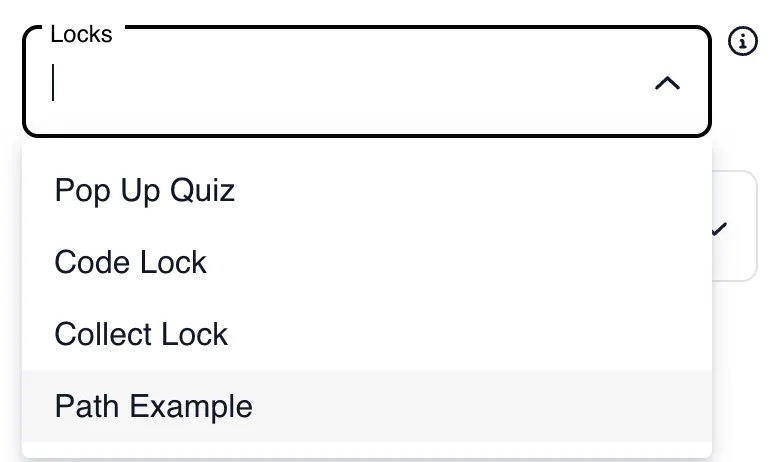
You will then have to decide which lock will activate the condition once solved.
For example, if you want that completing the Pop Up Trivia lock will reveal a video, then you choose the Pop Up Trivia lock here.
You then choose the exact video that you would like to be revealed.
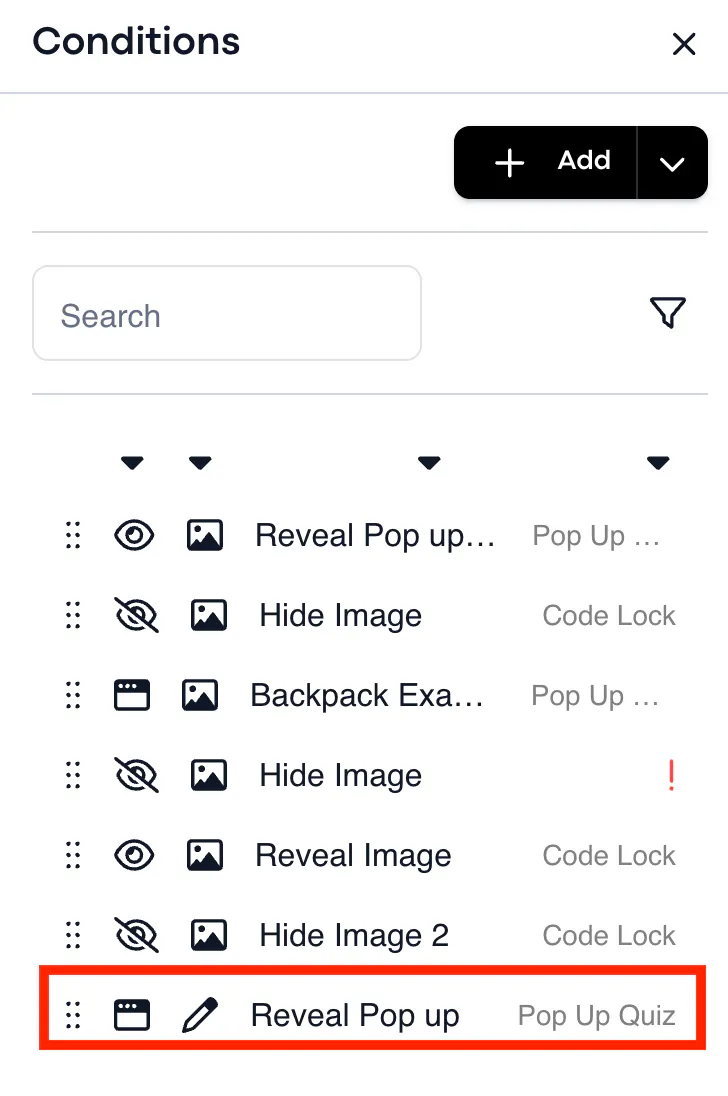
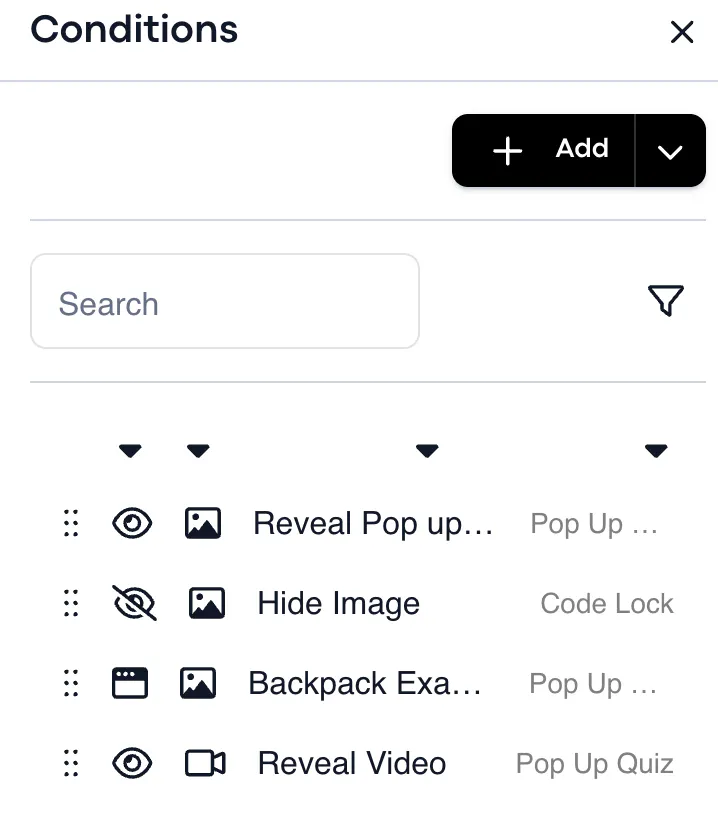
Once saved, it should appear at the bottom of the page:
You can reveal sweeps if they were previously hidden. This will enable you to unhide specific locations while on the tour or experience:
____________________________________________________________________________________
Hide
You can hide assets in the experience in two ways:
1. Hide Without Locks
This feature provides a valuable option for concealing assets within the user experience right from the beginning of their journey.
There are two main reasons you might want to do this: to reduce clutter and create a cleaner experience, or to selectively reveal information at specific points during the experience.
To hide assets without locks, you'll need to start by keeping one asset revealed. This particular asset will serve as the trigger for the sequential reveal of other assets, creating a domino effect.
Then hide all of the others one by one in the condition section without assigning them to locks.
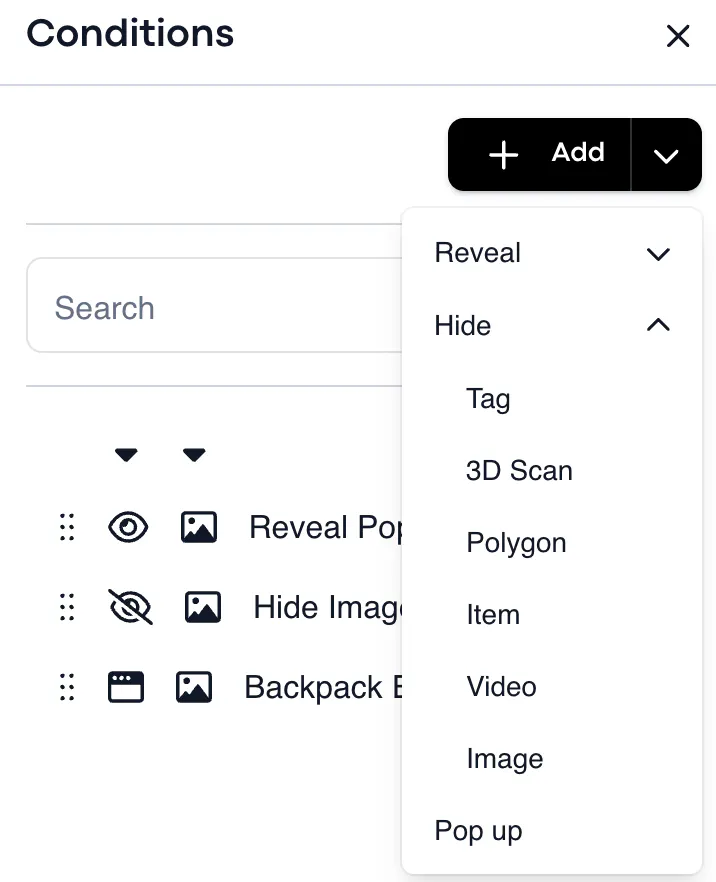
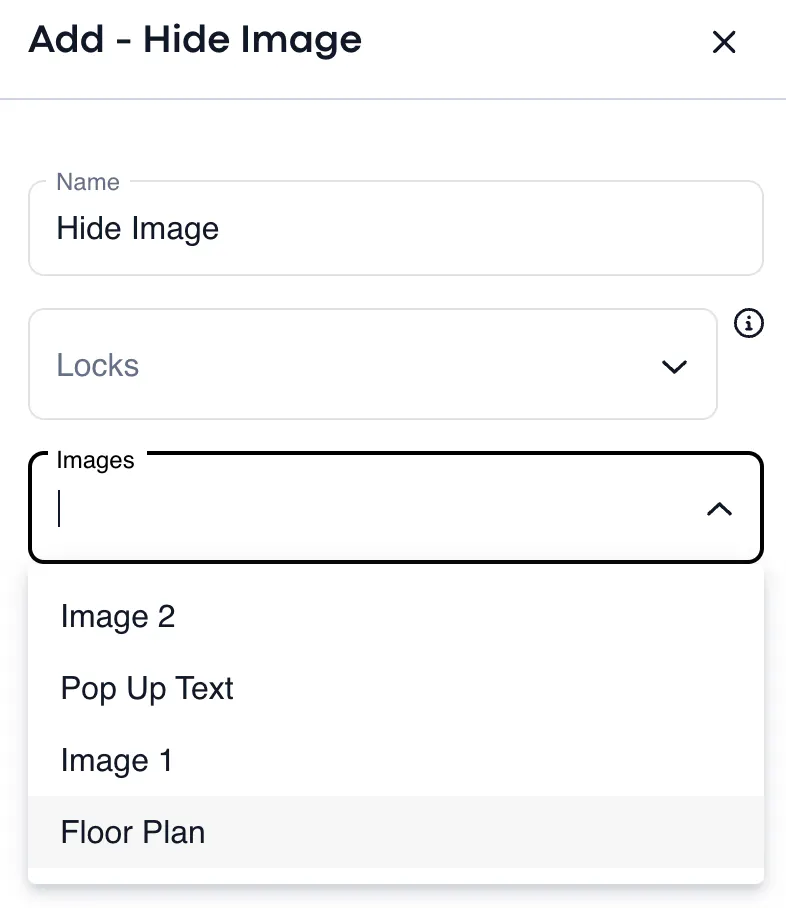
As you progress through the experience, you can then use the 'reveal' function to determine when and where you want these assets to become visible again, but this step requires the use of locks.
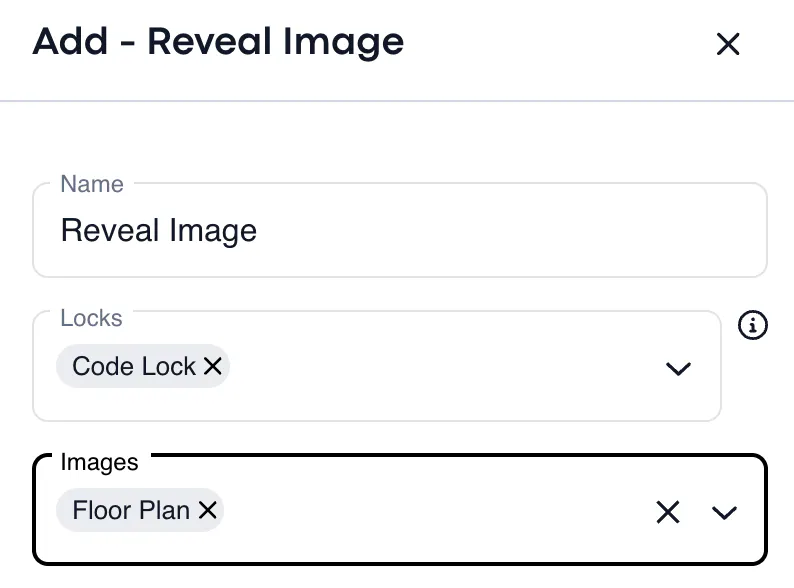
2. Hide With Locks
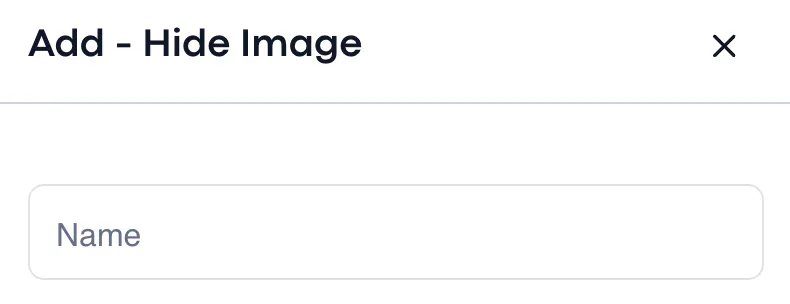
To add a Hide Condition, click the dropdown menu and choose which element you would like to be hidden.
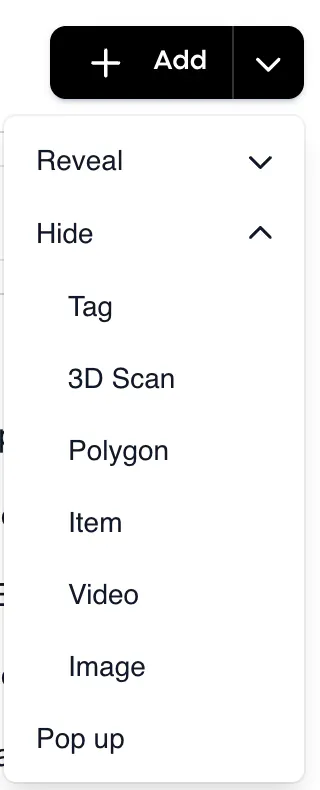
Name
After you have chosen the type of element you would like to hide, you need to give your condition an internal name.
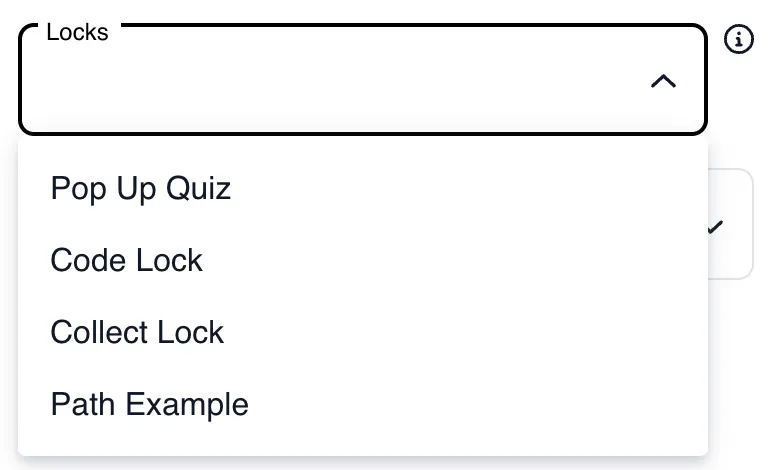
Locks
You will then have to decide which lock will activate the condition once solved.
For example, if you want that watching a video hides a VS object, or item, then you would choose that video as the lock here.
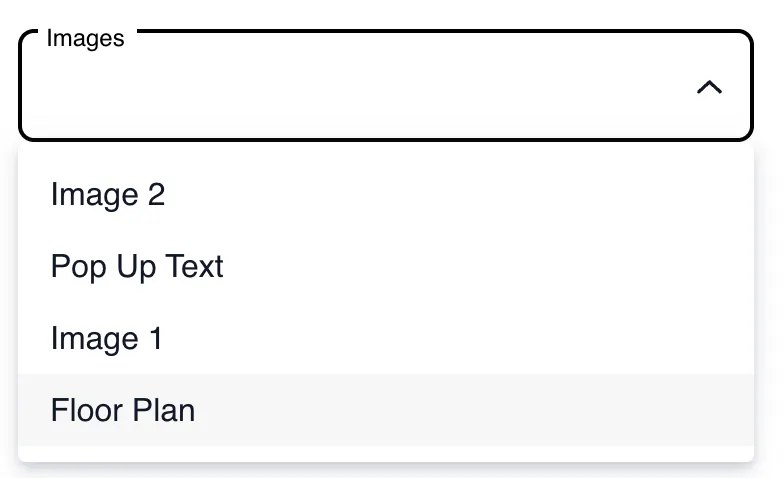
You then choose the exact image that you would like to be hidden.
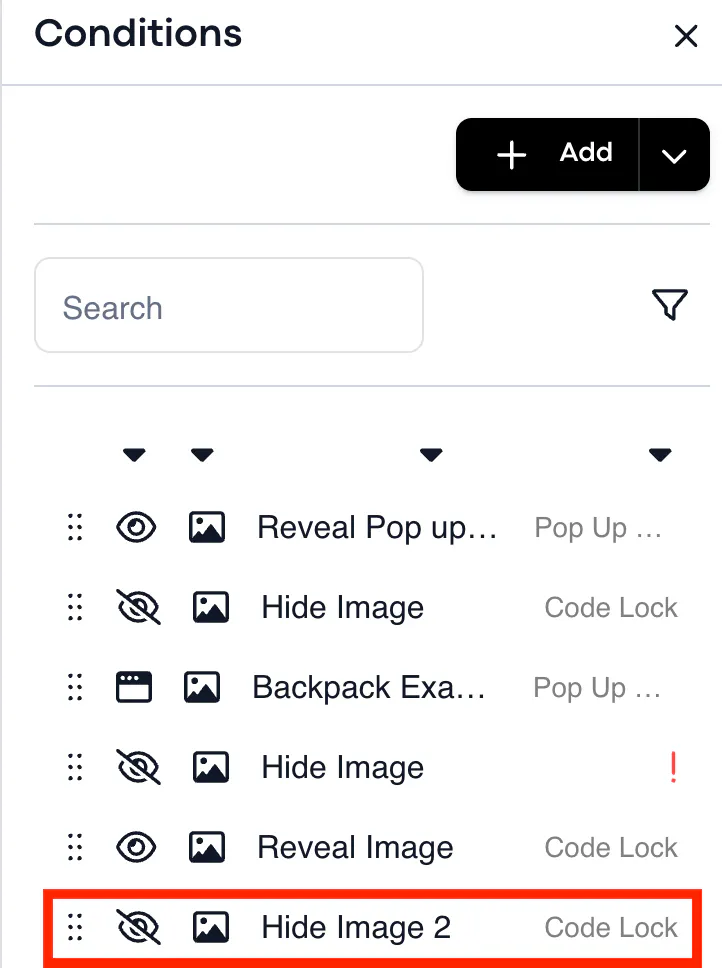
Once saved, it should appear at the bottom of the page:
You can hide sweeps during the tour, preventing access to certain locations while in tour or experience mode:
____________________________________________________________________________________
Pop Up
Name
Give the condition an internal name
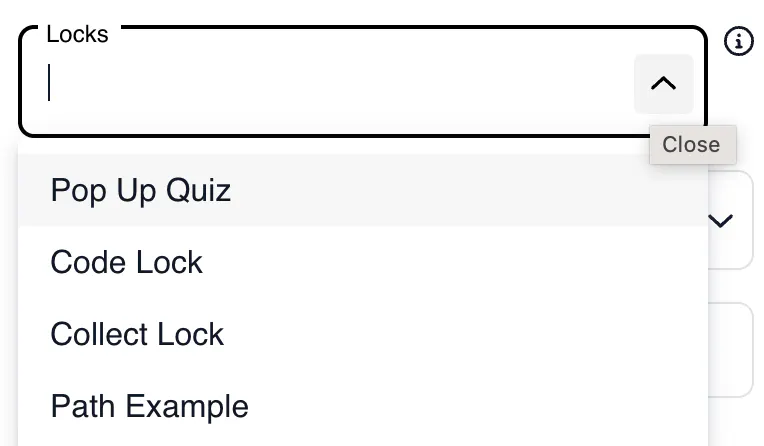
Locks
You will then have to decide which lock will activate the condition once solved.
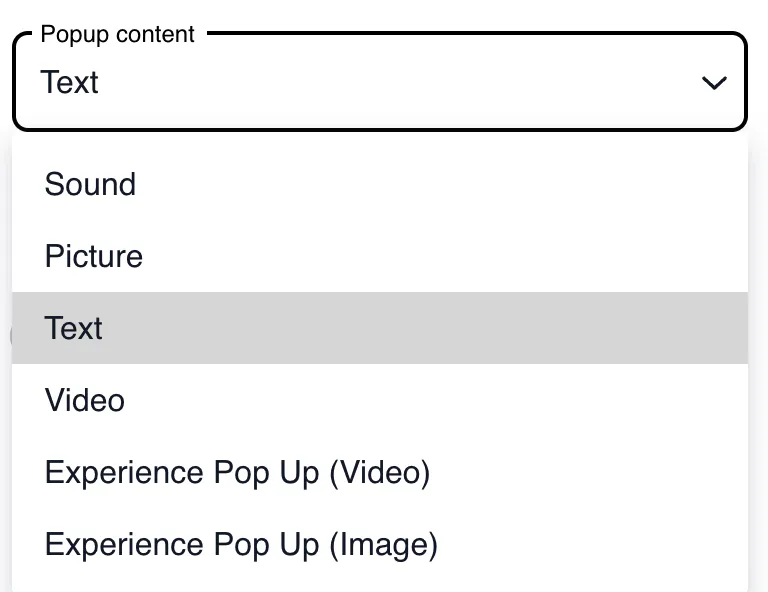
Popup Content
You can decide the type of content that you would like to appear once the lock has been solved.
This is content outside of what has already been placed in the experience.
Add to Backpack
Popup conditions can be added to the experience backpack if enabled.
Once saved, it should appear at the bottom of the page: