Articles in this section
- Experience Creator: What is it and how to activate?
- Experience Creator: Preparation steps and examples
- Experience Creator: General
- Experience Creator: Timer
- Experience Creator: Experience Book
- Experience Creator: Backpack
- Experience Creator: Locks - General Info
- Experience Creator: Code Lock
- Experience Creator: Keyboard Lock
- Experience Creator: Collect Lock
- Experience Creator: Sequence Lock
- Experience Creator: Pop-up Trivia Lock
- Experience Creator: Genial.ly Lock
- Experience Creator: Conditions
- Experience Creator: Hints
- Experience Creator: Path General
- Experience Creator: Adding Steps to Path
Experience Creator: Preparation steps and examples
Tours created using the Experience Creator are inherently conditional, as the success of nearly every action you implement relies on the preceding elements.
To ensure a seamless experience, we recommend following these steps during the creation process:
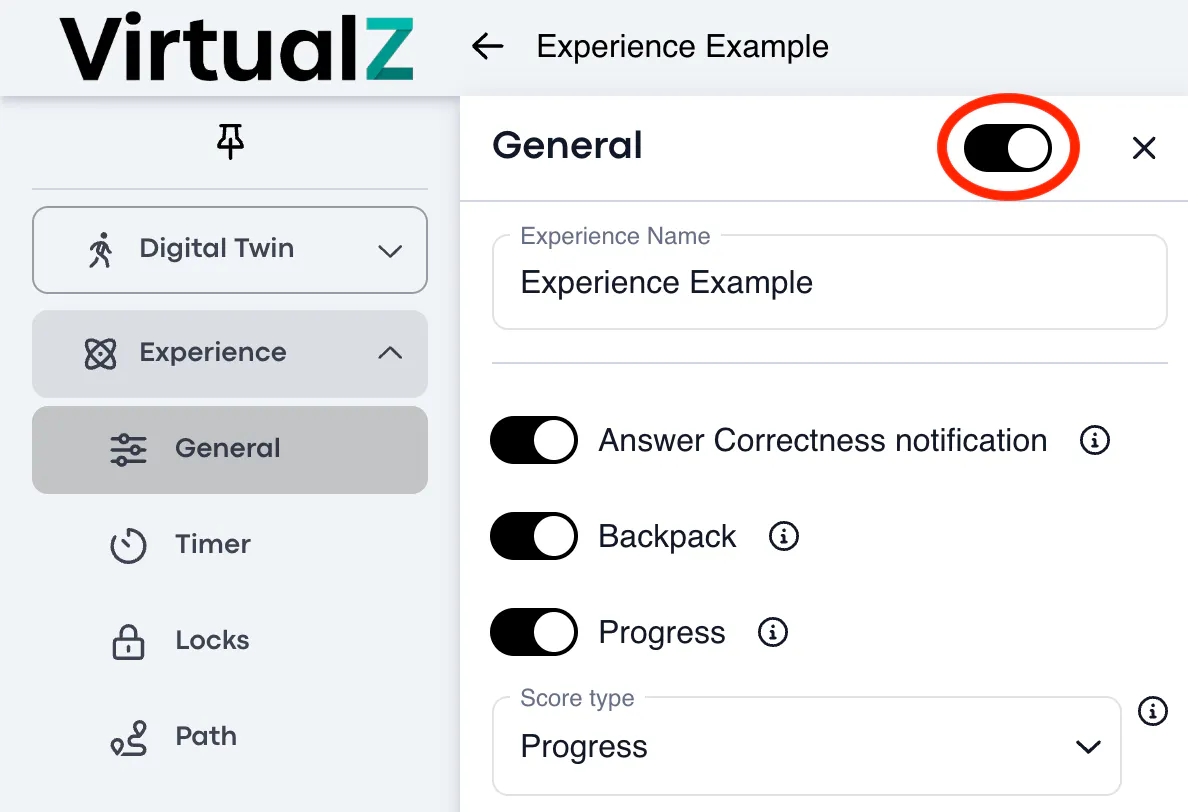
Tip: Before initiating the experience creation, ensure that the toggle in the general settings is turned on.
1) Develop a Script: Begin by outlining the media you wish to include, the user's intended actions, and any quizzes you want them to complete. This step helps you conceptualise your objectives and the locations you want to incorporate.
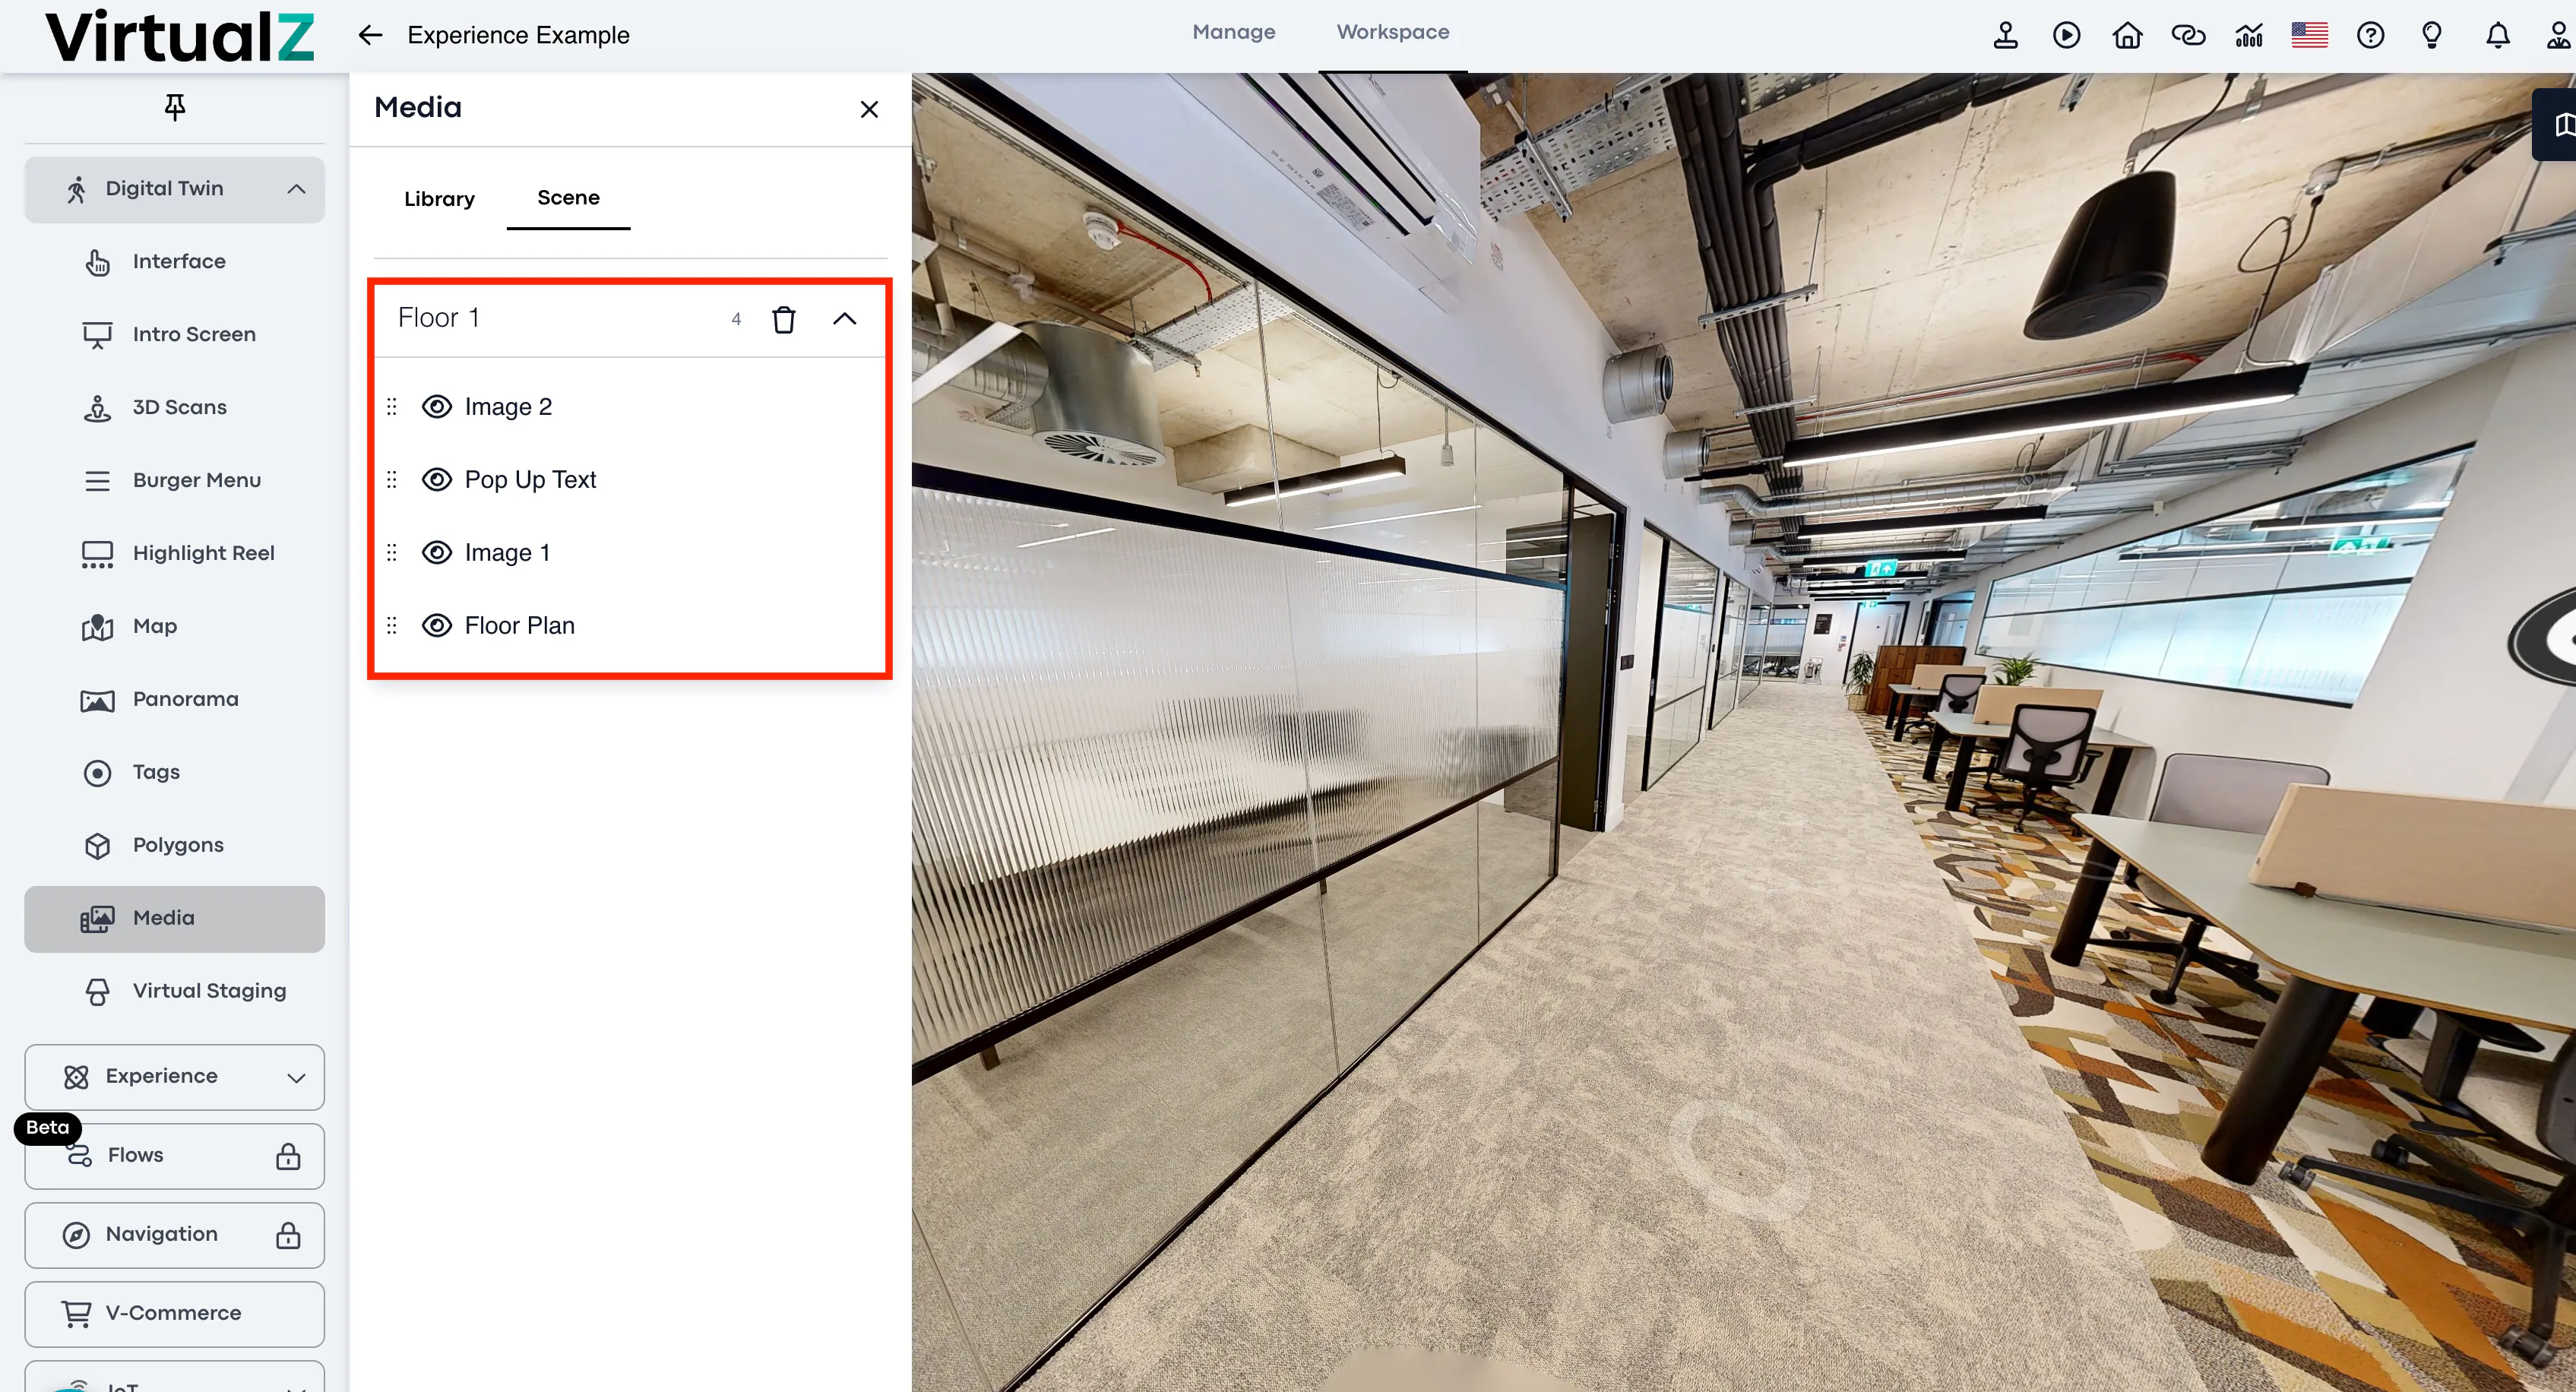
2) Insert All Assets: Before delving into creating paths and conditions, ensure that all assets, such as images, videos, avatars, etc., are added to the tour. Having all assets in place is essential for setting up locks later on. The path you create will be conditioned by the presence of different media in the tour. Disorganised media or changes made midway may result in a disjointed experience.
3) Create Locks: Prioritize the creation of various locks during the experience. These locks will need to be established before you can set conditions.
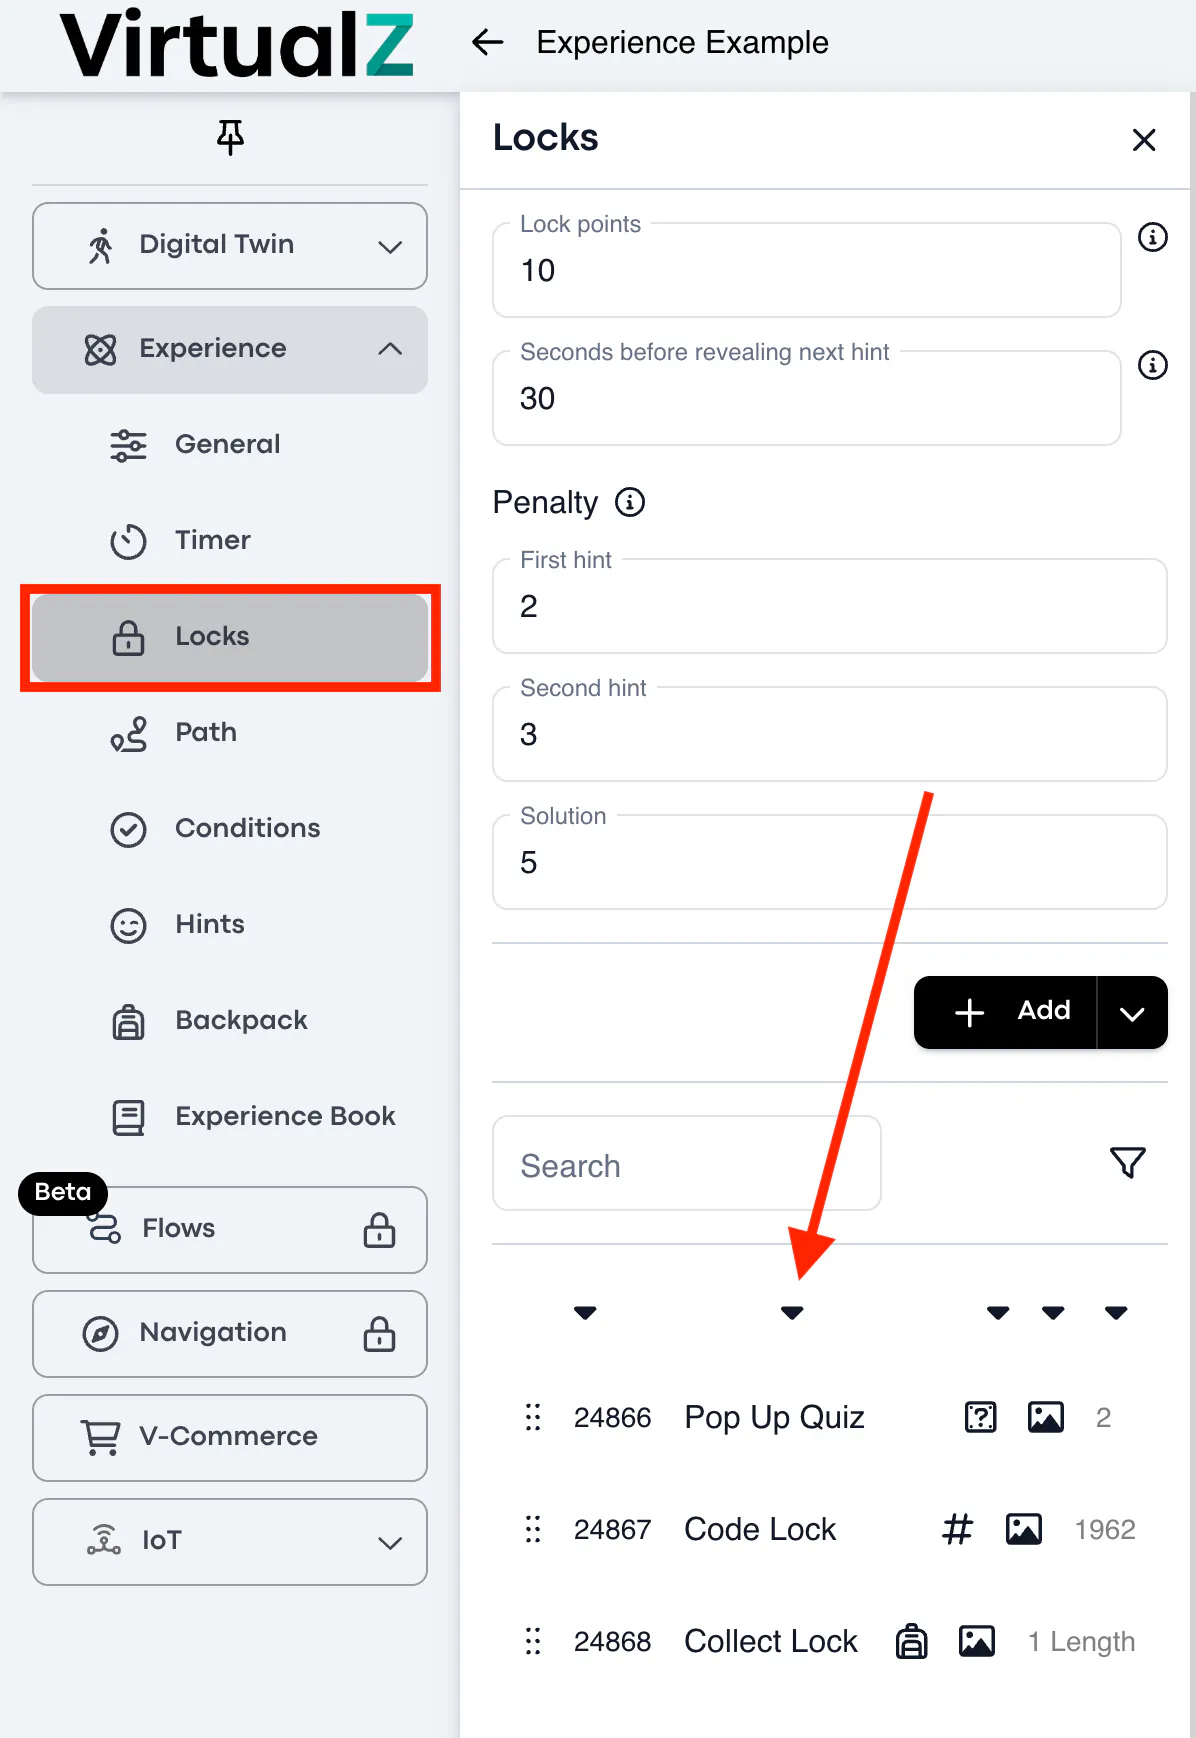
To avoid confusion between creating and locating conditions further, numbering your locks could be a practical solution.
4) Set Conditions: With locks in place, you can now establish conditions, such as revealing and hiding elements, to control the flow of the tour effectively.
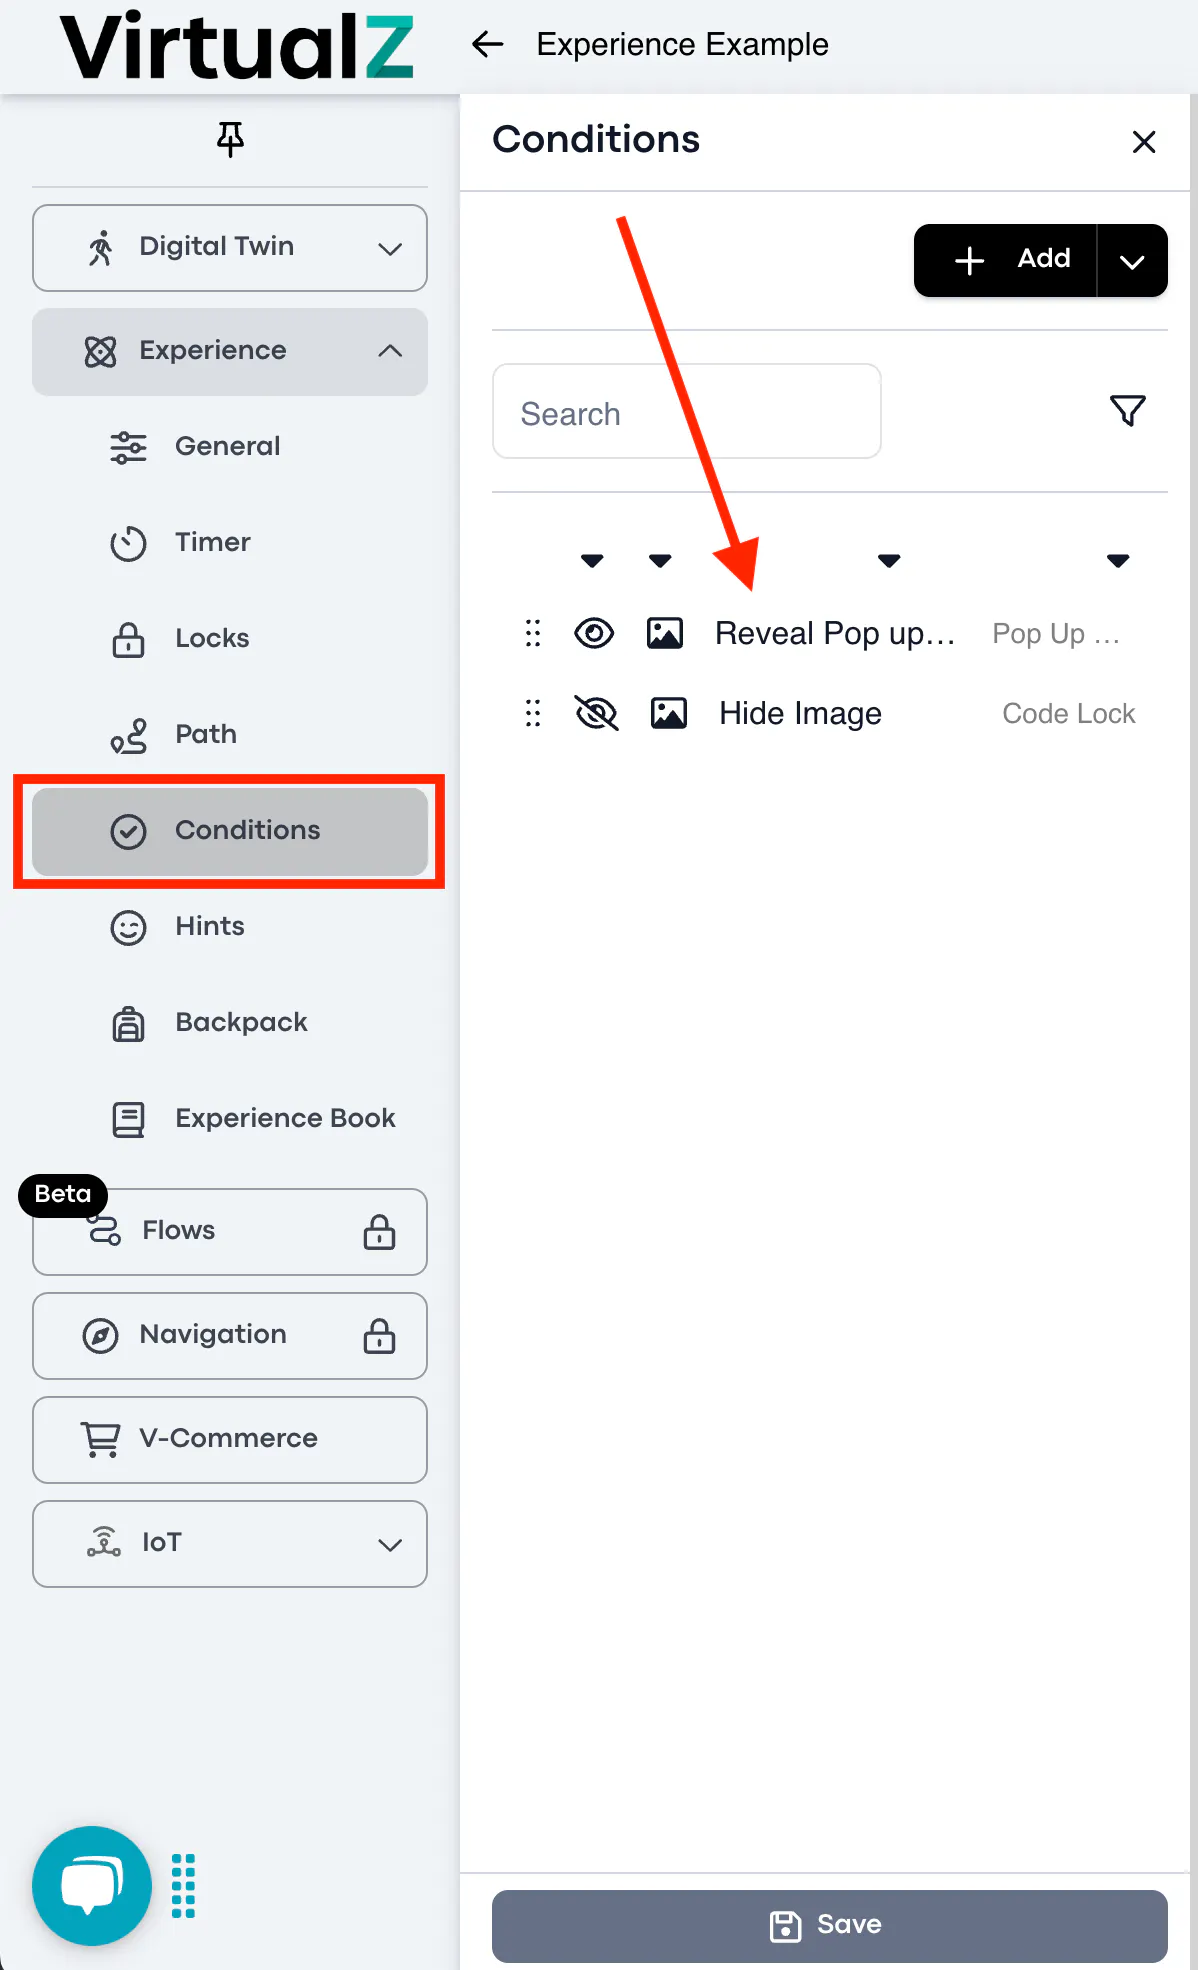
5) Optional Edits: Feel free to customise other aspects, such as hints, the backpack, or the experience book, to enhance the overall experience. However, keep in mind that the features mentioned above are fundamental to most experiences, while these are optional additions.
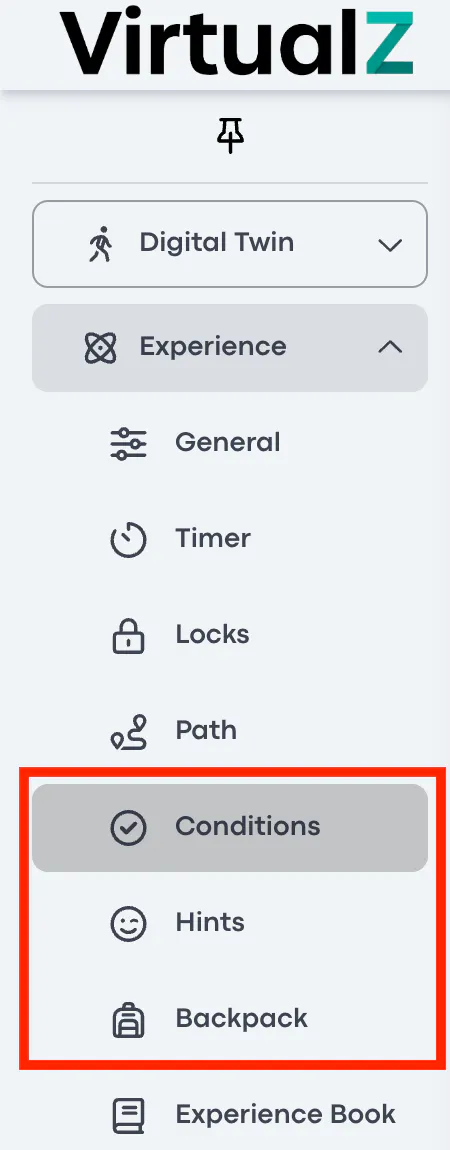
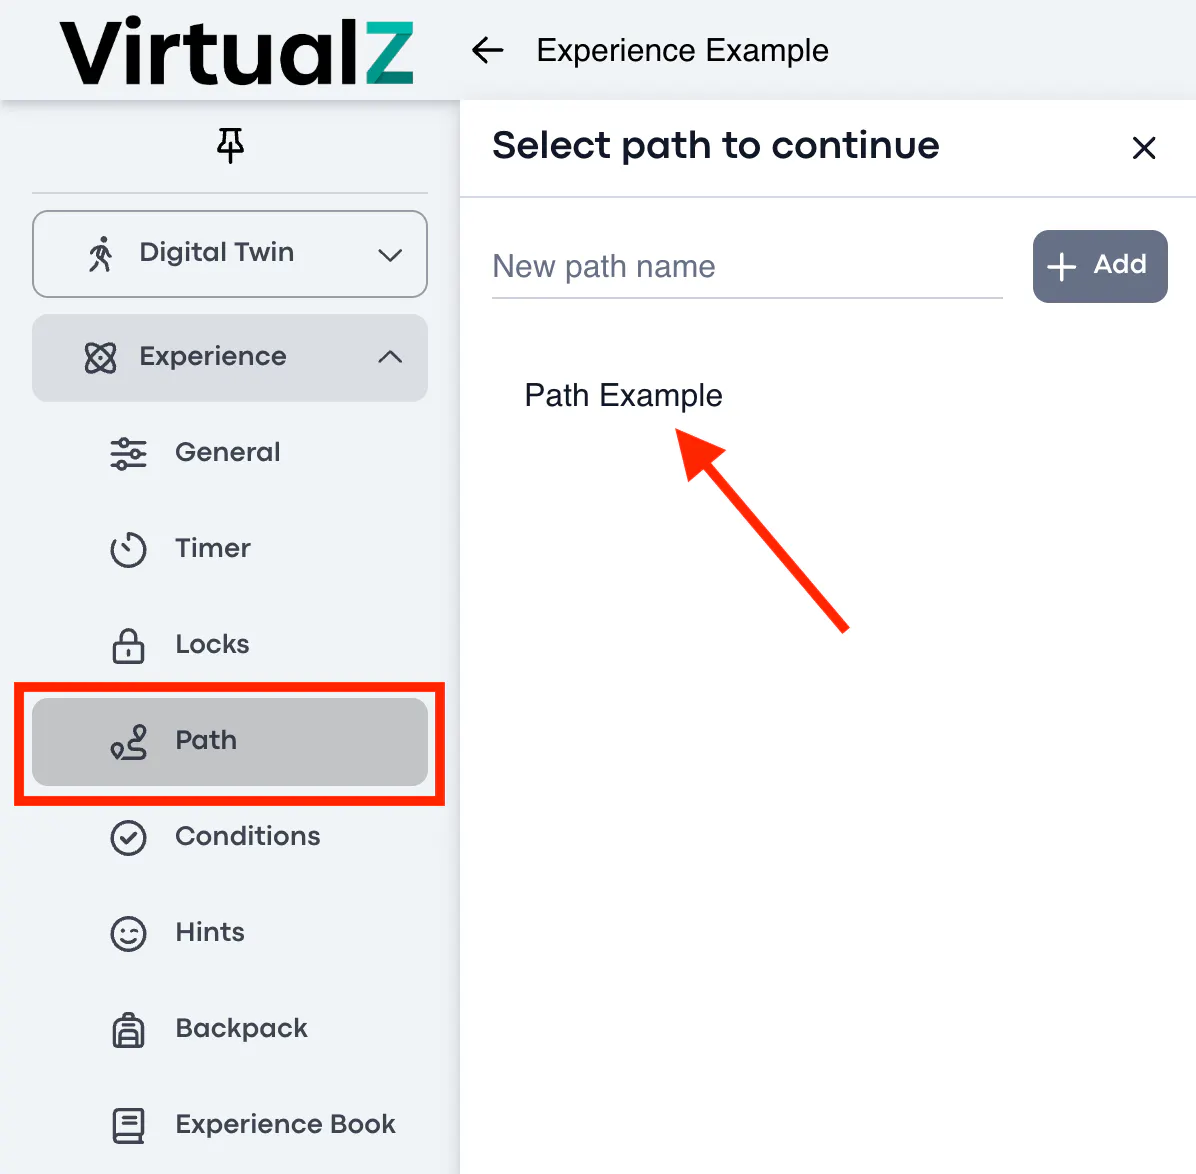
6) Save the Path for Last: Reserve creating the path as the final step while editing your experience. This approach ensures that all assets, locks, and conditions are organised before you finalize the tour's flow.